Delicious & Easy Glazed Chicken Drumsticks: Your New Go-To Recipe!
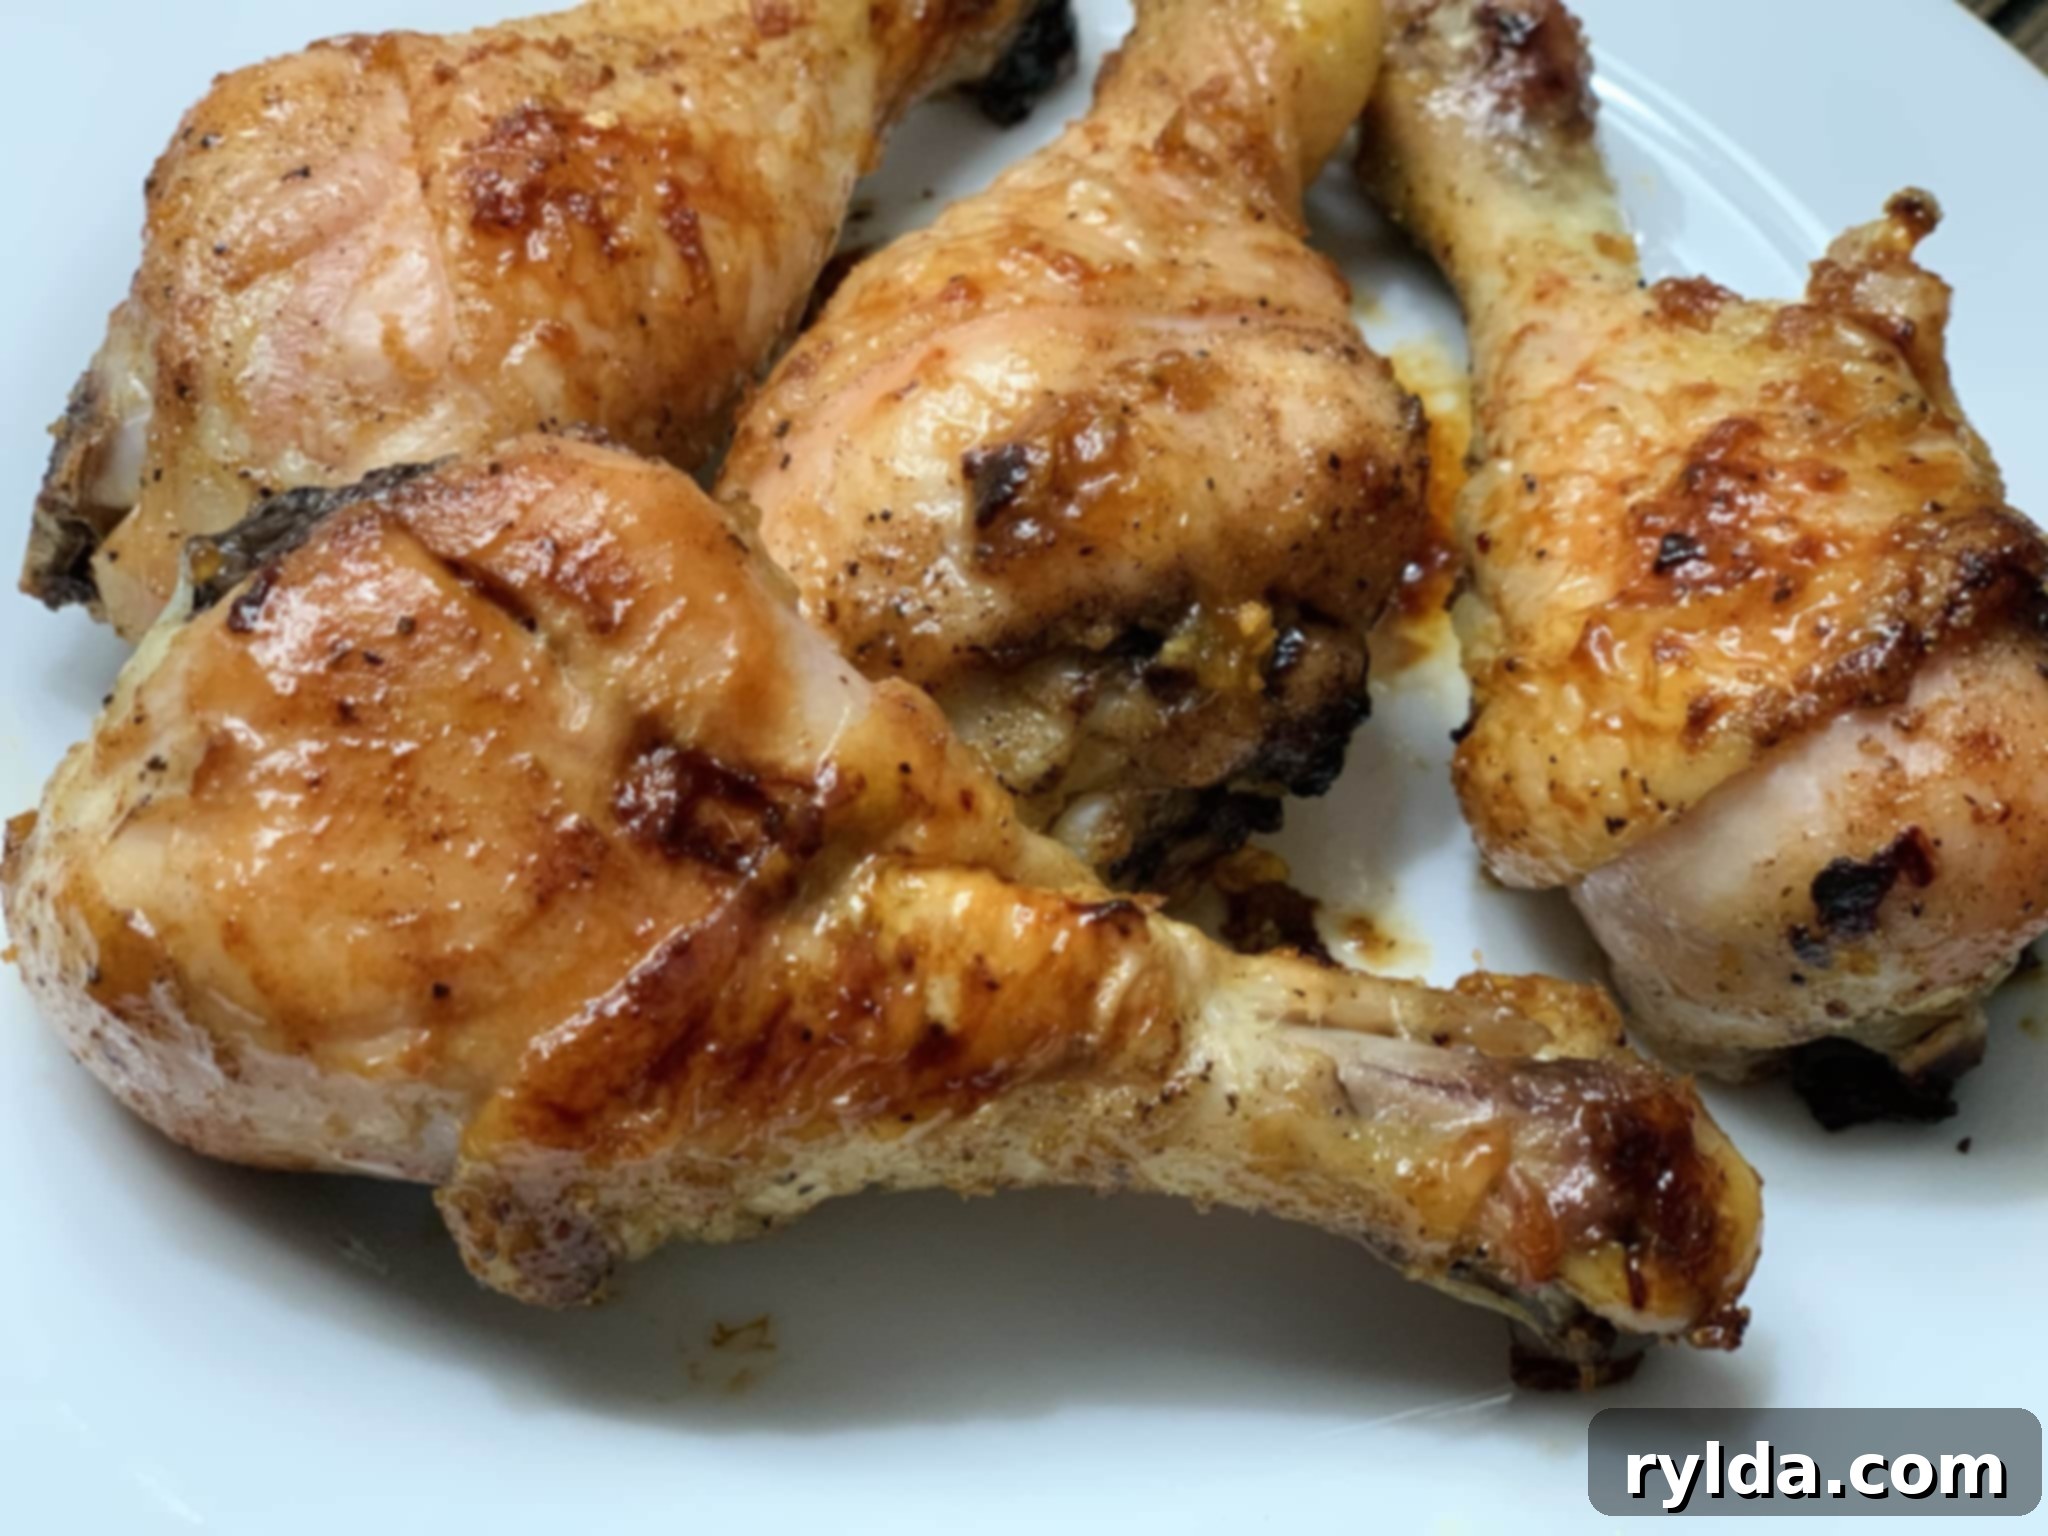
There’s nothing quite like the comforting satisfaction of sinking your teeth into a perfectly cooked chicken drumstick. But what if we told you there’s a way to elevate that experience, transforming a simple baked chicken into an extraordinary culinary delight? Enter: Glazed Chicken Drumsticks! This recipe isn’t just easy to make; it’s a revelation, delivering a burst of fresh, vibrant flavors with minimal effort. It’s the kind of dish that brings smiles to faces and quickly becomes a family favorite. Perfect for weeknight dinners or a casual gathering, these glazed drumsticks are both delicious and surprisingly healthy, especially when using high-quality ingredients like organic chicken.
We understand the appeal of a good, honest baked chicken, but the addition of a sweet and savory glaze takes it to an entirely new level. The beautiful sticky coating caramelizes in the oven, sealing in juices and infusing every bite with an irresistible depth of flavor. The best part? Despite its gourmet taste, this recipe remains incredibly straightforward, proving that you don’t need complex techniques or exotic ingredients to create something truly special.
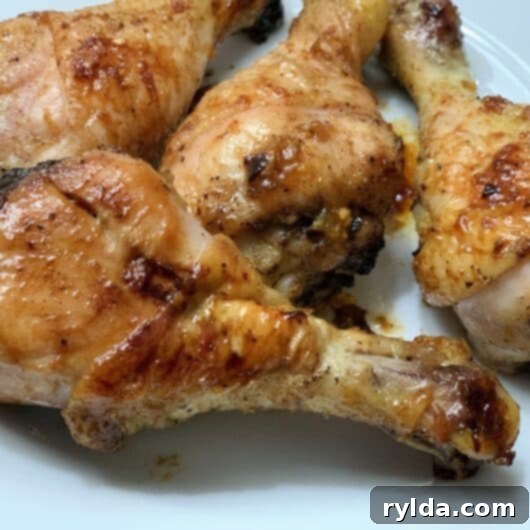
Glazed Chicken Drumsticks
3.5 from 49 votes
3
servings
5
minutes
50
minutes
Ingredients
- For the Chicken:
-
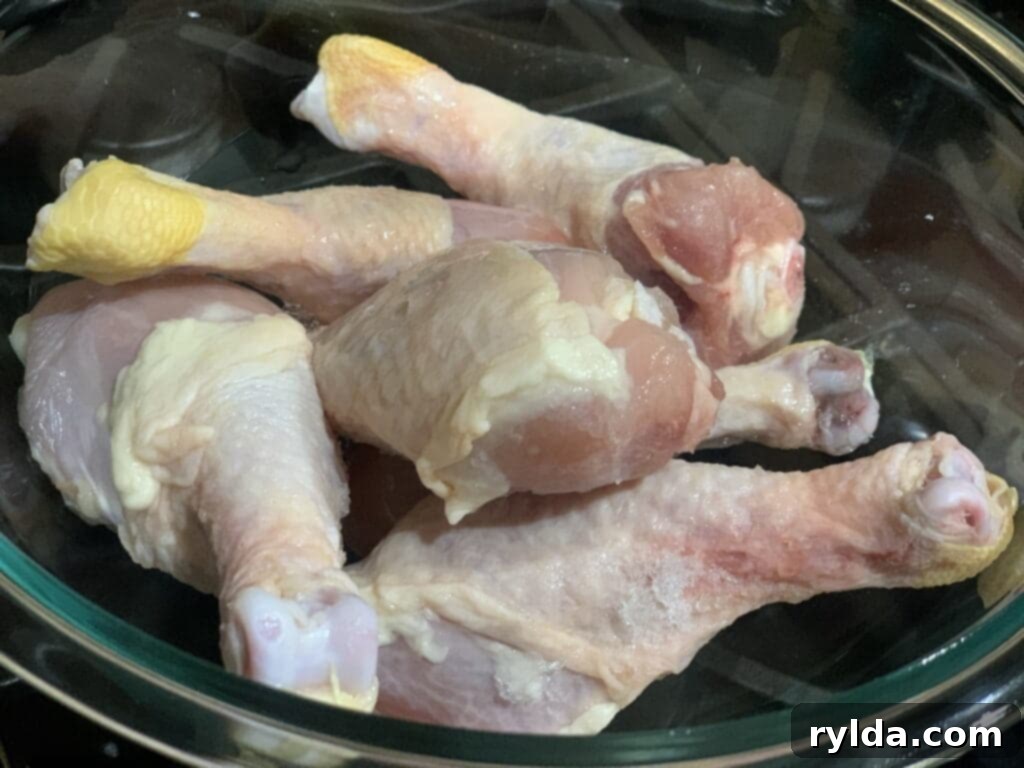
6 chicken drumsticks
-
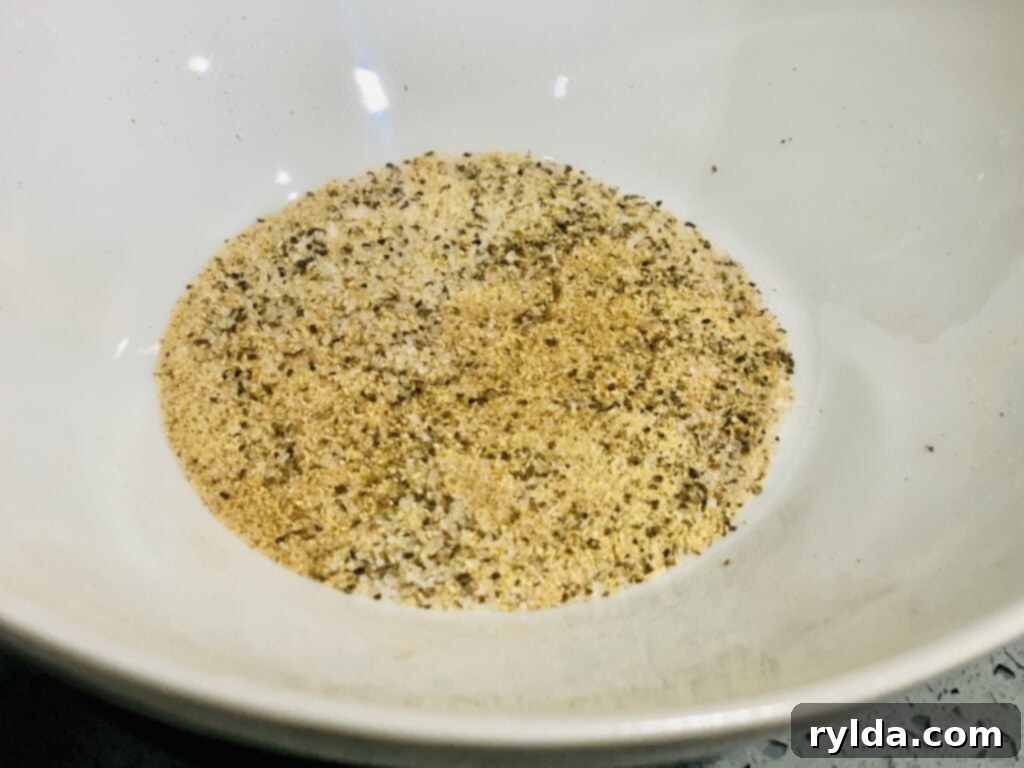
1 teaspoon garlic powder
-
1/2 teaspoon salt
-
1/4 teaspoon black pepper
-
1 teaspoon grapeseed oil or olive oil
- For the Glaze:
-
2 tablespoons soy sauce
-
1 teaspoon water
-
1 teaspoon ginger, grated
-
1 teaspoon honey
-
1/2 teaspoon garlic powder
Directions
- For the Glaze:
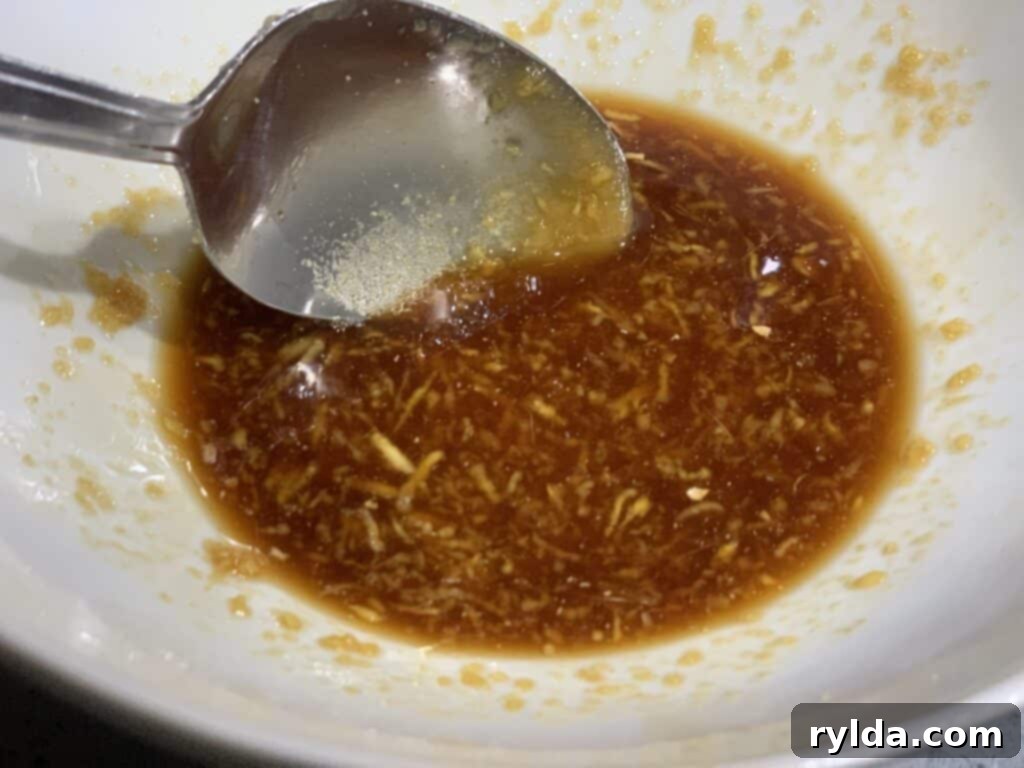
- Mix together soy sauce, water, grated ginger, honey, and garlic powder. Set aside until ready to use on chicken.
- For the Chicken:
- Preheat the oven to 375°F/190°C.
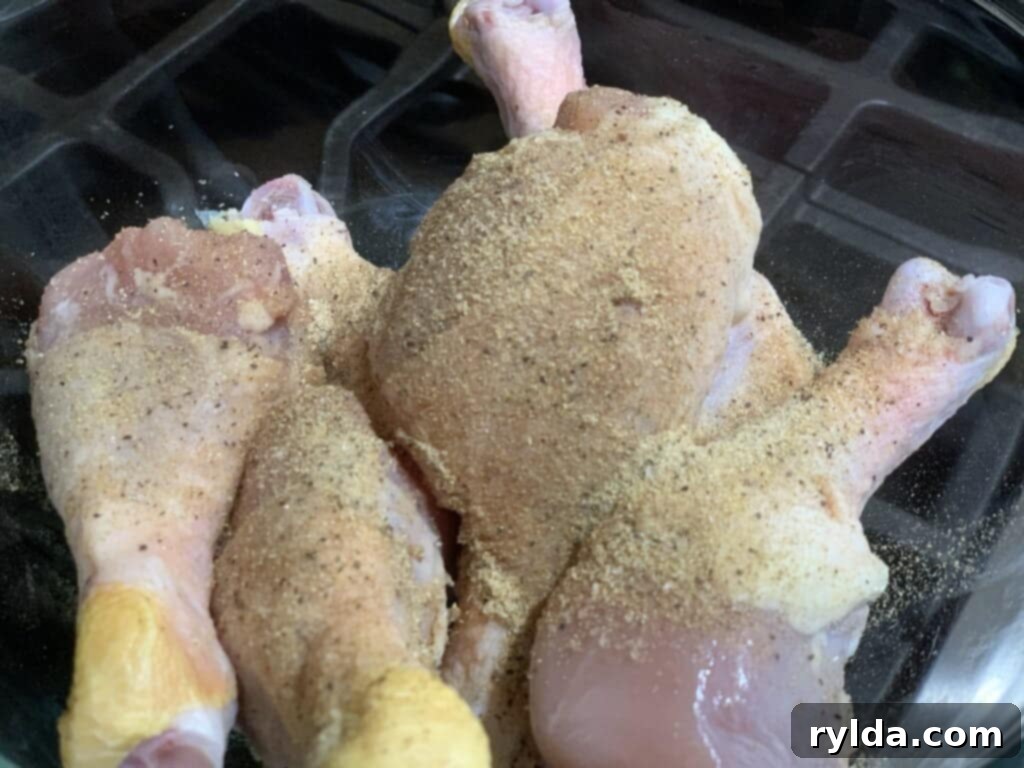
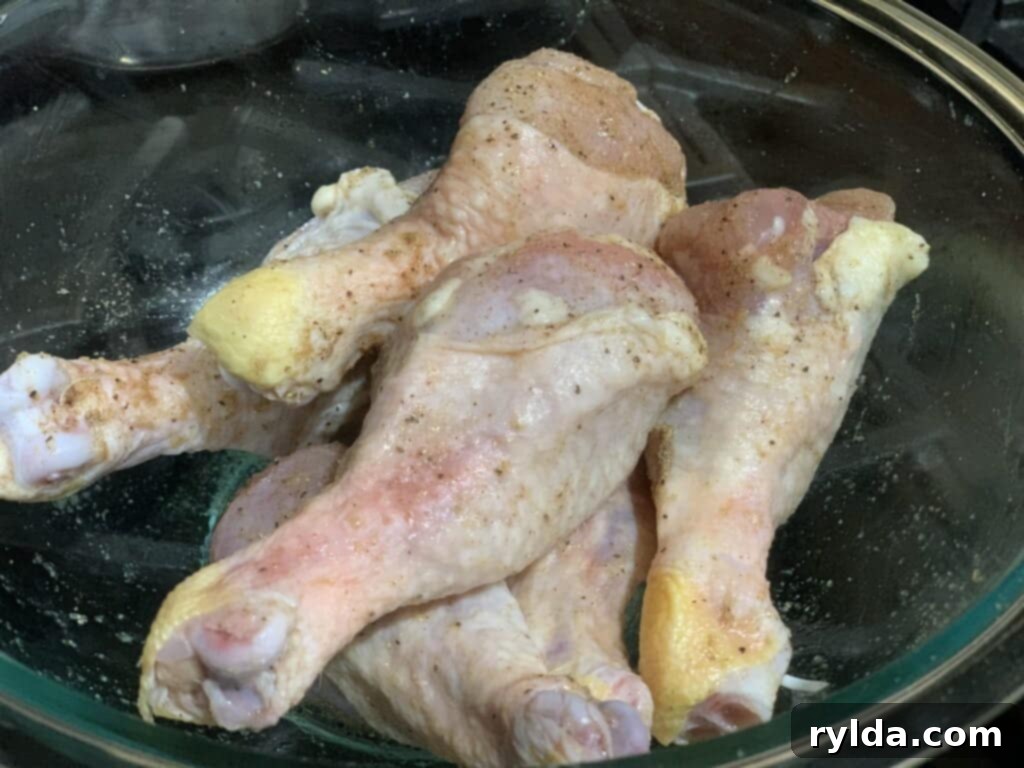
- Season chicken legs with garlic powder, salt, black pepper, and oil.
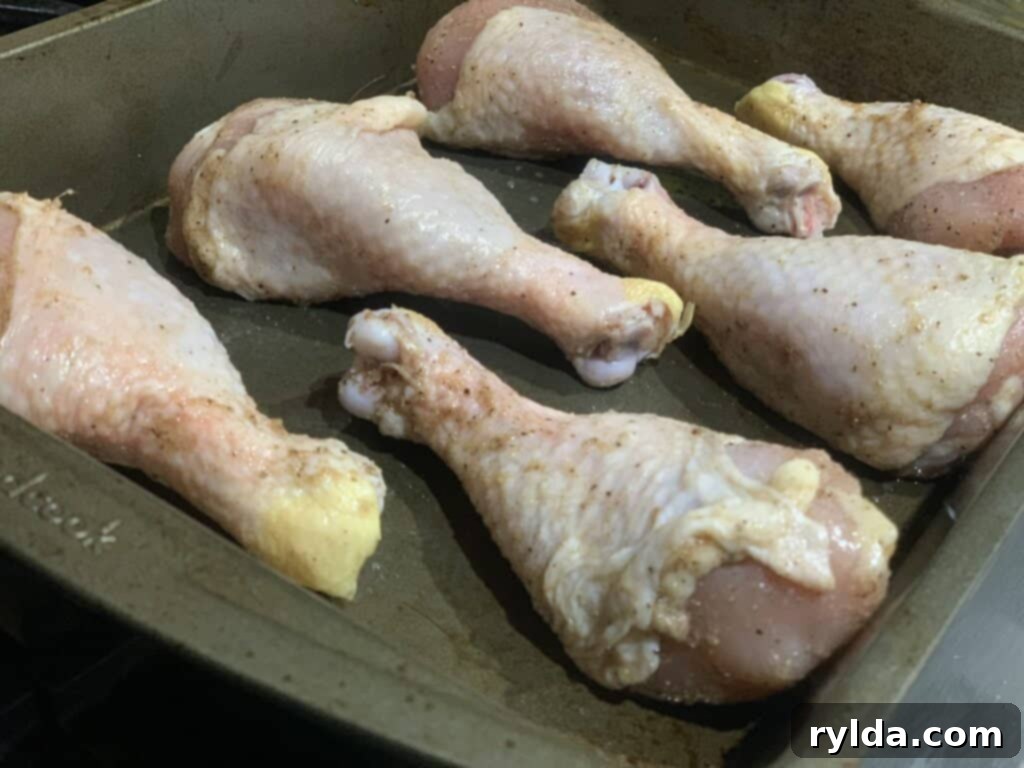
- Place on a greased baking sheet and bake for 50 minutes, being sure to flip halfway through.
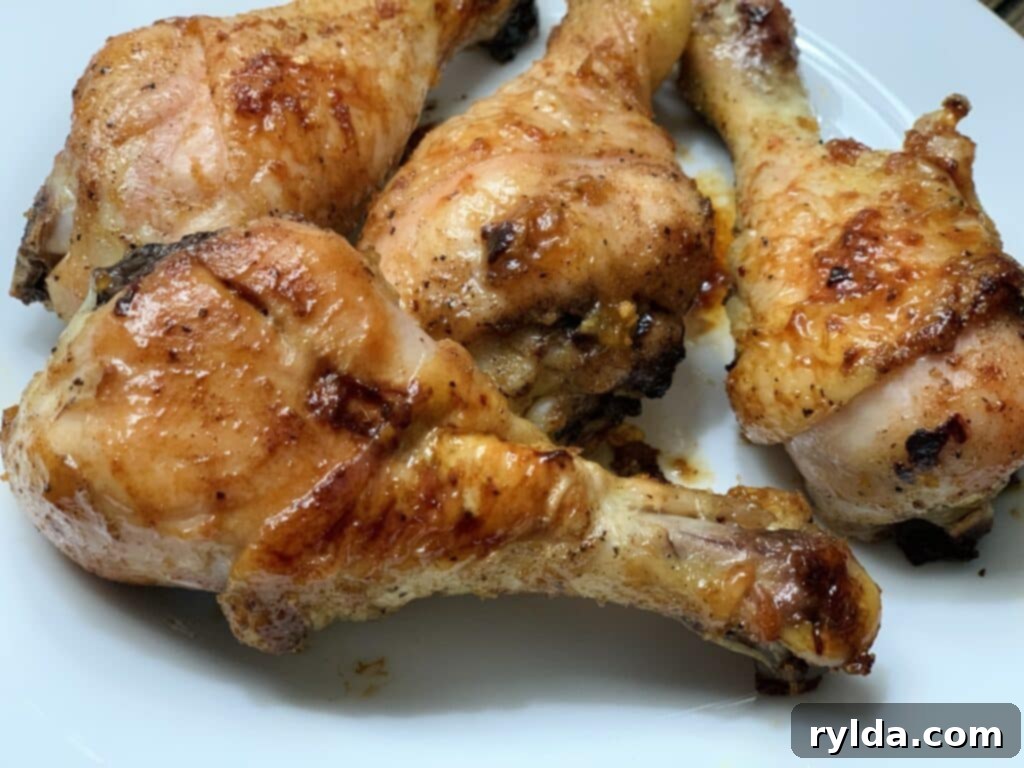
- Remove chicken from the oven and use a basting brush to coat chicken in glaze sauce.
- Place in the oven for 3 more minutes.
- Allow to rest for 10 minutes before serving. Enjoy!
Why Chicken Drumsticks Are The Perfect Choice
Chicken drumsticks are a fantastic choice for this glazed recipe for several compelling reasons. Firstly, they are incredibly forgiving to cook, remaining wonderfully juicy and tender even if you slightly overcook them. Their dark meat is naturally more flavorful and less prone to drying out than chicken breast. Secondly, drumsticks are often more budget-friendly, making this a cost-effective meal for families or for meal prepping. Finally, their size and shape are ideal for absorbing the glaze, ensuring every bite is coated in that irresistible sticky goodness.
Using organic chicken, as mentioned in the original recipe, definitely contributes to a fresher taste profile. Organic chicken is often raised without antibiotics and on a healthier diet, which can result in a cleaner, more robust flavor. While not strictly necessary, if you have access to it, it’s a great way to enhance the natural taste of your dish. Regardless of your choice, ensuring your chicken is fresh and of good quality is always recommended.
The Art of Minimalist Seasoning for Maximum Flavor
One of the core secrets to this recipe’s success lies in its approach to seasoning the chicken. We deliberately keep the initial seasoning simple: just garlic powder, salt, and black pepper. This might seem understated, but it’s a calculated decision. The true star of this dish is the vibrant, complex glaze, and we want to allow its flavors to shine without competition. Over-seasoning the drumsticks before applying the glaze would create a confusing palate, with the seasonings potentially clashing or overpowering the delicate balance of the sauce.
The minimal seasoning acts as a foundational layer, enhancing the chicken’s natural taste and preparing it for the glaze. Garlic powder adds a subtle aromatic base, while salt and pepper bring out the inherent savory notes of the chicken. This ensures that when the rich glaze is added, it’s not fighting for attention but rather complementing and building upon a clean, well-cooked chicken flavor. This thoughtful balance is key to achieving that “fresh” taste the original recipe praises.
Before baking, the drumsticks are generously rubbed with oil. This step is crucial for achieving crispy skin and helping the seasonings adhere. While you can use any oil you prefer, grapeseed oil is an excellent choice, as highlighted in the original content. I personally appreciate its health benefits; it’s light, virtually flavorless, and won’t introduce any unwanted tastes to your dish. Furthermore, it boasts a high smoke point and is low in saturated and trans fats, making it a heart-healthy alternative to butter or shortening. Olive oil is another fantastic option, offering its own set of health benefits and a slightly fruity note if you choose extra virgin.
The initial bake at 375°F/190°C for 45-50 minutes is designed to fully cook the chicken, ensuring it’s tender and juicy throughout. Remember to flip the drumsticks halfway through to promote even cooking and browning on all sides. This preliminary bake is essential before introducing the glaze, as it sets the stage for the perfect sticky, caramelized coating. We want the chicken to be nearly cooked through before glazing, preventing the sugars in the glaze from burning before the chicken is done.
Crafting the Irresistible Soy-Ginger-Honey Glaze
The true star of these Glazed Chicken Drumsticks is, undoubtedly, the glaze itself. This magical concoction transforms simple baked chicken into a dish that’s bursting with an explosion of savory, sweet, and tangy notes. The beauty of this glaze lies in its carefully balanced ingredients, each playing a vital role in creating its complex flavor profile and alluring sticky texture.
The base of our glaze is reduced-sodium soy sauce. This provides the essential umami and a foundational savory element without overwhelming the dish with excessive saltiness. If you prefer, regular soy sauce can be used, but consider slightly reducing the amount or adding a touch more water to balance the sodium. A small amount of water is then added to adjust the consistency, making the glaze easy to brush evenly over the chicken.
The next ingredient, freshly grated ginger, is a game-changer. It introduces a bright, zesty, and slightly pungent kick that cuts through the richness of the chicken and prevents the glaze from being too one-dimensional. Using fresh ginger, rather than powdered, makes a noticeable difference in the vibrancy of the flavor. Then comes the honey, which contributes not only sweetness but also aids in creating that beautiful, shiny, caramelized coating that gives the drumsticks their signature “glazed” appearance and sticky texture. Finally, another dash of garlic powder is added to the glaze, building on the subtle garlic notes from the chicken’s initial seasoning and adding a layer of aromatic depth to the sauce.
Mixing these ingredients together is quick and simple. Once combined, the glaze is set aside, ready to be brushed onto the chicken at just the right moment. The timing of its application is crucial, as we’ll discuss next.
While the chicken is undergoing its initial bake in the oven, it’s the perfect time to prepare the delectable glaze. As described, this glaze, made from reduced-sodium soy sauce, water, honey, freshly grated ginger, and garlic powder, is a powerhouse of flavor. Once the chicken has completed its primary cooking time, remove it from the oven and generously coat each drumstick with the prepared glaze using a basting brush. Ensure every surface is covered for maximum flavor and an even, beautiful shine.
After glazing, the chicken is returned to the oven for a final, short bake of approximately 3 to 5 minutes. This additional time is essential. It allows the sugars in the honey to caramelize, creating that signature sticky, glossy exterior, and ensures the glaze adheres perfectly to the chicken, rather than just sitting on top. This crucial step locks in the flavor and gives the drumsticks their appealing finished look.
Serving Suggestions and Presentation Tips
Once your glazed chicken drumsticks emerge from the oven, glistening and perfectly cooked, there’s one final, crucial step: allow them to rest for 10 minutes before serving. This resting period is vital for any roasted meat, as it allows the juices to redistribute throughout the chicken, resulting in incredibly moist and tender drumsticks. If you cut into them too soon, all those delicious juices will simply run out, leaving you with drier meat.
For an elevated presentation, especially when serving company, consider garnishing your finished dish. A sprinkle of something green adds a pop of color and freshness. Freshly chopped parsley is a classic choice, offering a clean, herbaceous contrast. Alternatively, thinly sliced green onions not only look beautiful but also provide a delicate oniony flavor that complements the glaze wonderfully. A few sesame seeds toasted lightly could also add an appealing texture and nutty aroma.
These versatile glazed chicken drumsticks pair beautifully with a variety of side dishes. A classic accompaniment is steamed white or brown rice; the rice readily absorbs any extra glaze or pan juices, making for an even more flavorful meal. In fact, making extra glaze to drizzle over the rice is a highly recommended hack – it’s truly “out of this world delicious” and transforms a simple side into a flavor bomb. Beyond rice, consider a crisp, fresh salad to balance the richness of the chicken, or roasted vegetables like broccoli, asparagus, or seasoned potatoes for a heartier meal. The beauty of this chicken recipe is its adaptability; it goes with pretty much anything! Feel free to choose your favorite green veggie or starch to create a balanced and satisfying meal tailored to your preferences. There are so many different ways to serve it, ensuring you’ll never get bored.
Tips for Success and Variations
Choosing Your Chicken
While drumsticks are excellent, you might wonder about other cuts. Yes, you can absolutely use chicken thighs instead of drumsticks! They have a similar dark meat composition, leading to equally juicy results. If using boneless, skinless thighs, reduce the cooking time slightly. For skin-on, bone-in thighs, the cooking time should be comparable. If you prefer to remove the skin for a leaner option, you can do so before seasoning. This won’t significantly alter the cooking process, but you will miss out on the crispy, glazed skin texture, which is a highlight for many.
Oil Choices
Grapeseed oil is indeed a fantastic, neutral choice. However, feel free to substitute with other high-smoke-point oils like avocado oil, or even a light olive oil. Avoid oils with very strong flavors unless you intend for them to be part of your flavor profile, as they might compete with the glaze.
Glaze Personalization
Don’t hesitate to experiment with the glaze! For a touch of heat, add a pinch of red pepper flakes or a dash of sriracha to the glaze mixture. A squeeze of fresh lime or lemon juice can introduce an extra layer of brightness and tang. For an even richer, nuttier flavor, a tiny drizzle of sesame oil (toasted or plain) can be added to the glaze just before its final application.
Ensuring Doneness
The safest way to ensure your chicken is fully cooked is to use a meat thermometer. Chicken should reach an internal temperature of 165°F (74°C) in the thickest part of the meat, avoiding the bone. The 50-minute bake time is usually sufficient for drumsticks, but ovens can vary, so a thermometer provides peace of mind.
Storage and Reheating Leftovers
If you’re lucky enough to have leftovers, these glazed chicken drumsticks store beautifully. Place them in an airtight container in the refrigerator for up to 3-4 days. To reheat, you have a few options: for the best texture, reheat in the oven at 350°F (175°C) for 15-20 minutes, or until warmed through, to help crisp up the skin again. Alternatively, you can use a microwave for quicker reheating, though the skin might lose some of its crispness. A quick pan-fry on medium heat for a few minutes per side can also revive some crispiness while warming the chicken through.
Conclusion
These Glazed Chicken Drumsticks are a testament to how simple ingredients, when combined thoughtfully, can create an unforgettable meal. With their perfect balance of sweet, savory, and fresh flavors, coupled with an incredibly easy cooking process, they truly deserve a spot in your regular recipe rotation. Whether you’re a seasoned chef or a kitchen novice, you’ll find joy in preparing and savoring this delightful dish. We hope you enjoy these easy-to-make and utterly delicious Glazed Chicken Drumsticks as much as we do!
