Irresistible No-Bake Peanut Butter Crispy Rice Bars: The Ultimate Easy Recipe for a Family Favorite
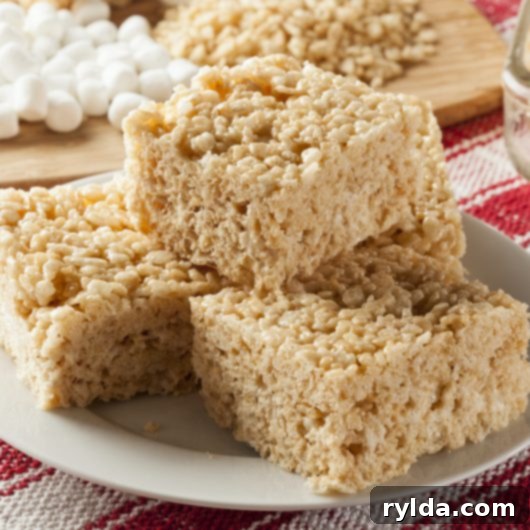
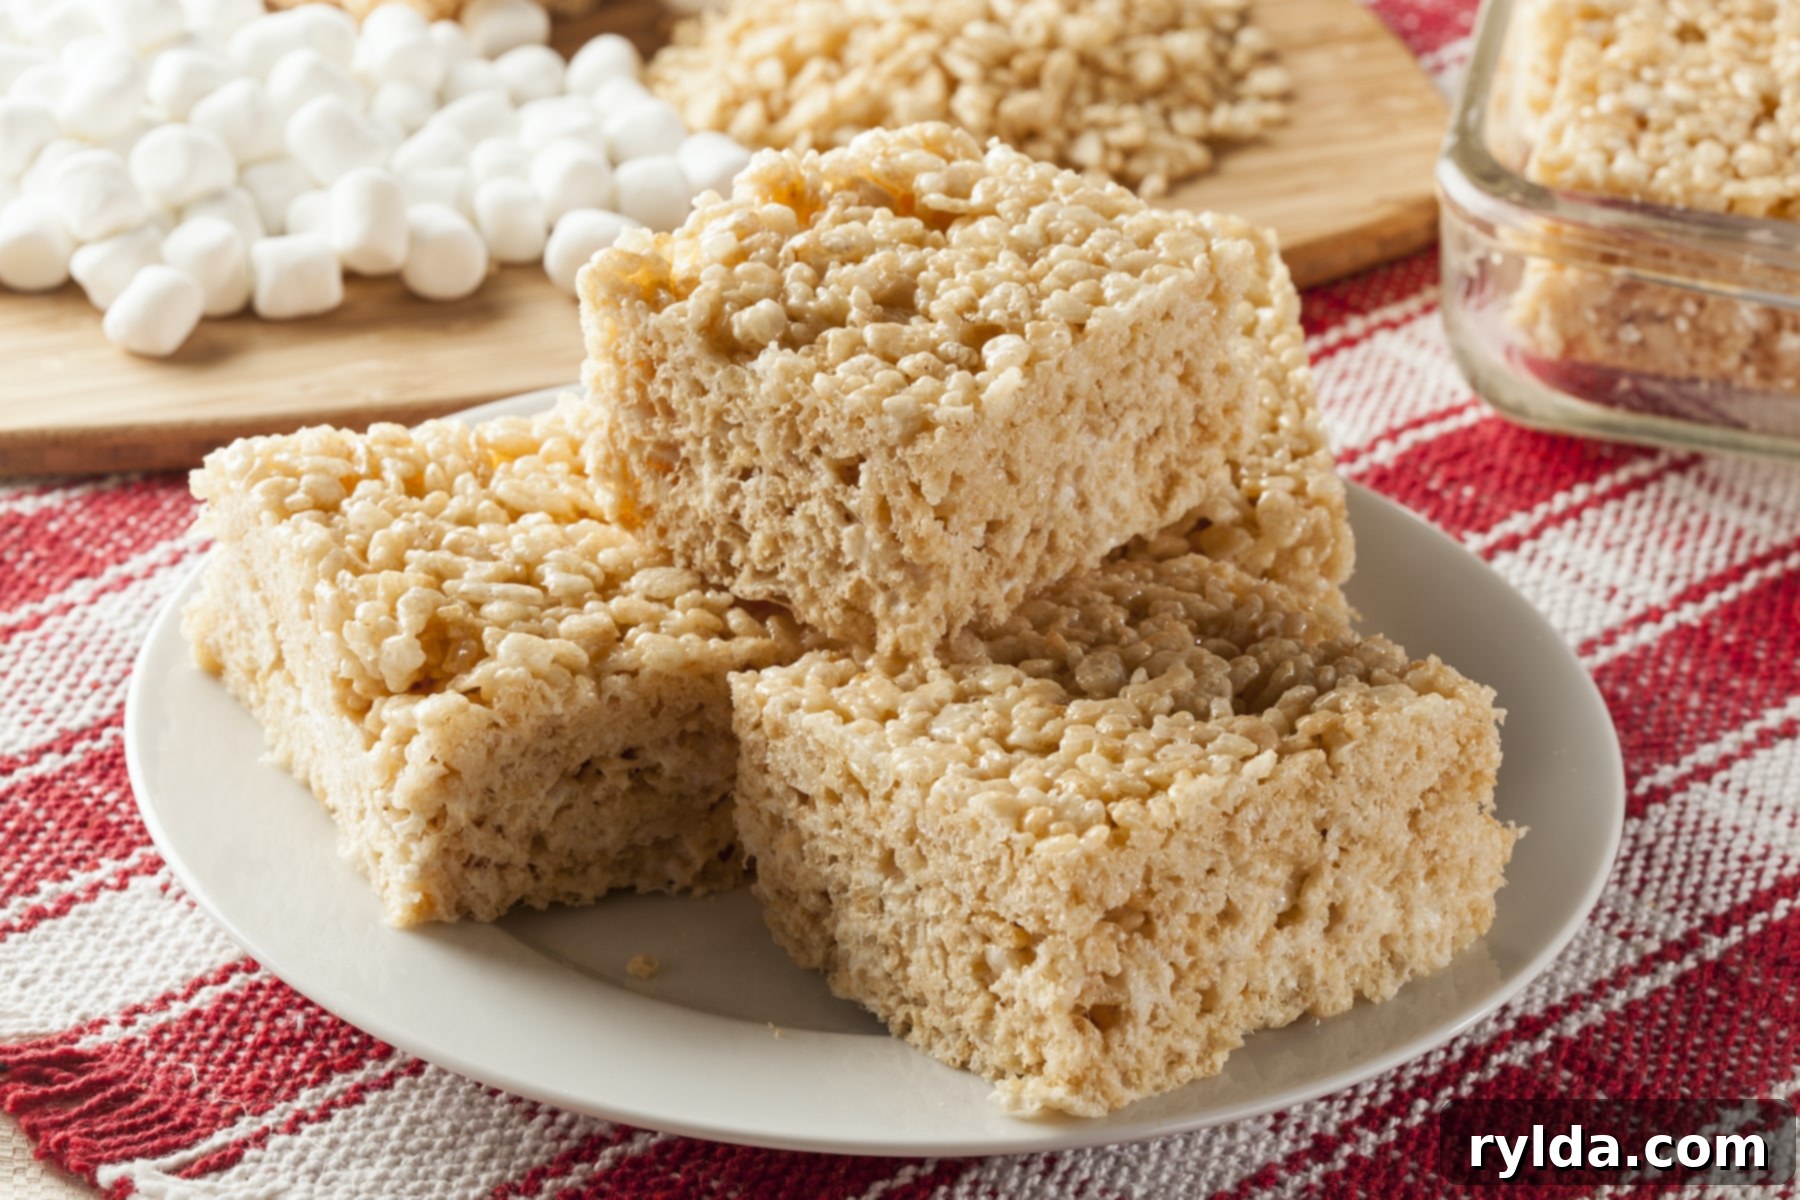
There’s something uniquely comforting about a classic no-bake treat, and these Peanut Butter Crispy Rice Bars are no exception. They instantly whisk you back to cherished childhood memories, evoking the simple joy of gooey marshmallows, crunchy cereal, and the rich, nutty embrace of peanut butter. This recipe isn’t just a dessert; it’s a delightful trip down memory lane, a testament to how simple ingredients can create extraordinary happiness. Best of all, they come together incredibly quickly, making them a consistent hit and a go-to treat in our home, whether for an after-school snack, a party dessert, or just a sweet craving.
My go-to method for these delectable bars is what I affectionately call the “lazy chef’s version”: everything melts effortlessly in the microwave. This approach is a game-changer for speed and convenience, eliminating the need for constant stirring over a stovetop. The beauty of it is that this shortcut doesn’t compromise the final product one bit. You still get those perfectly chewy, wonderfully crispy, and utterly satisfying bars every single time. It’s truly a testament to efficiency in the kitchen, proving that delicious results don’t always require elaborate steps.
Beyond being an incredibly delicious and satisfying snack, these bars offer a fantastic opportunity to get your children involved in the kitchen. Even without actual baking, this recipe introduces kids to basic culinary concepts, measuring ingredients, and the satisfaction of creating something from scratch. It’s one of those recipes where older children can confidently take the reins with minimal supervision, gaining a sense of independence and accomplishment. Imagine the pride in their eyes as they present a batch of these homemade treats! A huge bonus for parents is the minimal cleanup required – typically just a mixing bowl and a spatula, making it a truly stress-free activity.
Even if your little ones aren’t quite ready to manage the entire process on their own, there are plenty of age-appropriate tasks for them. Small hands love helping to pour in cups of cereal, carefully measuring out the peanut butter, or stirring the marshmallows as they magically transform and melt in the microwave. This interactive experience isn’t just about making food; it’s about fostering a love for cooking, developing fine motor skills, and creating lasting family memories. The joy of watching ingredients combine and transform into a tasty treat is an invaluable lesson for any budding young chef.

Experimenting with Cereal Choices: Beyond Puffed Rice
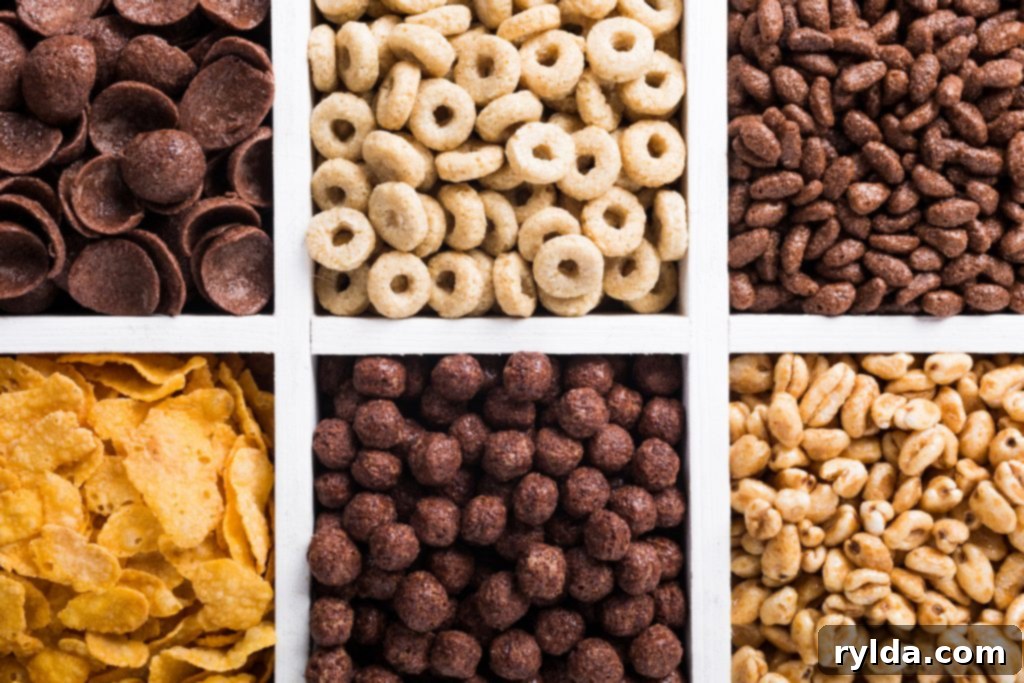
While the classic puffed rice cereal is undeniably the go-to for its light and airy texture, lending itself perfectly to these crispy treats, the versatility of this recipe encourages creative exploration with other cereal types. It’s important to remember that changing the cereal will inherently alter the taste and texture of your finished bars, often in exciting new ways! My top recommendation is to stick with other light and puffy cereals that absorb the marshmallow mixture well without becoming overly dense. Steer clear of very fibrous options like shredded wheat or heavy whole-grain cereals, as they tend to result in a tougher, less enjoyable bar.
I’ve personally ventured into several delicious variations. The cocoa version of puffed rice cereal creates a delightful chocolate-peanut butter fusion that’s reminiscent of a popular candy bar. Another successful experiment involved corn flakes, which, while offering a distinct crunch and flavor profile, were still incredibly tasty. The slightly larger flakes provide a heartier texture, and their subtle sweetness complements the peanut butter beautifully. Other excellent choices might include oat rings, small Chex-style cereals, or even a blend of different light cereals. Don’t be afraid to innovate! I would absolutely love to hear about your favorite cereal experiments and unique combinations with this easy peanut butter bar recipe. Share your discoveries in the comments below!

Peanut Butter Crispy Rice Bars
3.5 from 73 votes
12
servings
10
minutes
10
minutes
Ingredients
-
6 cups 6 Puffed rice cereal
-
1 package (10 oz) 1 Mini marshmallows
-
1/2 cup 1/2 Peanut butter, creamy
-
1/4 cup 1/4 Butter
-
1/2 teaspoon 1/2 Salt
Directions
- Grease 9 x 13 inch baking dish with softened butter or non-stick cooking spray.
- In large microwave-safe mixing bowl, combine mini marshmallows and butter. Microwave on high for 45 seconds. Stir. Repeat microwaving and stirring at 45 second intervals until butter and marshmallows are melted and combined. This usually takes 3-5 minutes, depending on wattage of microwave.
- Quickly add creamy peanut butter to melted marshmallow/butter mixture, stir to combine. Add salt, mix in thoroughly.
- Add cereal 1-2 cups at a time, stirring thoroughly until all combine.
- Pour mixture into greased baking dish, spread and press down with spatula. Cool 1-2 hours on countertop or chill 30 minutes in refrigerator before slicing and serving.
Notes
- Mini marshmallows can be substituted with 10 oz of other types of marshmallows or marshmallow creme. Mini marshmallows are recommended because they melt more evenly and quickly in the microwave.
- Creamy peanut butter is highly recommended. Additional butter or peanut butter may be required if chunky peanut butter is used.
- Salt may be omitted.
- This recipe will work with virtually any sort of puffy cereal if you would like to experiment with different flavors.
- Marshmallows and butter can be melted in a saucepan on the stove over low heat. Be sure to stir constantly.
Tips for Perfect Marshmallow Melt: Mini vs. Other Varieties
When it comes to melting marshmallows for these delightful bars, I consistently reach for mini marshmallows. Their smaller size means they melt much more quickly and, crucially, more uniformly in the microwave, ensuring a smooth, lump-free binder for your cereal. While any shape or size of marshmallow will technically work and taste just as good in the finished product, the melting process can be a bit trickier with larger ones. If you’re using larger marshmallows, you might need to extend your microwaving time slightly and stir more frequently to achieve that perfectly molten consistency.
On occasion, when I’ve had some marshmallow creme leftover from a batch of fudge, I’ve tried using it as a substitute. While it’s certainly an option, I personally find the texture it imparts to the bars to be slightly different – a bit softer and less chewy than when made with traditional marshmallows. The difference is relatively minor and probably not worth fussing over if marshmallow creme is what you happen to have on hand. However, for that classic, satisfyingly chewy bite, mini marshmallows remain my top recommendation. They simply deliver the best and most consistent results for this particular recipe.

Topping Your Bars: The Delicious Debate
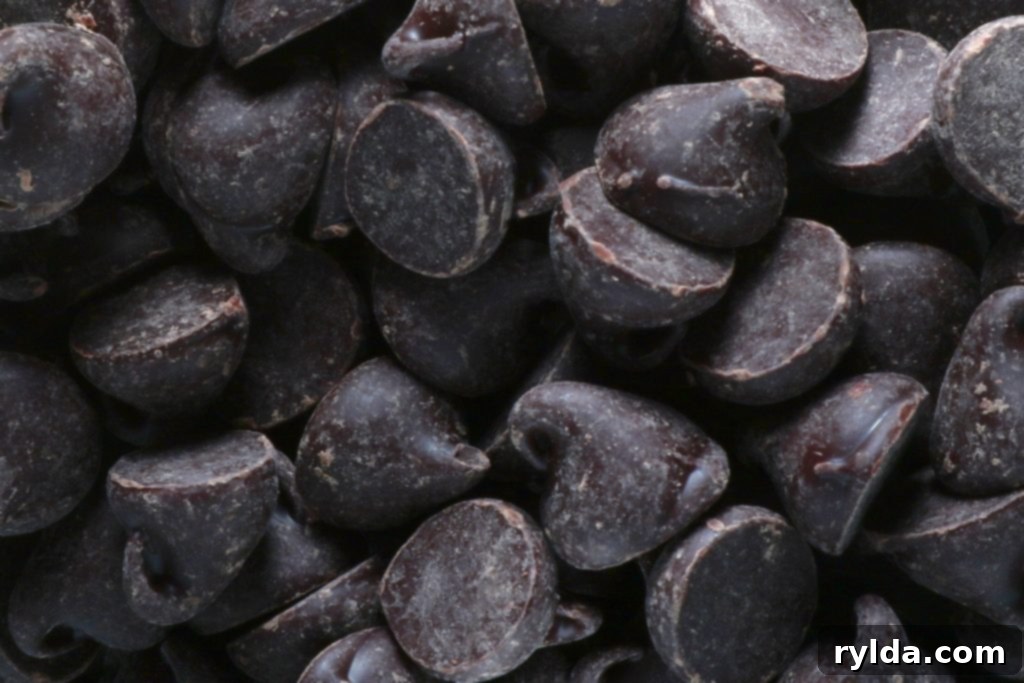
“To top your Peanut Butter Crispy Rice Bars or not to top them?” This is truly the delicious question. While these bars are absolutely delightful on their own, a luscious chocolate topping can elevate them to another level of indulgence. When I decide to add a chocolate layer, I often use semi-sweet chocolate chips, simply because they are a pantry staple in my kitchen. However, if I have baking chocolate bars on hand, those also work wonderfully and often melt into a slightly smoother, glossier finish. For a standard 9×13 inch baking dish, about 1 ½ to 2 cups of melted chocolate chips typically provide enough coverage for a generous layer. Dark chocolate, milk chocolate, or even white chocolate chips could also be used depending on your preference, each offering a unique flavor contrast to the peanut butter base.
When melting chocolate chips, especially in the microwave, a common characteristic is that the chocolate can sometimes appear a bit grainy or develop a slight chalky residue on the surface once it hardens. This is due to the stabilizers and lower cocoa butter content in chips compared to baking bars. While this might affect the aesthetics slightly, rest assured that the taste remains absolutely fantastic. To minimize this, melt chocolate chips slowly in short bursts (30 seconds at a time), stirring thoroughly between each interval, and avoid overheating. You can also add a tiny bit of coconut oil or shortening (about half a teaspoon per cup of chips) to help achieve a smoother consistency and a shinier finish. After pouring the melted chocolate over your cooled bars, you can get creative with sprinkles, a drizzle of contrasting chocolate (like white chocolate over dark), or even a sprinkle of flaky sea salt for a sophisticated touch.
Creative Customizations and Serving Suggestions
One of the many joys of these no-bake peanut butter crispy rice bars is their incredible adaptability. Beyond the suggested cereal variations and chocolate topping, there’s a whole world of customization waiting to be explored. For an extra burst of flavor and texture, consider adding mix-ins directly into the cereal mixture. Mini chocolate chips, M&Ms, chopped nuts (like peanuts or pecans), or even a handful of dried fruit can turn each bite into a delightful surprise. You could also swirl in a teaspoon of vanilla extract or a pinch of cinnamon into the marshmallow mixture for added aromatic depth.
These bars are perfect for a multitude of occasions. They make an excellent addition to school lunchboxes, a much-loved after-school snack, a quick and satisfying dessert for family dinners, or a welcome treat at potlucks and parties. For special events, consider cutting them into smaller, bite-sized squares and arranging them on a platter with other desserts. Their rich flavor and chewy-crispy texture make them universally appealing. And remember, while they are a fantastic indulgence, they are also wonderfully portionable, allowing you to enjoy a little taste of childhood whenever the craving strikes.
Troubleshooting Common Issues for Perfect Bars
While this recipe is incredibly straightforward, a few common issues can sometimes arise. Knowing how to troubleshoot them will ensure your bars are always perfect. If your bars turn out too hard, it’s usually a sign that the marshmallow mixture was cooked too long or at too high a heat, causing it to become brittle. Next time, reduce the microwaving time slightly or lower the stovetop heat. Conversely, if your bars are too soft or don’t set properly, it might mean the marshmallow mixture didn’t reach a hot enough temperature, or perhaps not enough cereal was used. Ensure your marshmallows are fully melted and thoroughly combined with the butter and peanut butter.
Another frequent concern is sticking. To prevent your bars from sticking to the pan or your hands, be generous with the greasing of your baking dish. Butter or a good non-stick cooking spray works wonders. When pressing the mixture into the pan, a spatula lightly coated with cooking spray or butter, or even your hands slightly dampened with water, will prevent the sticky marshmallow-cereal mixture from adhering. Finally, proper cooling is essential. While chilling in the refrigerator speeds up the process, letting them cool on the countertop for 1-2 hours allows them to set gently and evenly, resulting in a more consistent texture throughout. With these simple tips, you’ll be making flawless Peanut Butter Crispy Rice Bars every time!
Storage Tips and Shelf Life
Once your delectable Peanut Butter Crispy Rice Bars have cooled and been sliced, proper storage is key to maintaining their freshness and chewy-crispy texture. Store the bars in an airtight container at room temperature. This helps prevent them from drying out and becoming too hard. They will remain wonderfully fresh and delicious for about 3-4 days. While you can store them in the refrigerator, they might become a bit firmer. If you prefer them softer, let them come back to room temperature for about 15-20 minutes before serving.
For longer storage, these bars can also be frozen! Simply wrap individual bars tightly in plastic wrap, then place them in an airtight freezer-safe bag or container. They can be frozen for up to 1-2 months. When you’re ready to enjoy a frozen treat, simply remove a bar from the freezer and let it thaw at room temperature for about 30 minutes, or enjoy them slightly chilled for a different experience. This makes them a fantastic make-ahead option for busy weeks or unexpected cravings.
No matter how you choose to make or customize them, these Peanut Butter Crispy Rice Bars are a truly timeless treat. Their simplicity, speed, and undeniable deliciousness make them a perfect choice for anyone seeking a quick, satisfying, and nostalgic dessert. So gather your ingredients, enlist your little helpers, and get ready to create a batch of these irresistible no-bake wonders that are sure to bring smiles to everyone’s faces!
