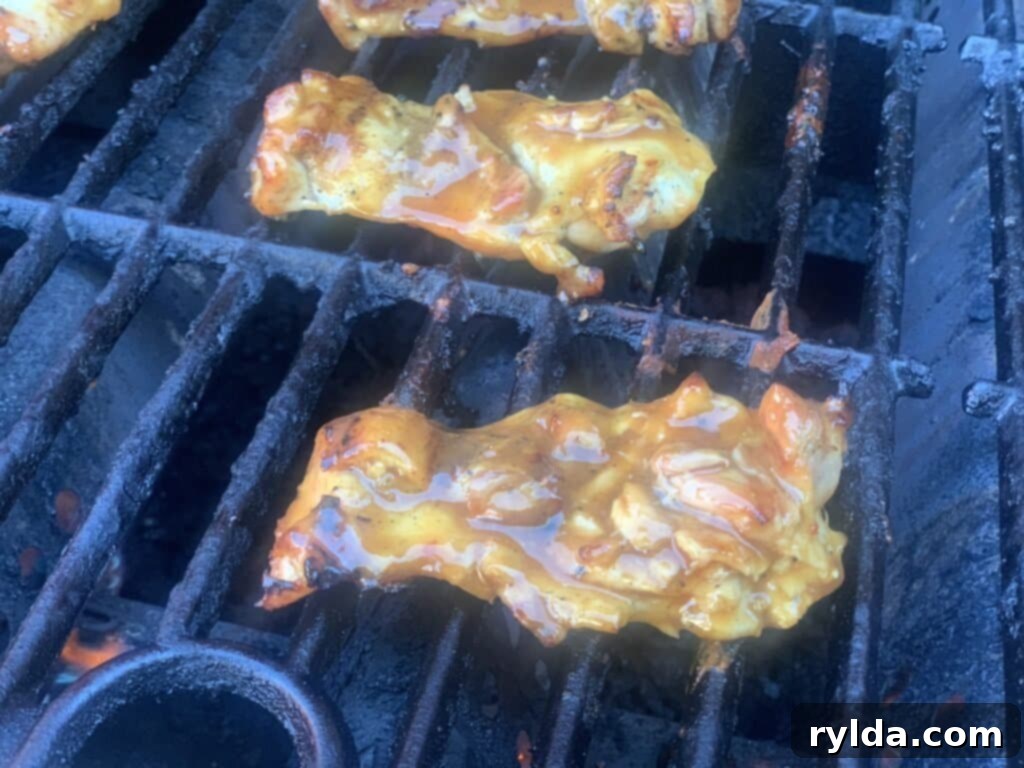
Master the Grill: How to Cook Juiciest Boneless, Skinless Chicken Thighs Every Time
There’s nothing quite like the smoky aroma and incredible flavor of perfectly grilled chicken. Recently, I had the pleasure of enjoying some of the most succulent and robustly flavored boneless, skinless grilled chicken thighs I’ve ever made, and I’m incredibly excited to share the exact methods and insights that led to such a mouthwatering result. This isn’t just a recipe; it’s a comprehensive guide filled with easy-to-follow tips and clever tricks that will elevate your grilling game, ensuring you achieve maximum juiciness and an explosion of flavor in every bite. While I cooked my chicken on a gas grill, these techniques are universally applicable, promising fantastic results no matter what type of grill you have. Prepare to become a grilling master with these simple yet effective steps.
Boneless, skinless chicken thighs are a fantastic choice for grilling. They are naturally more forgiving than chicken breasts, less prone to drying out, and packed with flavor. However, achieving that perfect balance of crispy exterior and tender, juicy interior still requires a few strategic steps. Let’s dive in and transform your next backyard barbecue into an unforgettable culinary experience!
The Foundation of Flavor: Preparing Your Chicken Thighs
Before any heat hits the grates, proper preparation of your chicken is paramount. These initial steps are quick, easy, and make a significant difference in the final taste and texture of your grilled chicken thighs.
Step 1: Trim Off Any Excess Fat for a Cleaner Grill and Better Bites
This initial step is often overlooked but plays a crucial role in the grilling process. While chicken thighs are known for their rich flavor profile due to their fat content, too much excess fat can lead to issues on the grill. Large pieces of fat can melt and drip onto the heating elements or coals, causing frustrating flare-ups that can char your chicken and impart an undesirable burnt flavor. Trimming also ensures a more uniform cooking surface, which contributes to even browning and a more pleasant eating experience.
The process is incredibly simple and takes very little time. Grab a sharp knife – a good boning knife or a sharp chef’s knife works best – and place your chicken thigh on a clean cutting board. Identify any large, dangling pieces of fat or connective tissue. Using a gentle cutting or scraping motion, carefully trim these pieces away. You don’t need to remove every single speck of fat; a thin layer can actually help keep the chicken moist and flavorful. The goal is to get rid of the excess, focusing on anything that looks stringy, overly thick, or loose. This quick trim not only improves the chicken’s texture but also reduces flare-ups on the grill, allowing for more consistent cooking and better control over the heat.
Step 2: Crafting the Perfect Flavor Profile with Seasonings and Marinades
This is where you infuse your chicken with incredible flavor. You have complete freedom here – use your favorite store-bought seasoning blend, or get creative and make your own bespoke mix. A good general rule of thumb is that anything with garlic will add a wonderful, aromatic depth to your chicken. A simple yet highly effective homemade blend includes garlic powder, smoked paprika, salt, and freshly ground black pepper. Adjust the quantities to your taste preferences, but this combination provides a fantastic base: the garlic offers pungent warmth, smoked paprika adds a beautiful color and a hint of campfire essence, and salt and pepper are fundamental flavor enhancers. Other great additions could be onion powder, a pinch of chili powder for subtle heat, or even dried herbs like oregano or thyme.
Beyond dry rubs, consider the magic of a marinade for extra tenderness and flavor. If you’re open to exploring unique flavor dimensions, marinating your chicken in beer is a game-changer. Just enough beer to cover the chicken in a bowl or a resealable bag will work wonders. The mild acidity and enzymes in the beer help to tenderize the meat, ensuring it comes off the grill exceptionally juicy, while imparting a subtle, nuanced flavor that’s truly delightful.
Choosing the Right Beer for Marinating
When it comes to beer marinades, the type of beer matters significantly. Always opt for a light beer. Think lagers, pilsners, or light ales. These beers offer the necessary acidity and enzymes without overpowering the chicken’s natural taste. Crucially, you will want to absolutely stay away from dark beers or any India Pale Ales (IPAs). I learned this the hard way: IPAs, known for their distinct hop bitterness, only become more intensely bitter as they cook down. This can easily ruin your chicken, leaving you with an unappetizingly acrid taste. Nobody wants bitter chicken!
Lighter beers, on the other hand, provide a gentle tenderizing effect and a pleasant, subtle malty note that complements the chicken beautifully. For best results, marinate the chicken for at least 30 minutes, but ideally for 2-4 hours in the refrigerator. If you’re short on time, even 15 minutes will make a difference. After marinating, simply remove the chicken from the beer, pat it dry with paper towels (this helps with browning), and then apply your dry seasoning blend. Remember, while there are rules for marinating beer, there are no rules for what you choose to drink with your chicken!
Grilling Mastery: Heat, Time, and Perfection
The actual grilling process is where all your careful preparation comes to fruition. Achieving those beautiful sear marks and a perfectly cooked interior requires attention to detail regarding heat and timing.
Step 3: Preheat Your Grill and Prepare the Grates for Non-Stick Perfection
Proper grill preparation is non-negotiable for achieving evenly cooked, beautifully seared chicken without frustrating sticking. First and foremost, thoroughly clean your grill grates. Any leftover food particles can cause sticking and transfer off-flavors to your fresh chicken. Once clean, generously oil the grates. Using an oil spray bottle is often the easiest and most effective method for even coverage. Alternatively, you can saturate a paper towel or a clean rag with a high smoke point oil (like canola, grapeseed, or avocado oil) and carefully wipe it across the hot grates using tongs. This creates a non-stick surface, ensuring your chicken releases easily and develops those coveted grill marks.
Next, it’s time to preheat your grill to a high temperature, ideally between 400-450°F (200-230°C). This high initial heat is essential for several reasons: it creates a strong sear that locks in juices, helps prevent sticking, and ensures the chicken cooks through efficiently. Close the lid once you’ve turned on the burners to allow the grill to come up to temperature quickly and maintain consistent heat. Give it at least 10-15 minutes to fully preheat. You want those grates to be sizzling hot when the chicken hits them.
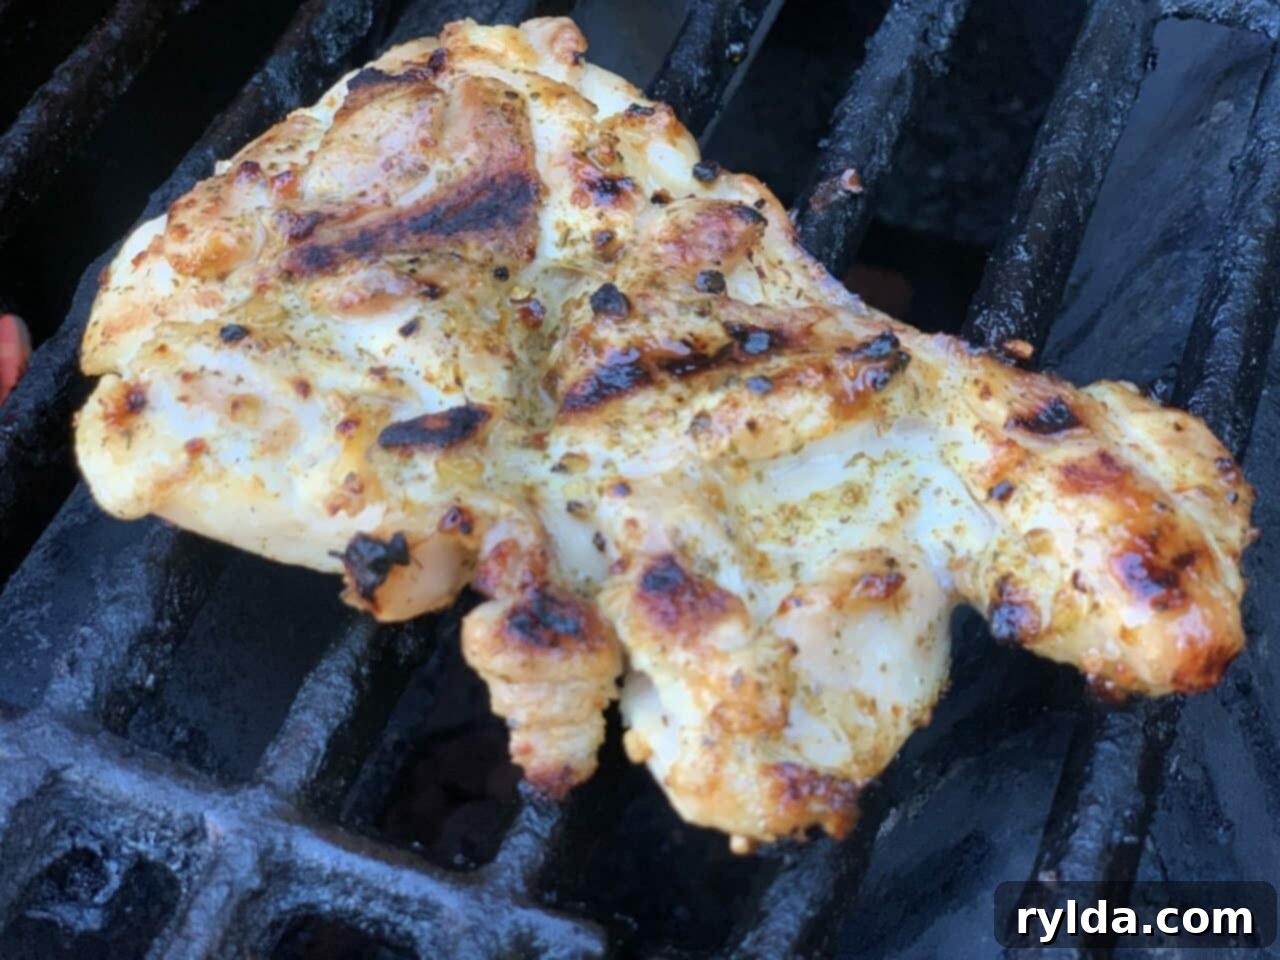
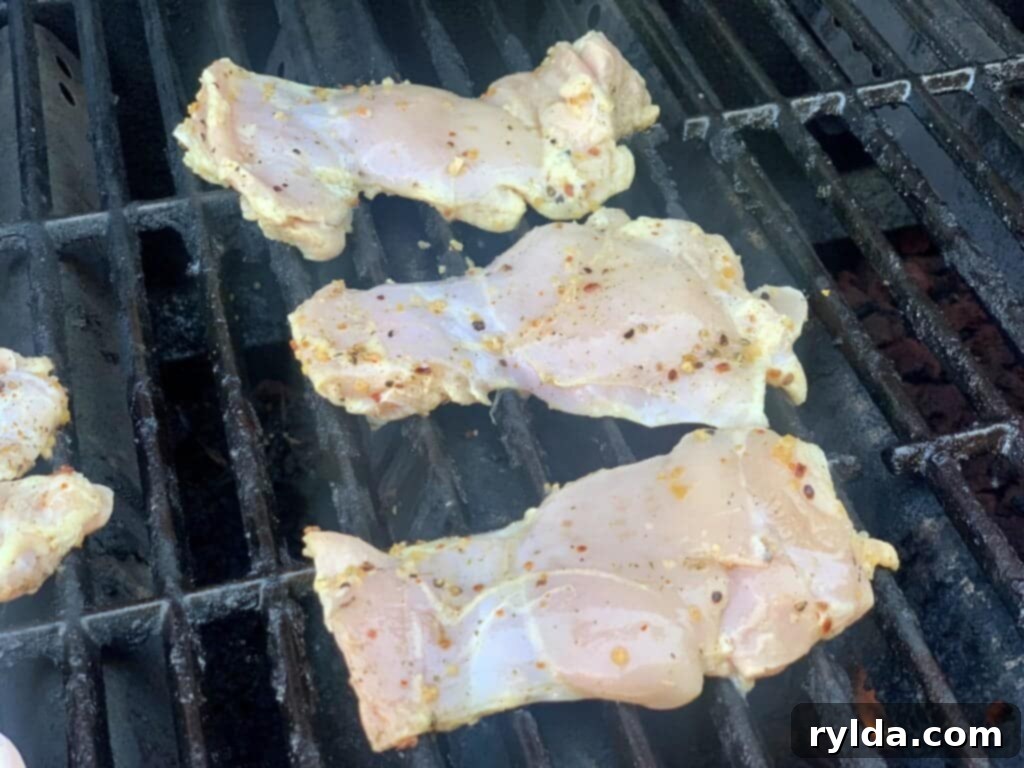
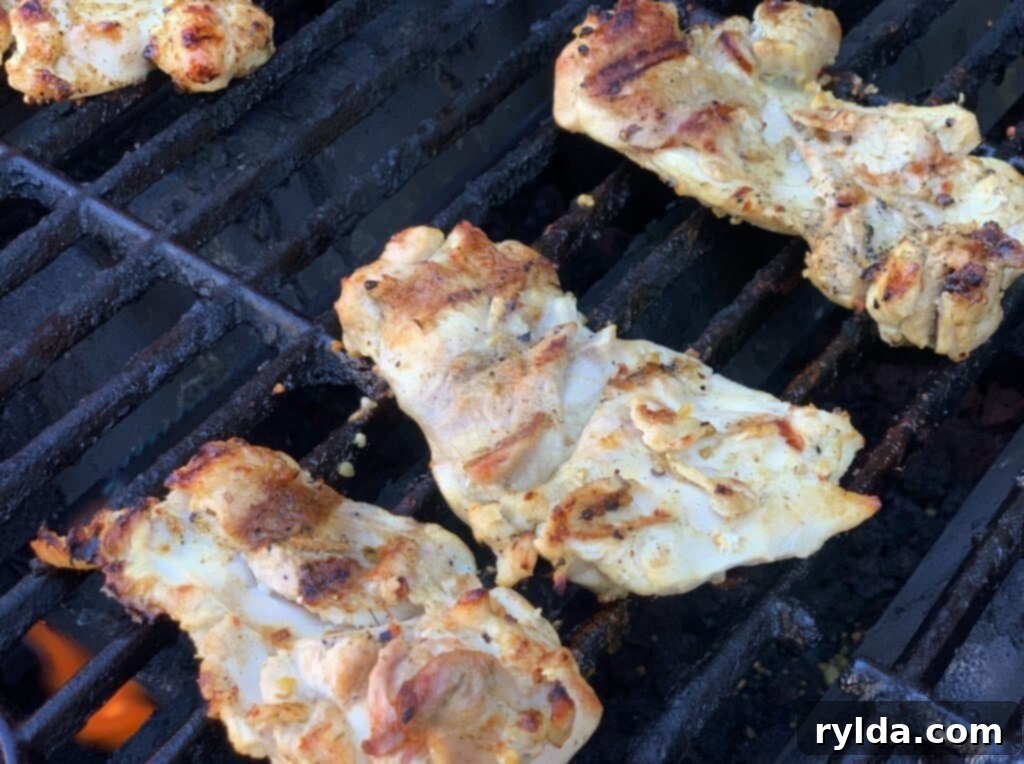
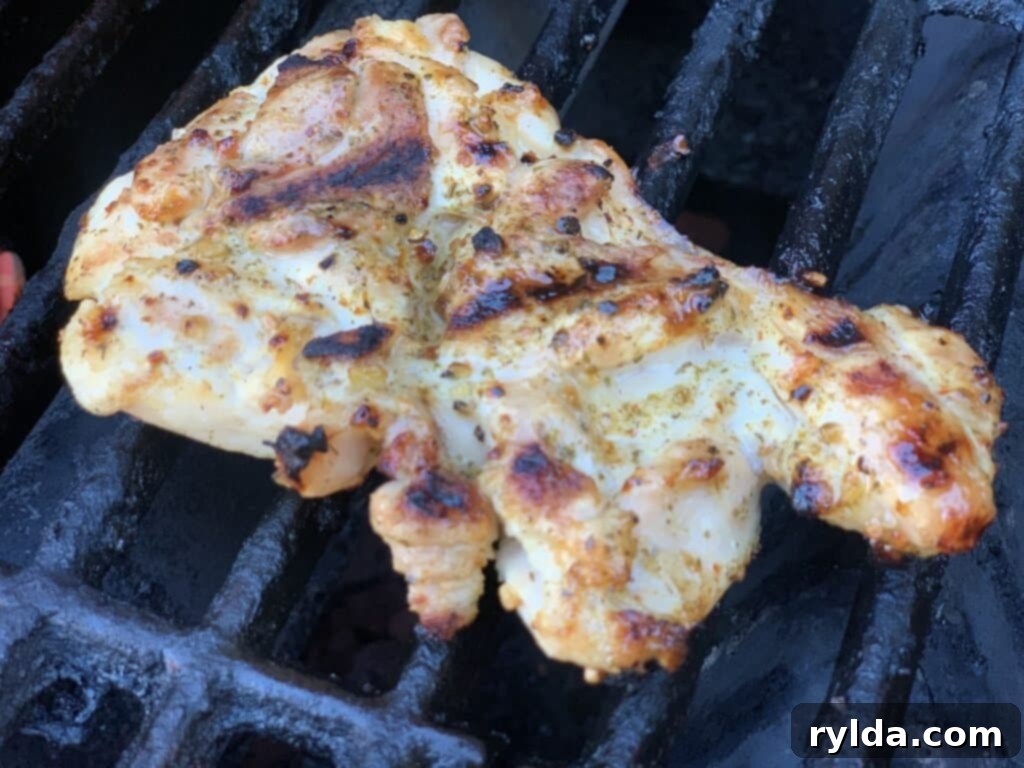
Once the grill is hot and oiled, carefully place your seasoned chicken thighs on the grates. Cook them for approximately 7-8 minutes per side. However, this is merely a guideline. The most critical aspect of grilling chicken is ensuring it reaches a safe internal temperature. For chicken, this is 165°F (74°C). Always use a reliable meat thermometer inserted into the thickest part of the thigh, making sure it doesn’t touch any bone, to confirm doneness. There should be absolutely no pink color remaining in the center.
Once the chicken reaches 165°F, remove it from the grill and allow it to rest for 5-10 minutes on a cutting board, loosely tented with foil. This “resting” period is vital; it allows the juices within the meat to redistribute, resulting in an even more tender and undeniably juicy final product. Skipping this step often leads to dry chicken, as all the delicious juices will run out when you cut into it immediately.
The Grand Finale: Sauces and Serving Suggestions
While perfectly seasoned and grilled chicken thighs are fantastic on their own, sometimes you want to add an extra layer of flavor and moisture. This is where sauces come into play, offering endless possibilities to customize your dish.
Step 4: Elevate Your Chicken with a Delicious Sauce (Optional but Recommended!)
A classic barbecue sauce is a perfect complement to grilled chicken, offering that sweet, tangy, and smoky flavor that instantly evokes nostalgic summer memories. However, there’s a crucial trick to applying barbecue sauce successfully on the grill: timing. Because most barbecue sauces contain a significant amount of sugar, they will burn very quickly if applied too early in the cooking process. This burning sugar will give your chicken a truly unpleasant, bitter, and charred flavor – a common mistake many grillers make, wondering why their chicken doesn’t taste good.
The secret is to wait until the last few minutes of grilling. Once your chicken thighs are almost cooked through and have reached an internal temperature close to 165°F, use a basting brush to generously coat both sides of each chicken thigh with your chosen barbecue sauce. Allow the sauce to cook on for just 2-3 minutes per side, or until it becomes slightly caramelized and sticky, but not burnt. This allows the sugars to beautifully glaze the chicken without charring, ensuring a delicious finish.
Homemade Barbecue Sauce for Ultimate Flavor
While many excellent store-bought barbecue sauces are available, making your own at home allows for unparalleled customization and freshness. Here’s a simple yet incredibly flavorful recipe for a classic barbecue sauce that perfectly balances sweetness, tang, and savory notes. This recipe makes approximately 6 servings, perfect for a family meal or a small gathering.
For the Barbecue Sauce:
- 1 cup ketchup (the base for classic tang and sweetness)
- 1/4 cup brown sugar (for rich, deep sweetness and caramelization)
- 2 tablespoons apple cider vinegar (adds essential tang and cuts through richness)
- 1 tablespoon Worcestershire sauce (provides umami depth and savory complexity)
- 1 tablespoon Dijon mustard (for a subtle zesty kick and emulsification)
- 2 teaspoons hickory liquid smoke (to enhance that authentic smoky grill flavor)
- 1 teaspoon garlic powder (adds an aromatic foundation)
- 1/2 teaspoon onion powder (complements the garlic with another layer of savory aroma)
- 1/4 teaspoon ground black pepper (for a hint of spice and overall balance)
Simply combine all these ingredients in a small saucepan over medium heat. Whisk well to ensure everything is thoroughly mixed. Bring the mixture to a gentle simmer, then reduce the heat to low and let it cook for about 10-15 minutes, stirring occasionally, until it thickens slightly and the flavors meld together beautifully. This homemade sauce can be made ahead of time and stored in an airtight container in the refrigerator for up to a week.
Final Tips for Serving and Enjoying Your Masterpiece
Once your chicken is perfectly grilled and sauced (if desired), and has rested, it’s ready to be the star of your meal. Grilled chicken thighs are incredibly versatile. They pair wonderfully with classic barbecue sides like coleslaw, potato salad, corn on the cob, or a fresh green salad. You can also slice them and add them to sandwiches, wraps, or even top a grain bowl for a healthy and satisfying lunch.
Remember that the key to consistently amazing grilled chicken lies in attention to detail at each stage: thoughtful trimming, thorough seasoning, strategic marinating, precise temperature control, and proper resting. By following these steps, you’ll ensure every bite is bursting with flavor and unmatched juiciness.
I genuinely hope these detailed steps and comprehensive tips empower you to make some of the most juicy, flavorful, and perfectly grilled boneless, skinless chicken thighs you’ve ever tasted. Your next time manning the grill will be a resounding success, earning you rave reviews from family and friends alike. Happy grilling!
