The Ultimate Guide to Almost-from-Scratch Red Velvet Cupcakes with Decadent Cream Cheese Frosting
There are certain treats that hold a special place in our hearts, evoking fond childhood memories and undeniable cravings. For me, that treat has always been Red Velvet Cupcakes. If you had asked me as a child what I was bringing to the bake sale, there was no doubt – it would have been these vibrant, delicious cupcakes. What first captivated me most about them was their striking, bright crimson color. I remember the thrill of helping my mom, carefully adding that bottle of red food coloring to transform a plain, unassuming batter into something so spectacularly vibrant. It felt like magic, a true spectacle unfolding right there in our kitchen.
Beyond their undeniable visual appeal, the flavor of red velvet cupcakes is what truly sets them apart and makes them so beloved. That unique, subtly chocolatey taste, combined with an incredibly moist and tender texture, is simply out of this world. And what’s a red velvet cupcake without its signature topping? The smooth, tangy, and rich cream cheese frosting perfectly complements every single bite, creating a harmonious balance of flavors and textures that is simply irresistible. This classic dessert isn’t just a feast for the eyes; it’s a symphony for the palate that leaves a lasting impression.
While the allure of homemade red velvet cupcakes is strong, the process of making them entirely from scratch can be quite time-consuming and sometimes even daunting. From sifting multiple flours to carefully balancing the precise amounts of cocoa and baking soda to achieve that perfect flavor and color, it can be a challenging task, especially if you’re not an experienced or avid baker. The stress of striving for perfection can sometimes overshadow the pure joy of baking. However, I’ve discovered a fantastic hack, a secret weapon if you will, that allows you to create these beloved cupcakes – tasting every bit homemade and utterly divine – without the full commitment of a scratch recipe. This clever method saves significant time and reduces stress, making glorious red velvet cupcakes accessible to everyone, from novice bakers to busy enthusiasts simply looking for a quicker, yet equally delicious, alternative.

Effortless Red Velvet Cupcakes (Almost-from-Scratch)
3.9 from 68 votes
24
servings
10
minutes
20
minutes
Ingredients for Your Delicious Red Velvet Cupcakes
- For the Moist Red Velvet Cupcake Batter:
-
1 (2-layer size) box chocolate cake mix (a good quality one will make a difference!)
-
1 cup buttermilk (for ultimate moisture and a tender crumb)
-
3 large eggs (at room temperature, if possible, for better emulsification)
-
1/2 cup sour cream (adds richness and a velvety texture)
-
1/2 cup vegetable oil (for a consistently moist cupcake)
-
2 teaspoons pure vanilla extract (essential for classic red velvet flavor)
-
1 1-ounce bottle red food coloring (use gel food coloring for a deeper, more vibrant hue)
- For the Tangy Cream Cheese Frosting:
-
3 cups powdered sugar, sifted (sifting prevents lumps for a smooth frosting)
-
1 teaspoon pure vanilla extract (use good quality for best flavor)
-
1 8-ounce package cream cheese (full-fat, block cream cheese for firm frosting)
Simple Steps to Bake Your Red Velvet Cupcakes
- For the Cupcakes:
- Preheat your oven to 350° F (177 °C). This ensures even baking and helps the cupcakes rise properly. Line two standard 12-cup cupcake pans with paper liners, which prevents sticking and makes cleanup a breeze.
- In a large mixing bowl, combine the wet ingredients: large eggs, sour cream, vegetable oil, buttermilk, and pure vanilla extract. Whisk them together thoroughly until the mixture is smooth and well-combined. This liquid base is crucial for achieving the cupcakes’ signature moist and tender texture.
- Gradually add the chocolate cake mix to the wet ingredients, mixing on low speed with an electric mixer until just combined. Be careful not to overmix, as this can develop the gluten too much, leading to tough cupcakes. Once the batter is smooth, stir in the entire 1-ounce bottle of red food coloring until you achieve that signature deep crimson hue. Ensure the color is evenly distributed throughout the batter for consistent results.
- Carefully fill each cupcake liner approximately 1/2 of the way full. Using an ice cream scoop can help with consistency. Overfilling can cause the cupcakes to overflow their liners and create uneven, mushroom-shaped tops. This measurement ensures perfectly domed cupcakes that are easy to frost.
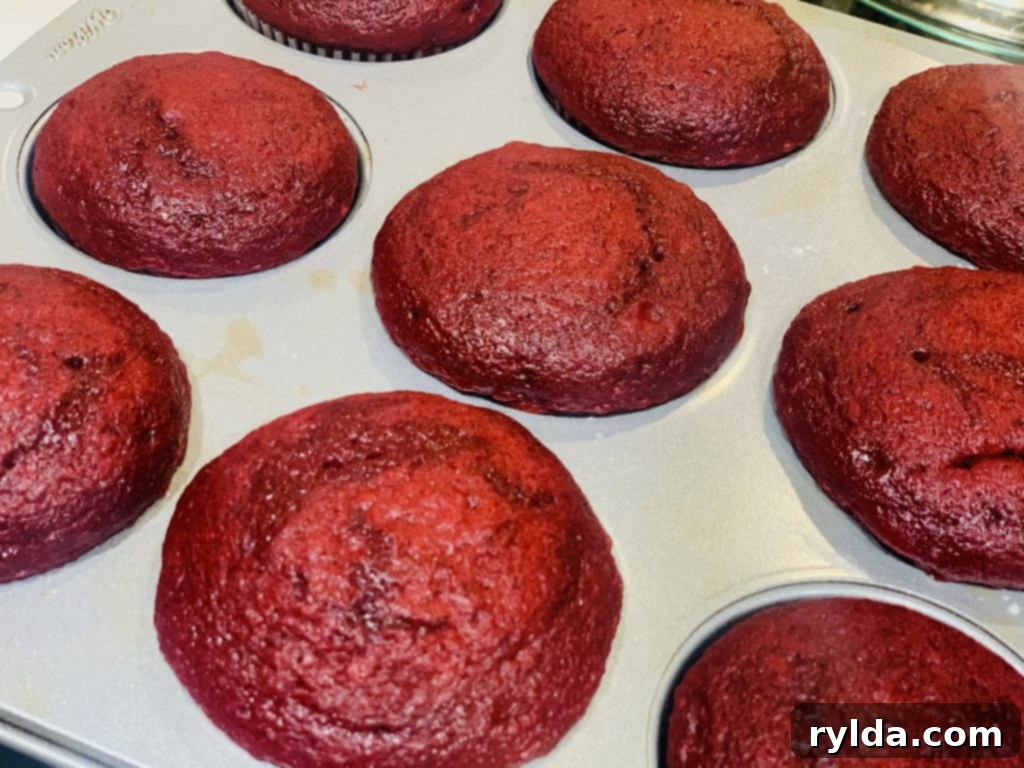
- Bake for 17-20 minutes. Baking times can vary depending on your oven’s calibration, so it’s always best to start checking for doneness around the 17-minute mark. The cupcakes are perfectly baked when a wooden toothpick inserted into the center of a cupcake comes out clean, with no wet batter clinging to it.
- Once baked, remove the cupcake pans from the oven and allow the cupcakes to cool in the pans for 5-10 minutes. This allows them to firm up slightly before handling. Then, carefully transfer them to a wire rack to cool completely. This step is absolutely crucial: allow the cupcakes to cool *entirely* before attempting to frost them. Warm cupcakes will melt the cream cheese frosting, causing it to slide right off and create a sticky mess.
- For the Creamy Dreamy Cream Cheese Frosting:
- In a medium-sized mixing bowl, using an electric mixer, beat together the softened cream cheese until it’s light, fluffy, and completely smooth, with no lumps. Gradually add the sifted powdered sugar, a cup at a time, beating until smooth and fully incorporated after each addition. Finally, stir in the pure vanilla extract. Continue to beat on medium speed until the frosting is smooth, creamy, and holds its shape beautifully. Be careful not to overbeat, as this can incorporate too much air or make the frosting too thin.
Chef’s Notes & Pro Tips for Perfect Red Velvet Cupcakes
- It is incredibly important to use full-fat, block cream cheese (like a traditional Philadelphia-style cream cheese) instead of whipped or spreadable cream cheese from a container. Block cream cheese has less water content and a denser texture, ensuring your frosting is thick, firm, and not runny – perfect for piping and holding its elegant shape.
- If you don’t have buttermilk on hand, don’t worry! You can easily make your own buttermilk substitute at home using ingredients you likely already have. To create 1 cup of homemade buttermilk, simply measure out 1 cup of regular milk (whole milk works best for richness, but any fat percentage will do) and add 1 tablespoon of either fresh lemon juice or white vinegar. Stir the mixture gently and allow it to sit undisturbed for 5 minutes. During this time, the milk will slightly curdle and thicken, creating a perfect, tangy substitute for commercial buttermilk.
- For an even more intense and authentic red color, consider using a high-quality gel food coloring instead of liquid food coloring. Gel colors are more concentrated, offering a deeper, richer red hue without adding too much liquid to the batter, which could alter its consistency.
- Ensure all your cold ingredients, especially the eggs and cream cheese, are at room temperature before you begin baking. Room temperature ingredients emulsify more easily and blend together more smoothly, resulting in a more uniform batter and frosting. This leads to a better overall texture, lift, and consistency in your finished cupcakes and a smoother, fluffier frosting.
The true genius of this recipe lies in its clever and efficient approach to achieving a homemade taste with minimal effort. When that intense craving for a red velvet cupcake hits, I desire immediate satisfaction, not a multi-hour baking marathon. This is precisely why starting with a quality box of chocolate cake mix is a brilliant shortcut. Instead of simply following the basic box instructions, we embark on a journey to transform it by building upon its reliable base with carefully selected additional ingredients. This “almost-from-scratch” method ensures you get all the delightful, complex flavors and the perfect moist textures of traditional red velvet, but without the extensive ingredient list and precise, often intimidating, measurements typically required for baking entirely from scratch. It’s truly the best of both worlds: convenience meets gourmet flavor.
One of the key elements that spectacularly elevates these cupcakes from ordinary to extraordinary is the thoughtful inclusion of buttermilk and sour cream. These dairy powerhouses are directly responsible for that signature moistness, incredibly tender crumb, and subtle tang that red velvet is famously known for. Buttermilk, with its slightly acidic nature, reacts beautifully with the leavening agents in the cake mix, contributing significantly to a lighter, softer texture. It also plays a vital role in breaking down gluten, which expertly prevents the cupcakes from becoming tough or rubbery. Sour cream, on the other hand, adds a wonderful, creamy richness and a dense, velvety quality, thereby enhancing the overall luxurious feel of each and every bite. Together, these two ingredients create an unparalleled depth of flavor and a superior, melt-in-your-mouth texture that you simply wouldn’t achieve from just adding water and oil, as many standard box mixes might suggest.
If buttermilk isn’t a common item readily available in your refrigerator, there’s absolutely no need to make a special, frantic trip to the grocery store. It’s incredibly easy, and surprisingly quick, to make your own buttermilk substitute right at home using ingredients you likely already have on hand. To prepare 1 cup of this homemade buttermilk, simply measure out 1 cup of regular milk (whole milk works best for richness, but any fat percentage will effectively do the trick) and then add 1 precise tablespoon of either fresh lemon juice or white vinegar. Give the mixture a gentle stir and then let it sit undisturbed for about 5 minutes. During this brief waiting period, you’ll observe that the milk will begin to curdle slightly and thicken – this is exactly the chemical reaction you want! Congratulations, you’ve just made your first cup of effective, tangy buttermilk, perfectly ready to work its magic in your red velvet batter. This simple yet effective trick ensures you’re never without this crucial ingredient, no matter how spontaneous your baking urges may be.
And let’s not forget the crown jewel topping: the luscious, tangy, and incredibly creamy cream cheese frosting. This simple yet utterly decadent frosting comes together beautifully with just three essential ingredients: softened cream cheese, finely sifted powdered sugar, and a touch of pure vanilla extract. The secret to a perfect, pipeable frosting is to use full-fat, block cream cheese (specifically not the whipped or spreadable kind from a tub), as its firmer consistency is absolutely essential for a frosting that holds its shape and pipes elegantly. Begin by beating the cream cheese until it’s light, fluffy, and completely smooth, ensuring no lumps remain. Then, gradually incorporate the sifted powdered sugar, adding it a cup at a time, beating until smooth and fully integrated after each addition. Finally, stir in the pure vanilla extract. Continue to beat until the frosting is smooth, creamy, and wonderfully holds its shape, being careful not to overbeat, as this can incorporate too much air or make the frosting too thin. This frosting isn’t just an accessory; it’s an integral, defining part of the red velvet experience, providing that essential creamy and tangy counterpoint to the moist cupcake base.

A crucial step in achieving picture-perfect, professional-looking cupcakes is allowing them to cool completely before applying any frosting. This cannot be stressed enough, as it is a common pitfall for many bakers! If the cupcakes are even slightly warm, the rich cream cheese frosting, with its butter and sugar content, will inevitably begin to melt and slide right off, turning your beautifully baked treats into a messy, unappetizing puddle. Patience is truly a virtue here – resist the urge to frost prematurely. Once frosted and meticulously decorated, I highly recommend placing these red velvet delights in the refrigerator for at least 30 minutes to allow the frosting to set properly and firm up. This chilling process not only helps the frosting maintain its shape but also, in my humble opinion, significantly enhances the overall flavor and texture of the cupcakes. I find that red velvet cupcakes taste absolutely divine when they are chilled, with the distinct flavors melding together beautifully and the cool frosting providing a refreshing counterpoint. If you prefer to serve your cupcakes at room temperature, simply take them out of the refrigerator an hour or two before serving, allowing them ample time to come to the desired temperature. They’ll still be fantastic, just with a slightly softer, more yielding frosting.
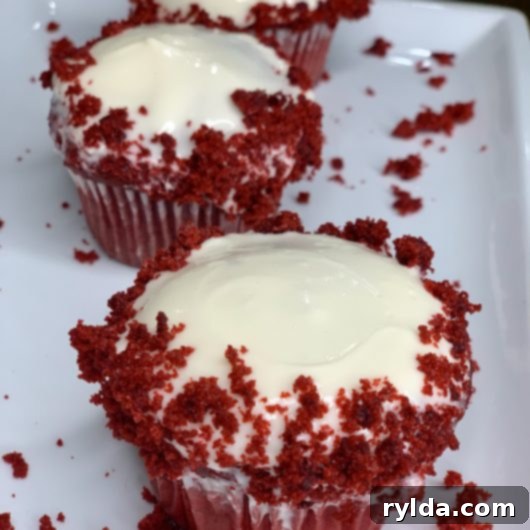
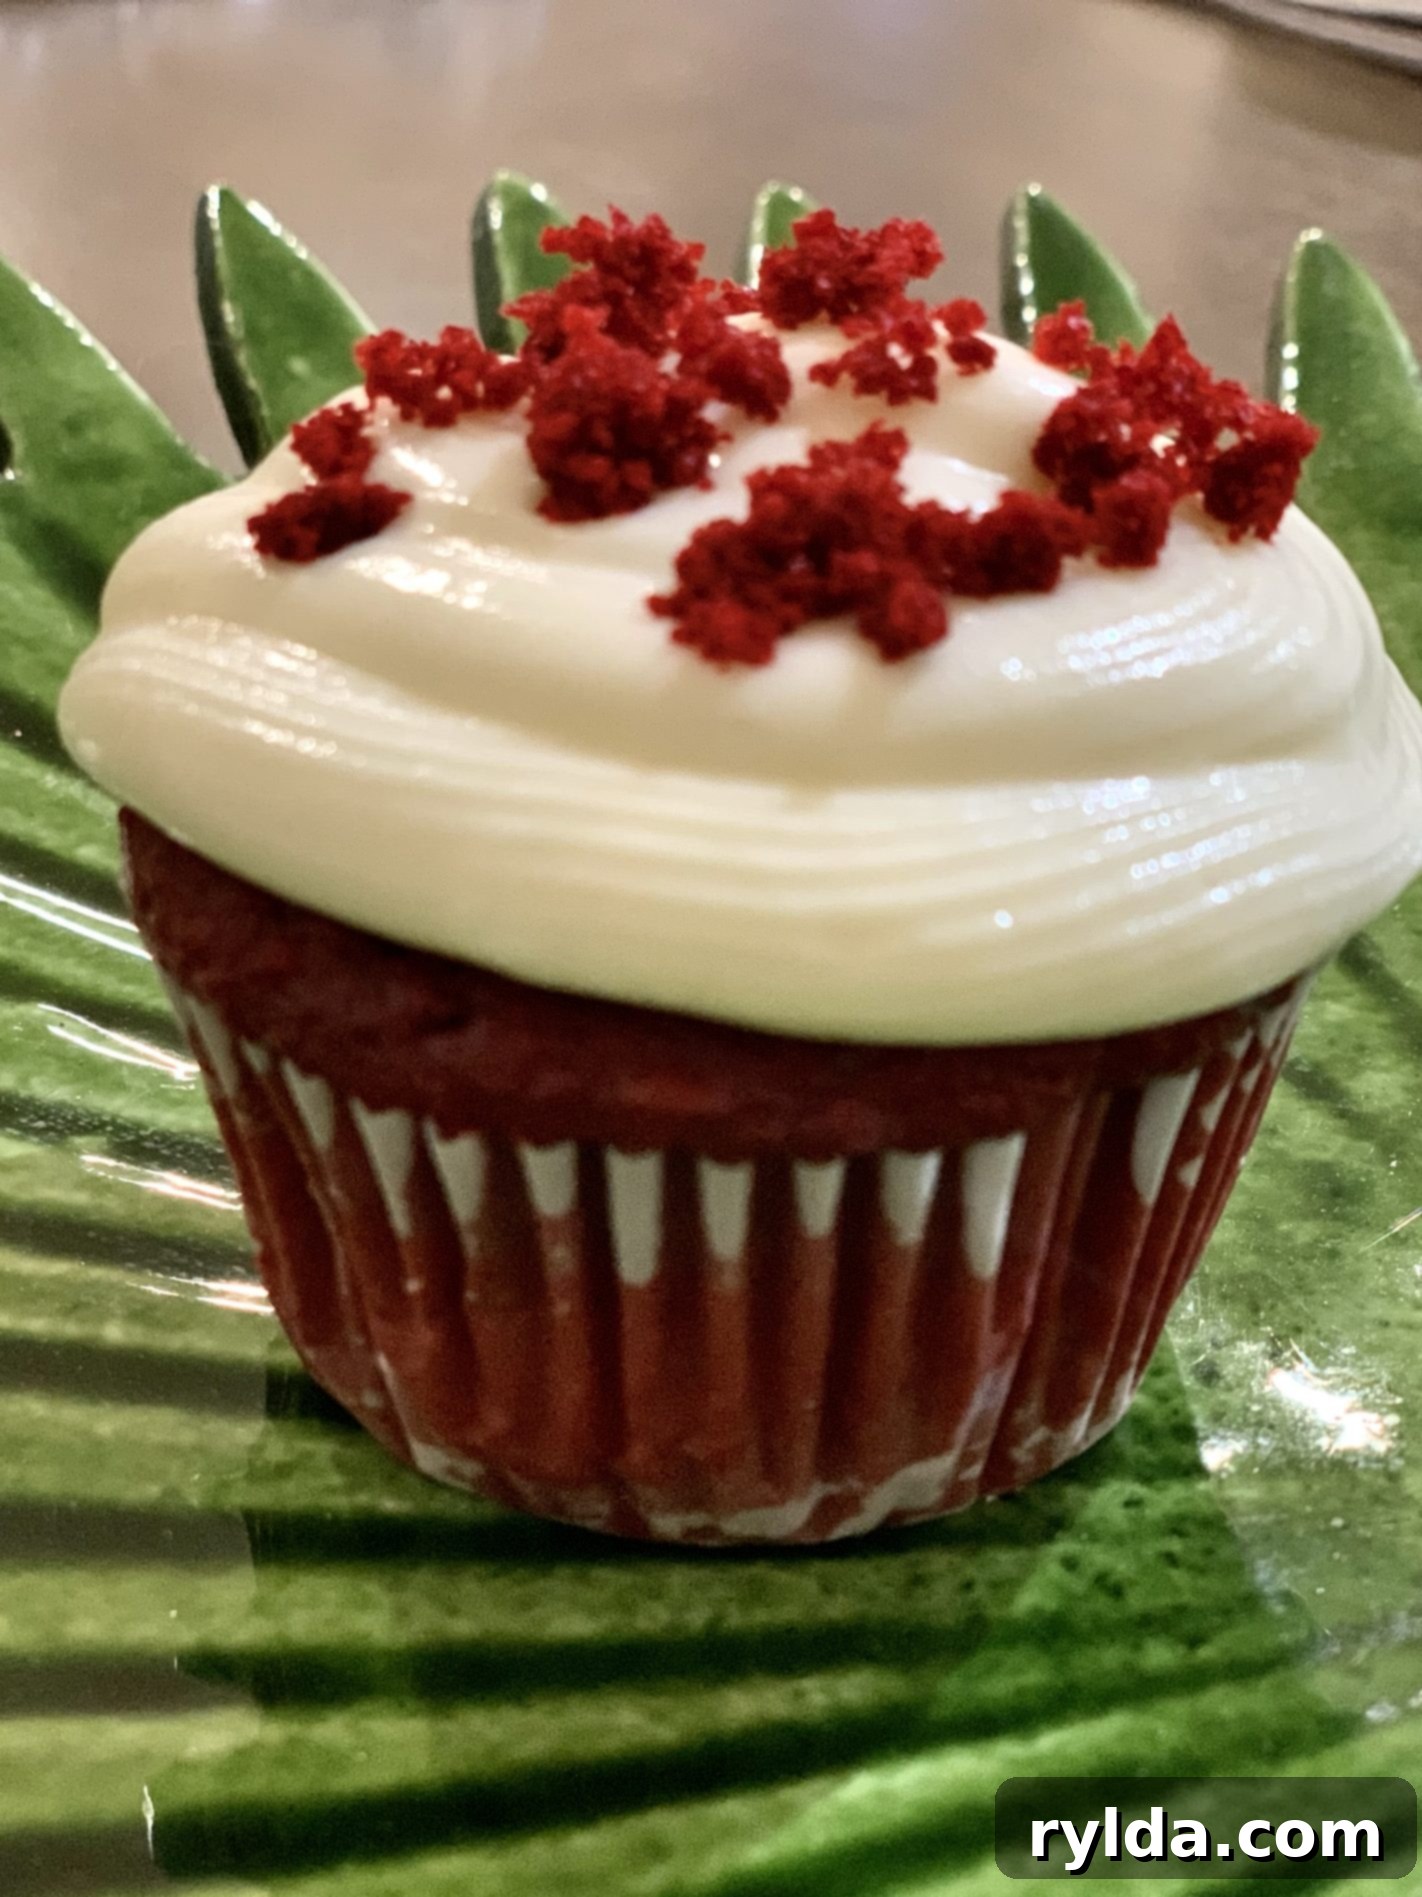
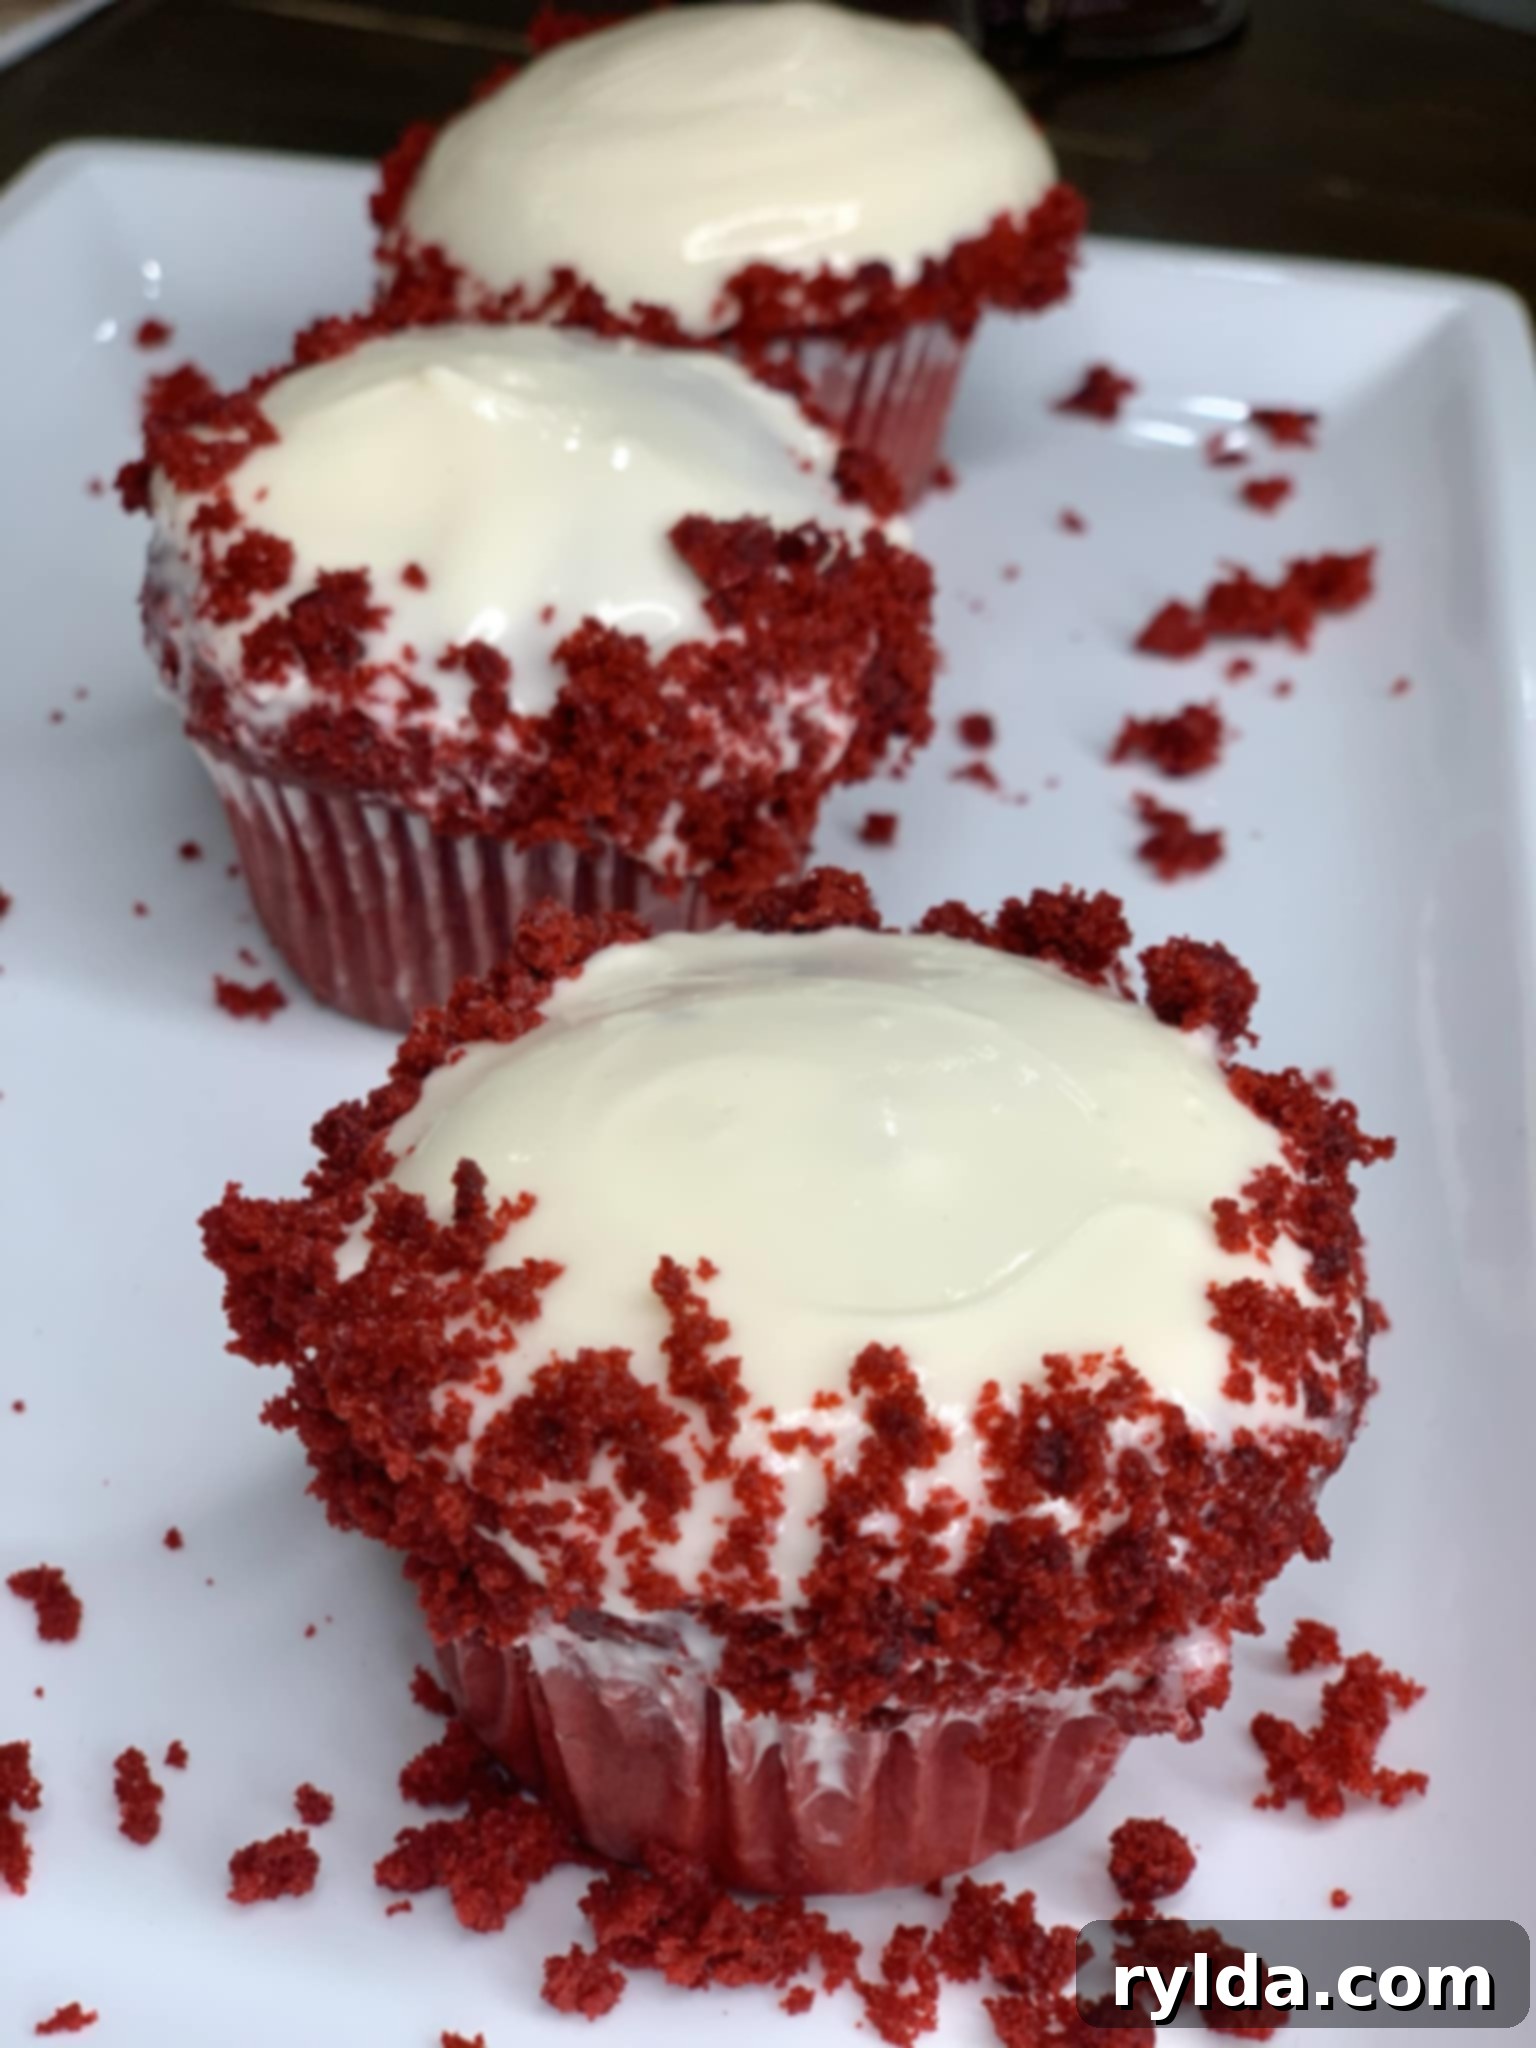
These incredibly versatile Red Velvet Cupcakes are truly perfect for any celebration, from festive holiday gatherings to joyous birthday parties, romantic Valentine’s Day treats, or even just a simple, sweet pick-me-up on a mundane Tuesday afternoon. The decorating possibilities are virtually endless, allowing you to personalize them for any occasion or theme. Sometimes, for a particularly festive touch during the Christmas season, I’ll adorn them with cheerful, shimmering holiday sprinkles. Other times, I opt for a more classic, rustic, and elegant look by creating a simple red velvet crumb topping. My favorite trick for this is to take just one of the baked cupcakes (yes, that means you’ll still have a generous 23 left to enjoy!) and meticulously crumble it up in a small bowl. Then, I lightly and artfully sprinkle these vibrant red crumbs over the frosted tops of the remaining cupcakes. It’s an almost effortless decorative touch that makes the cupcakes look incredibly professional and adds a lovely textural element, enhancing the sensory experience. This small detail truly elevates the presentation significantly, making them even more enticing and irresistible.

Another fantastic, practical aspect of these delightful cupcakes is their relatively good shelf life. Once completely frosted and stored properly in an airtight container in the refrigerator, these delectable treats will stay fresh and perfectly enjoyable for up to 72 hours (which is approximately three days). However, based on personal experience and the irresistible charm of these cupcakes, I have a strong suspicion and a good feeling that they won’t last anywhere near that long in your home! Their incredible charm, delicious flavor, and universally loved appeal tend to make them disappear much, much faster than anticipated. It’s truly a test of willpower to resist the temptation to grab just one more.
I genuinely hope you embrace this easy, yet rewarding recipe and discover the sheer joy and satisfaction of creating these “almost-from-scratch” red velvet cupcakes. May you be captivated not only by their strikingly beautiful, bright crimson color, just as I was so many years ago as a child, but more importantly, by their exquisite taste, wonderfully moist texture, and the sheer simplicity of their preparation. They represent a delightful blend of baking convenience and gourmet sophistication, perfect for satisfying your deepest sweet tooth cravings or impressing guests without the fuss and stress of a fully homemade endeavor. Happy baking, and even happier eating!
-Madison
