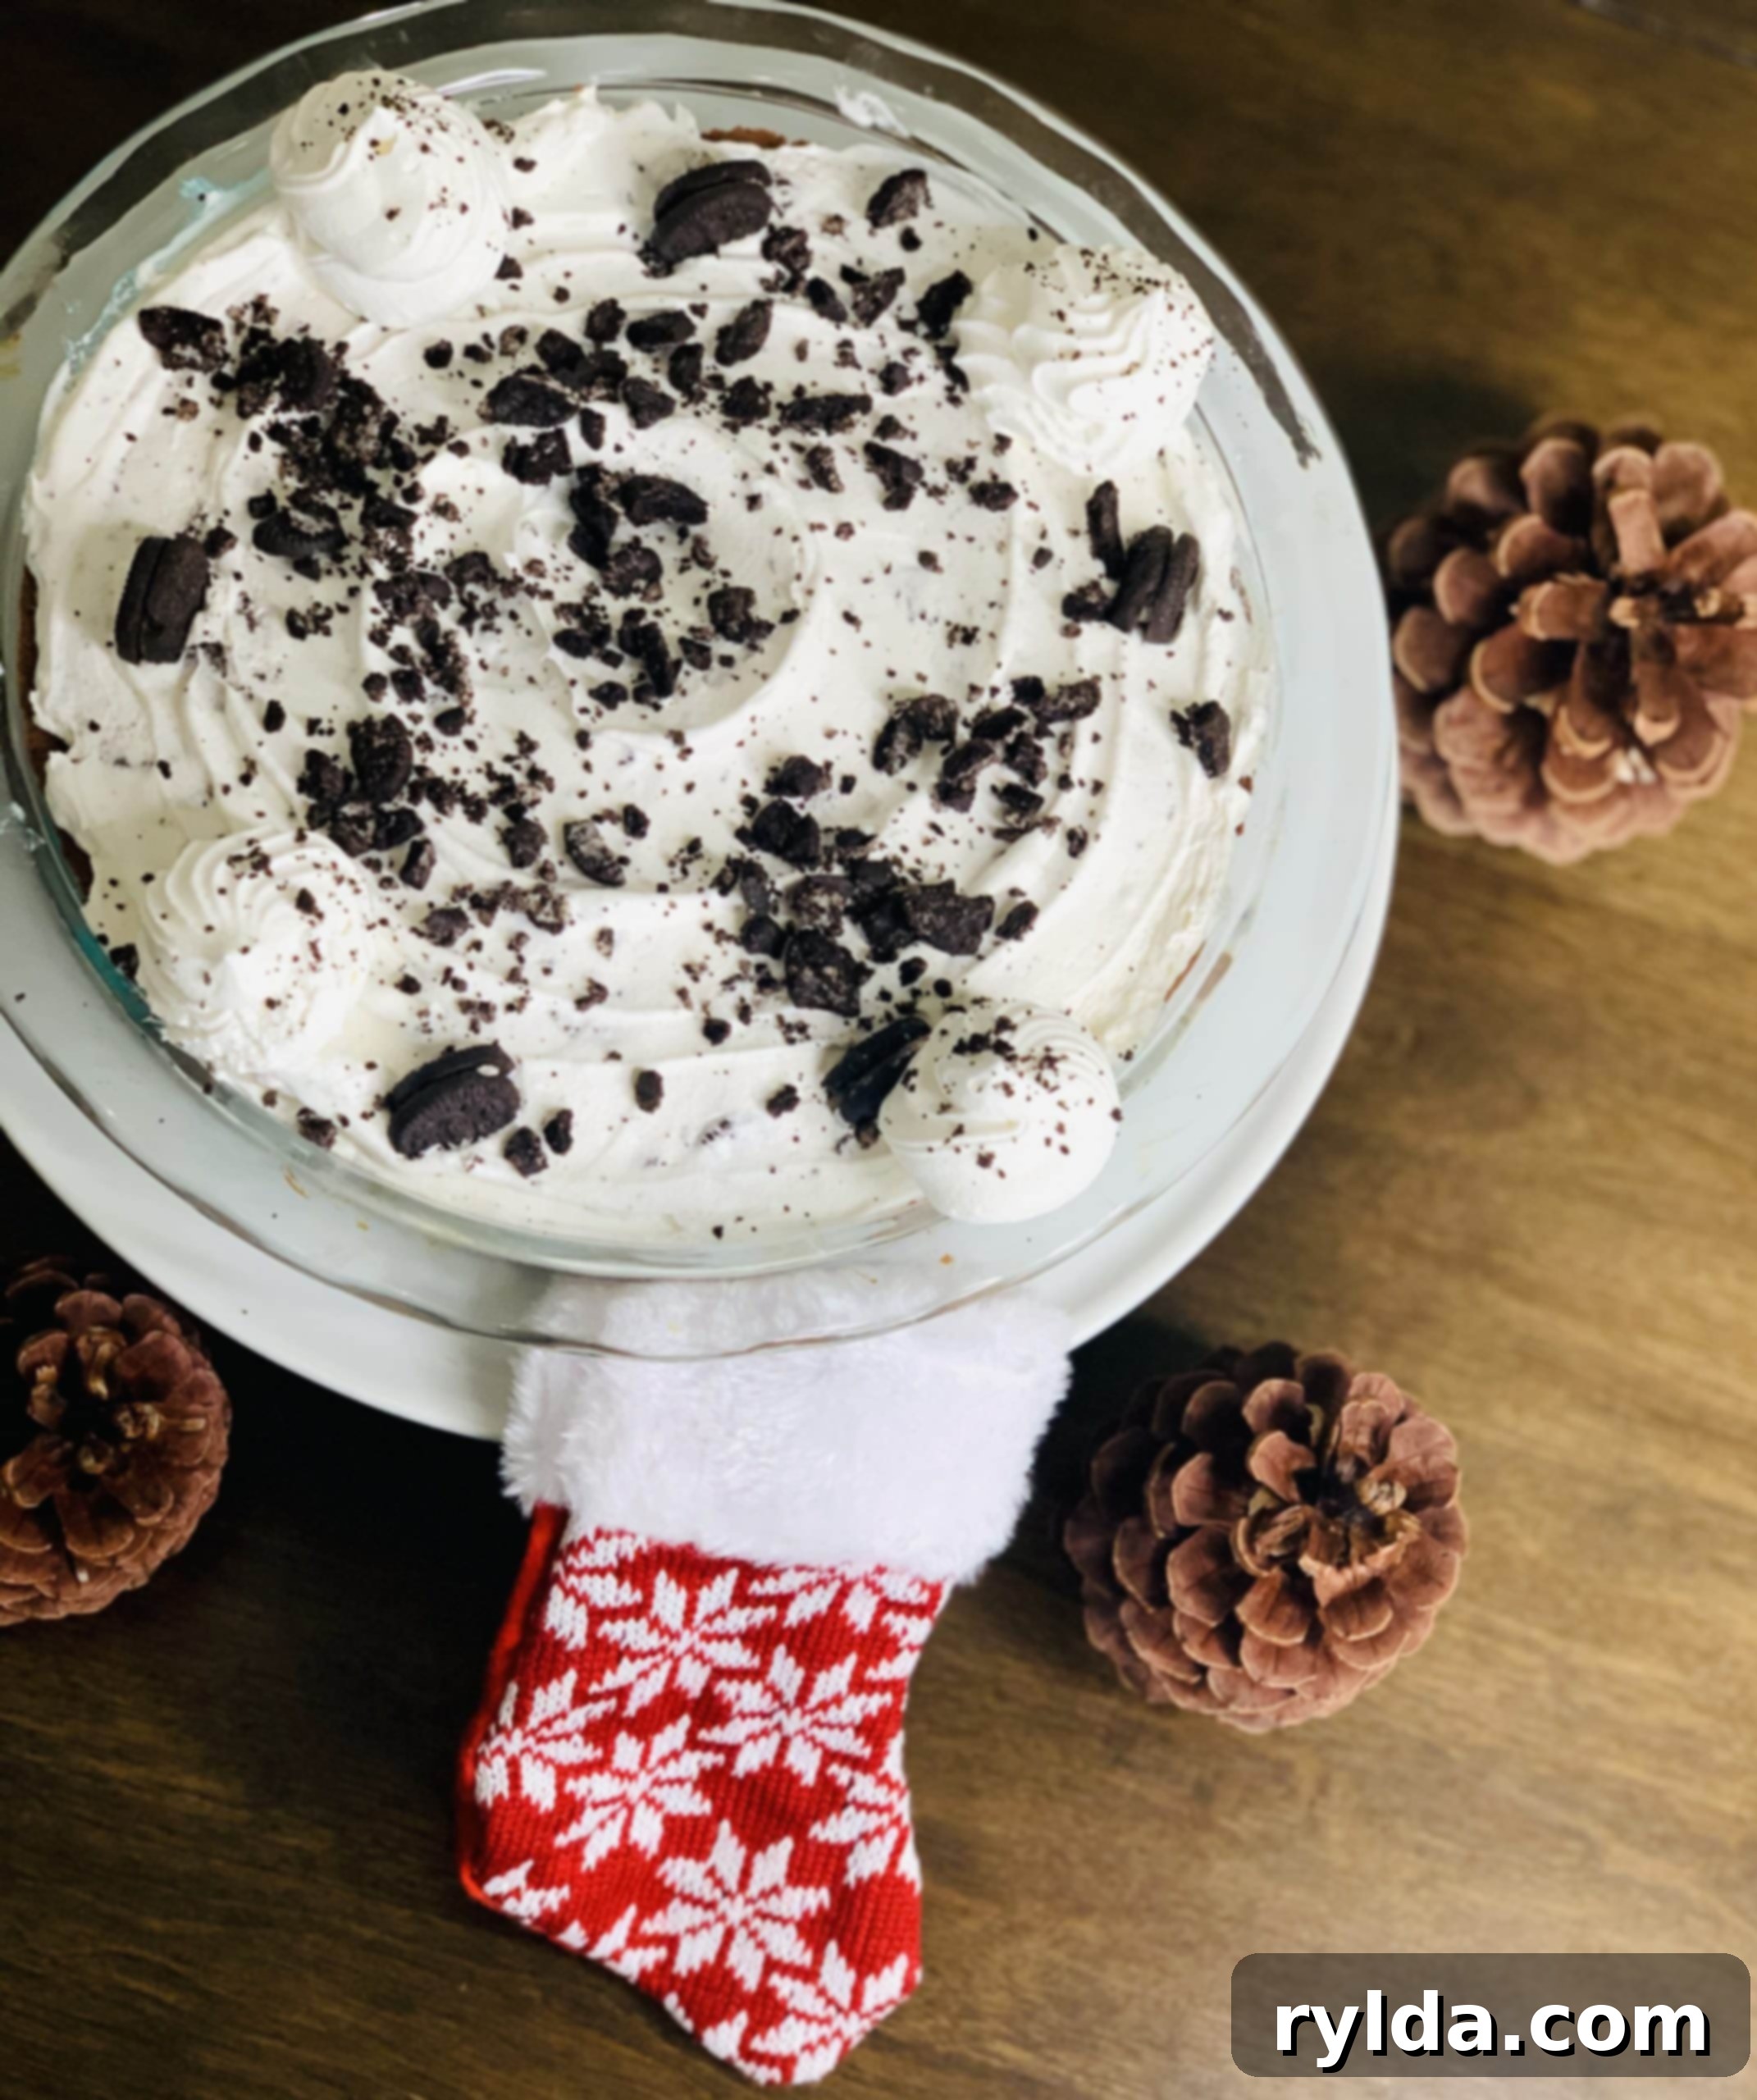
Easy No-Bake Oreo Chocolate Pie: The Ultimate Quick Dessert Recipe
There’s an undeniable magic in a no-bake dessert, especially when it features “Milk’s favorite cookie” – or, as I like to call them, “my favorite cookie!” This No-Bake Oreo Chocolate Pie recipe isn’t just easy; it’s a nostalgic trip down memory lane for me. I’ve been whipping up this delightful treat for my family since I was just 8 years old. Back then, being too young to use the stove or oven without supervision, no-bake sweets were my go-to for creating special moments and delicious surprises for my loved ones. The simplicity and satisfying results made it a beloved tradition, and it quickly became a staple in our household.
This pie truly embodies ease, requiring only a handful of readily available ingredients. While you can use any size Oreo, I’ve always had a soft spot for the mini Oreos. They add a charming aesthetic without overwhelming the delicate balance of the pie, and honestly, they’re perfect for a quick, sneaky snack while I’m assembling the dessert! The preparation is minimal, making it ideal for busy days or when you need a fantastic treat in a pinch. Plus, it only needs a mere hour of chilling time to set perfectly, meaning you’re never too far from indulging in a slice of pure chocolate-Oreo bliss.
Through years of making this recipe, I believe I’ve perfected the blend of chocolate pudding, creamy whipped topping, and crunchy Oreos to achieve a flavor profile that is truly irresistible. It strikes that perfect balance – sweet enough to satisfy any craving, yet light enough not to feel overly rich. One of the best aspects of this recipe is its flexibility; the measurements can easily be adjusted to suit your personal taste preferences, whether you prefer more chocolate, more whipped topping, or an extra generous layer of crushed Oreos. It’s a dessert that invites customization and guarantees smiles.
No-Bake Oreo Chocolate Pie
4.0 from 47 votes
6
servings
20
minutes
1
hour
This No-Bake Oreo Chocolate Pie satisfies any chocolate craving with its rich layers and delightful crunch. It’s truly the perfect fuss-free dessert!
Ingredients
- For the Crust:
-
1 (9-inch) chocolate pie shell
- For the Filling:
-
1/2 (5.9 ounce) box instant chocolate pudding mix
-
1/2 cup cold milk
-
1/2 cup whipped topping (like Cool Whip), thawed
- For the Topping & Garnish:
-
12 regular sized Oreos, crushed (or 24 mini Oreos)
-
3 regular sized Oreos, crushed to sprinkle on top (or 6 mini Oreos)
-
1/2 cup additional whipped topping
Directions
- In a medium bowl, whisk together the instant chocolate pudding mix and cold milk until smooth. Let the mixture set for 5 minutes, allowing it to thicken.
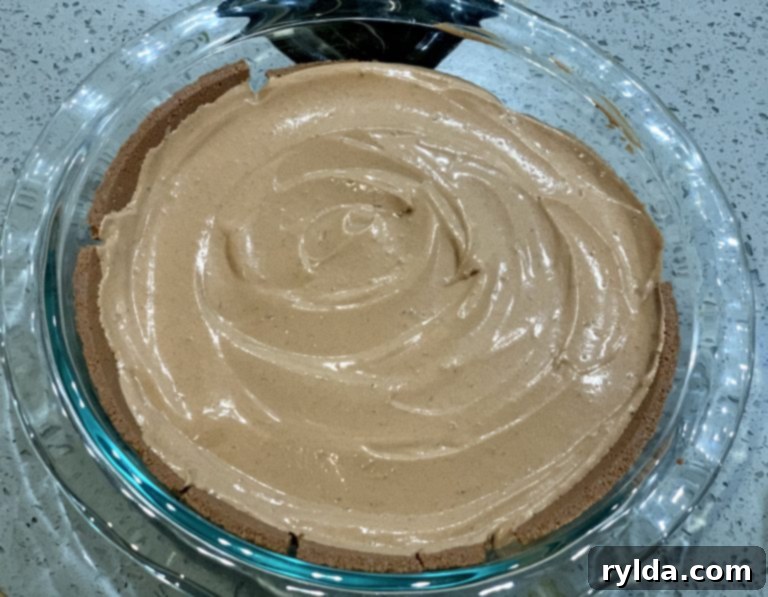
- Once the pudding has set, gently fold in ½ cup of thawed whipped topping. Mix until just combined, then spread this creamy chocolate mixture evenly into the chocolate pie shell.
-
- Place the pie in the refrigerator for 5 minutes to allow the filling to begin chilling.
- While the pie is chilling, prepare your topping. In a separate bowl, gently mix the additional ½ cup of whipped topping with the 12 (or 24 mini) crushed Oreos until well combined.
- Remove the pie from the refrigerator. Carefully spread the Oreo-whipped topping mixture over the chocolate pudding layer. For an extra touch, sprinkle the remaining 3 (or 6 mini) crushed Oreos on top for garnish.
- Return the pie to the refrigerator and chill for at least 1 hour (or until firm) before slicing and serving. This crucial step ensures the pie sets perfectly and is easy to cut.
Notes
- For a richer, more intense chocolate flavor, consider using the full 3.9-ounce box of instant chocolate pudding mix and adjusting milk amount as per package directions.
- It is important to strictly follow the chilling times for this no-bake pie to set properly and hold its shape. Don’t rush it!
- While using the foil pan is fine, I often transfer my store-bought chocolate crust into my own glass pie dish for a more elegant presentation.
- Ensure your whipped topping is completely thawed before mixing for a smooth consistency.
A Closer Look at What Makes This Pie Irresistible
What truly makes this No-Bake Oreo Chocolate Pie so outstanding is how each component perfectly complements and builds upon the other, creating a symphony of textures and flavors in every bite. Let’s delve into the details of each layer:
The Crust: The Foundation of Flavor
For the base of this decadent dessert, I rely on a pre-made 9-inch store-bought chocolate pie shell. While I admire homemade efforts, the convenience of a good quality store-bought crust for a no-bake recipe is simply unmatched, and frankly, it tastes just as fantastic! Opting for a chocolate crust is key here, as it provides an extra layer of cocoa richness that beautifully complements the chocolate filling and Oreo topping. I particularly appreciate the texture of these shells; they’re not overly hard, offer a delicate crumble with each forkful, and provide a satisfying contrast to the creamy layers.
If you’re feeling adventurous or prefer a different base, you could certainly make your own Oreo crust by crushing 20-24 Oreos and mixing them with about 1/4 cup of melted butter, then pressing the mixture into a pie dish. Alternatively, a graham cracker crust or even a vanilla wafer crust could offer interesting variations, though the chocolate crust truly shines in this particular recipe, enhancing the overall Oreo chocolate experience.
The Filling: Creamy, Dreamy Chocolate Bliss
The heart of this pie is its incredibly delightful filling. It’s designed to satisfy your sweet tooth without being overwhelmingly rich. The combination of instant chocolate pudding mix and whipped topping creates a light, airy, yet deeply flavorful chocolate experience. With each bite, you’ll notice that the chocolate pudding’s intensity is perfectly mellowed by the whipped topping, preventing it from becoming too heavy or cloyingly sweet. It’s a harmonious balance where the chocolate flavor is present and enjoyable, but not so dominant that it fatigues your taste buds.
This allows the other elements of the pie to shine through. If, however, you prefer a more pronounced chocolate flavor, feel free to slightly increase the amount of chocolate pudding mix (or use a full box as suggested in the notes) before incorporating the whipped topping and spreading it into the pie shell. The goal is a velvety smooth filling that sets beautifully in the refrigerator, providing that perfect, melt-in-your-mouth texture.
The Topping: The Grand Oreo Finale
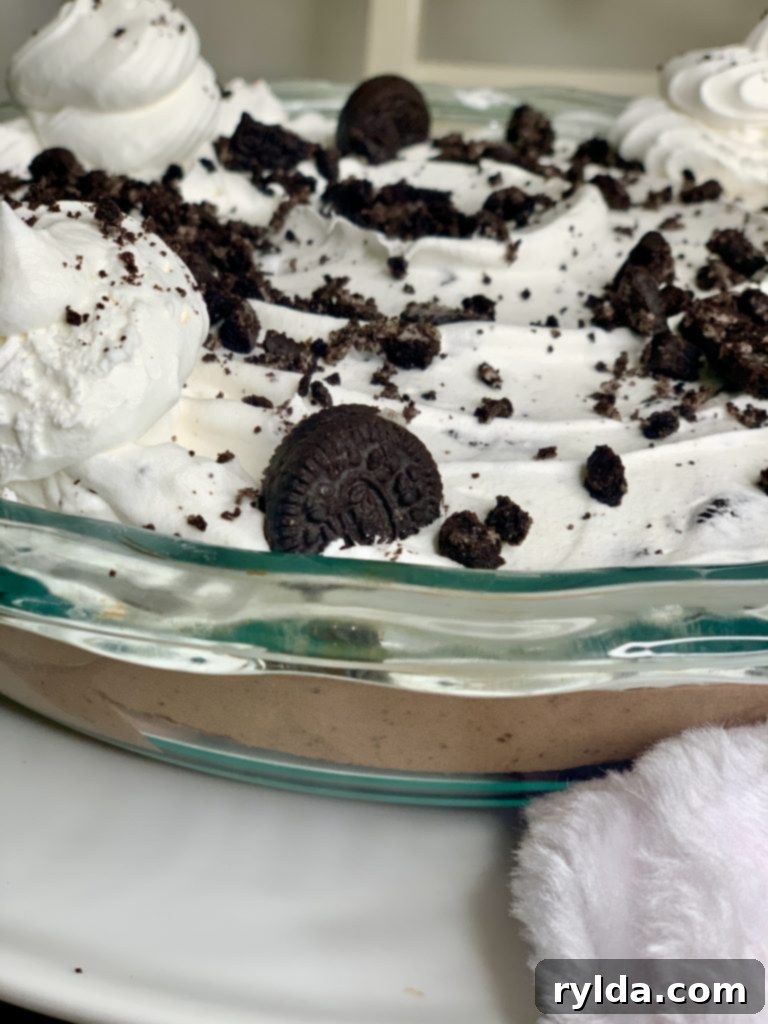
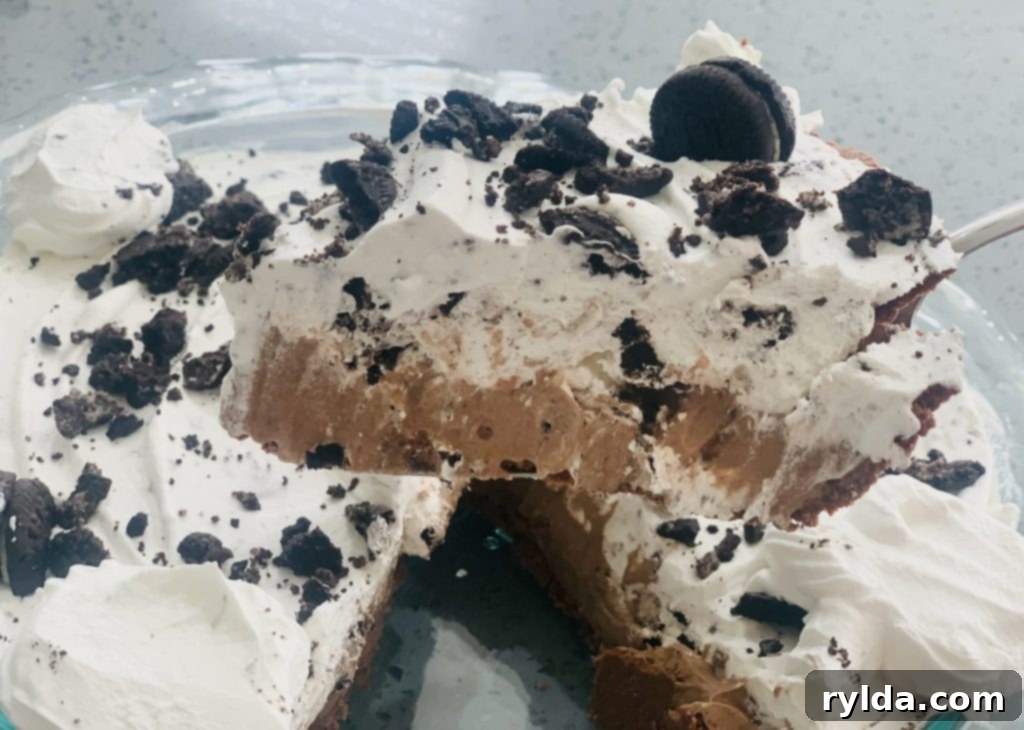
This is where the star of the show, the Oreos, truly makes its grand entrance. The main topping layer consists of a generous ½ cup of whipped topping mixed with a substantial amount of crushed Oreos. I specifically use only half of the whipped topping here, as it helps the crushed Oreos retain their distinct texture and flavor, ensuring they stand out as the star ingredient. This creates a delightful, chunky, and creamy layer that’s bursting with cookie goodness. After carefully spreading this mixture over the chocolate filling, I love to add a few whole Oreos on top. This not only gives the pie a beautiful, professional-looking finishing touch but also clearly signals the delicious Oreo content within.
If you’re feeling a bit fancy, as pictured, you can even pipe some additional plain whipped topping around the edge or in decorative swirls to elevate the presentation. This small extra step can make a big difference, especially if you’re serving the pie for a special occasion. Feel free to use mini Oreos for a finer crunch or regular-sized Oreos for more substantial chunks – both work wonderfully!
Why You’ll Love This Easy No-Bake Oreo Chocolate Pie
This No-Bake Oreo Chocolate Pie isn’t just another dessert; it’s a testament to the joy of simple, delicious food. Here are a few reasons why this recipe is sure to become a beloved favorite in your home:
- Effortless Preparation: The “no-bake” aspect means you don’t need to turn on your oven, making it perfect for hot summer days or when you simply want to minimize kitchen time. It’s a stress-free dessert that anyone can master.
- Kid-Friendly & Fun: Since it requires no baking, this recipe is fantastic for getting children involved in the kitchen. They can help with whisking, spreading, and crushing Oreos, fostering a love for cooking (and eating!).
- Crowd-Pleasing Flavors: The combination of rich chocolate and classic Oreos is a universally loved duo. This pie is a guaranteed hit at potlucks, family gatherings, birthday parties, or just as a delightful weeknight treat.
- Quick Gratification: With only 20 minutes of prep and an hour of chilling, you can go from craving to indulging in record time. It’s ideal for those last-minute dessert needs.
- Versatile & Customizable: As mentioned, this recipe is a great canvas for creativity. Adjust the sweetness, experiment with different Oreo flavors, or add your favorite mix-ins to make it uniquely yours.
Pro Tips for No-Bake Pie Perfection
To ensure your No-Bake Oreo Chocolate Pie turns out perfectly every single time, keep these expert tips in mind:
- Chill Time is Crucial: Do not cut short the chilling time. The 1-hour refrigeration period allows the pudding and whipped topping layers to set properly, ensuring a firm, sliceable pie that holds its shape beautifully. If rushed, it might be too soft.
- Cold Milk for Pudding: Always use cold milk when mixing instant pudding. This helps the pudding set quickly and achieve the desired firm consistency.
- Thaw Whipped Topping Completely: Ensure your frozen whipped topping (like Cool Whip) is fully thawed before incorporating it into the pudding or mixing with Oreos. This prevents lumps and ensures a smooth, even texture.
- Crushing Oreos: For perfectly crushed Oreos, you can use a food processor for a fine crumb. If you don’t have one, place Oreos in a sturdy zip-top bag and crush them with a rolling pin or the bottom of a heavy glass.
- Clean Slices: For those picture-perfect slices, wipe your knife clean with a damp cloth after each cut. This prevents the layers from sticking and smudging.
- Storage: Store any leftover pie loosely covered in the refrigerator for up to 3-4 days. While it’s best enjoyed fresh, it maintains its deliciousness for a few days.
Make It Your Own: Fun Variations and Customizations
While this classic No-Bake Oreo Chocolate Pie recipe is perfect as is, it also lends itself beautifully to creative variations. Don’t be afraid to experiment and personalize your pie!
- Oreo Flavor Exploration: Instead of classic Oreos, try using other exciting flavors like Mint Oreos for a refreshing twist, Peanut Butter Oreos for a nutty kick, or even Golden Oreos for a vanilla-based treat.
- Pudding Power: Swap out the chocolate pudding for other instant pudding flavors like vanilla, butterscotch, or even cheesecake pudding to completely change the pie’s character.
- Add-Ins Galore: Fold mini chocolate chips, chopped nuts (pecans or walnuts work well), or even a swirl of caramel or hot fudge sauce into the chocolate pudding layer before spreading it into the crust.
- Decadent Drizzles: Before serving, drizzle your slices with extra chocolate syrup, caramel sauce, or a sprinkle of flaky sea salt for a gourmet touch.
- Seasonal Sprinkles: Add festive sprinkles or colored candies to the top for holiday-themed pies. Green and red for Christmas, pastels for Easter, or orange and black for Halloween!
- Fruit & Freshness: While less traditional, a layer of sliced strawberries or raspberries could add a nice tart contrast, especially if layered beneath the Oreo topping.
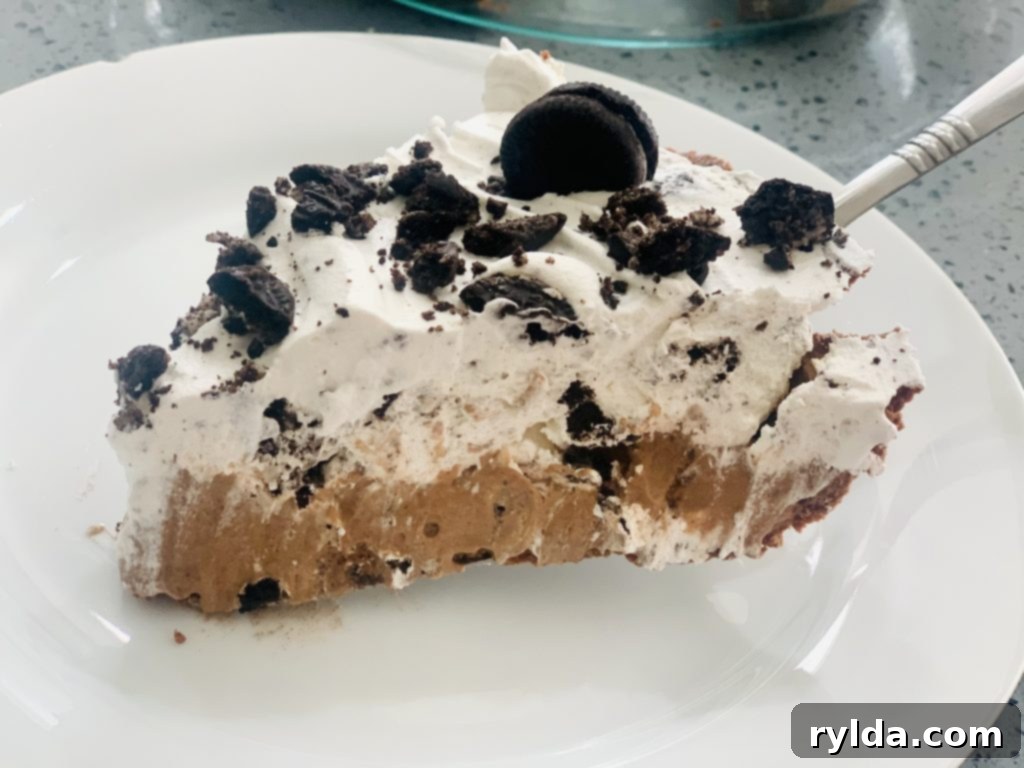
Finally, after patiently allowing this magnificent pie to chill in the refrigerator for the recommended hour, it emerges perfectly set and ready to be sliced into. I always marvel at how beautifully this pie cuts, revealing its distinct layers of chocolate crust, creamy pudding, and crunchy Oreo topping. For the cleanest presentation, I recommend wiping your knife with a damp cloth between each slice – it makes all the difference! This rich, yet balanced, dessert pairs wonderfully with a cold glass of milk, making it the quintessential comforting treat.
I genuinely hope this unique and incredibly simple recipe brings as much joy to your family and friends as it has brought to mine over the years. It’s more than just a dessert; it’s a quick ticket to happiness, perfect for any occasion or just because. Make this No-Bake Oreo Chocolate Pie one of your go-to desserts, and prepare for rave reviews!
Enjoy your pie!
-Madison
