Irresistibly Fudgy Chocolate Crinkle Cookies: The Ultimate Guide to Perfect Holiday Baking
For every chocolate enthusiast, there are few treats as satisfying and visually stunning as **Chocolate Crinkle Cookies**. These delightful cookies promise to banish even your most intense chocolate cravings with their rich, fudgy interior and beautiful crackled exterior. As the holiday season approaches, a tray of these vibrant, snow-dusted cookies isn’t just a dessert; it’s a statement. Their distinctive white cracks against a deep chocolate base make them stand out on any festive spread, capturing eyes and taste buds alike. This comprehensive guide will walk you through the secrets to achieving perfect crinkles, fudgy texture, and an unforgettable flavor that will make these your go-to chocolate crinkle cookie recipe.
Mastering the Dough: From Runny to Ready
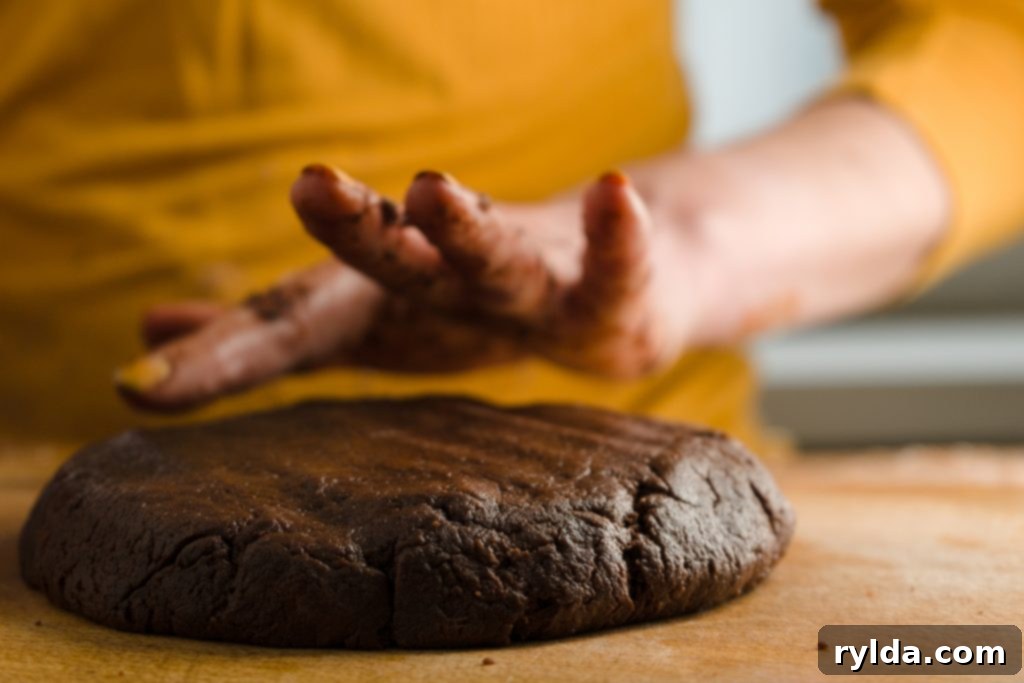
One of the most common questions about **Chocolate Crinkle Cookies** involves their initial dough consistency. Don’t be alarmed if your freshly mixed dough seems unusually runny for a cookie. This is perfectly normal and a crucial part of the process. The magic happens during the chilling phase. Once the dough has had ample time to chill in the refrigerator, it transforms into a much thicker, more manageable, and truly dough-like texture. This chilling isn’t just for texture; it allows the fats to solidify, preventing the cookies from spreading too much in the oven and ensuring those iconic, deep crinkles.
Working with the chilled dough can still be a bit sticky, but there’s an easy trick to overcome this: wet hands. Before you begin rolling, lightly moisten your hands with water. This simple step creates a barrier, preventing the dough from adhering excessively to your skin. When it comes to coating the dough balls in confectioner’s sugar (also known as powdered sugar), I prefer using my fingers for a hands-on approach that allows for precise coating. However, if you find it too messy or prefer a cleaner method, a pair of non-stick tongs can be a fantastic helper, allowing you to roll the balls without direct contact. For the best results – a vibrant, stark white crinkle after baking – don’t just give the balls a quick dip. Aim for several thorough rolls through the powdered sugar. I find it beneficial to let the initial coat of sugar absorb into the dough for a moment before giving it a second, generous roll. This double-coating technique helps create a thicker, more resilient layer of sugar that stands up to the heat of the oven, resulting in those beautiful, prominent white cracks.

Optimal Spacing and The Parchment Paper Advantage
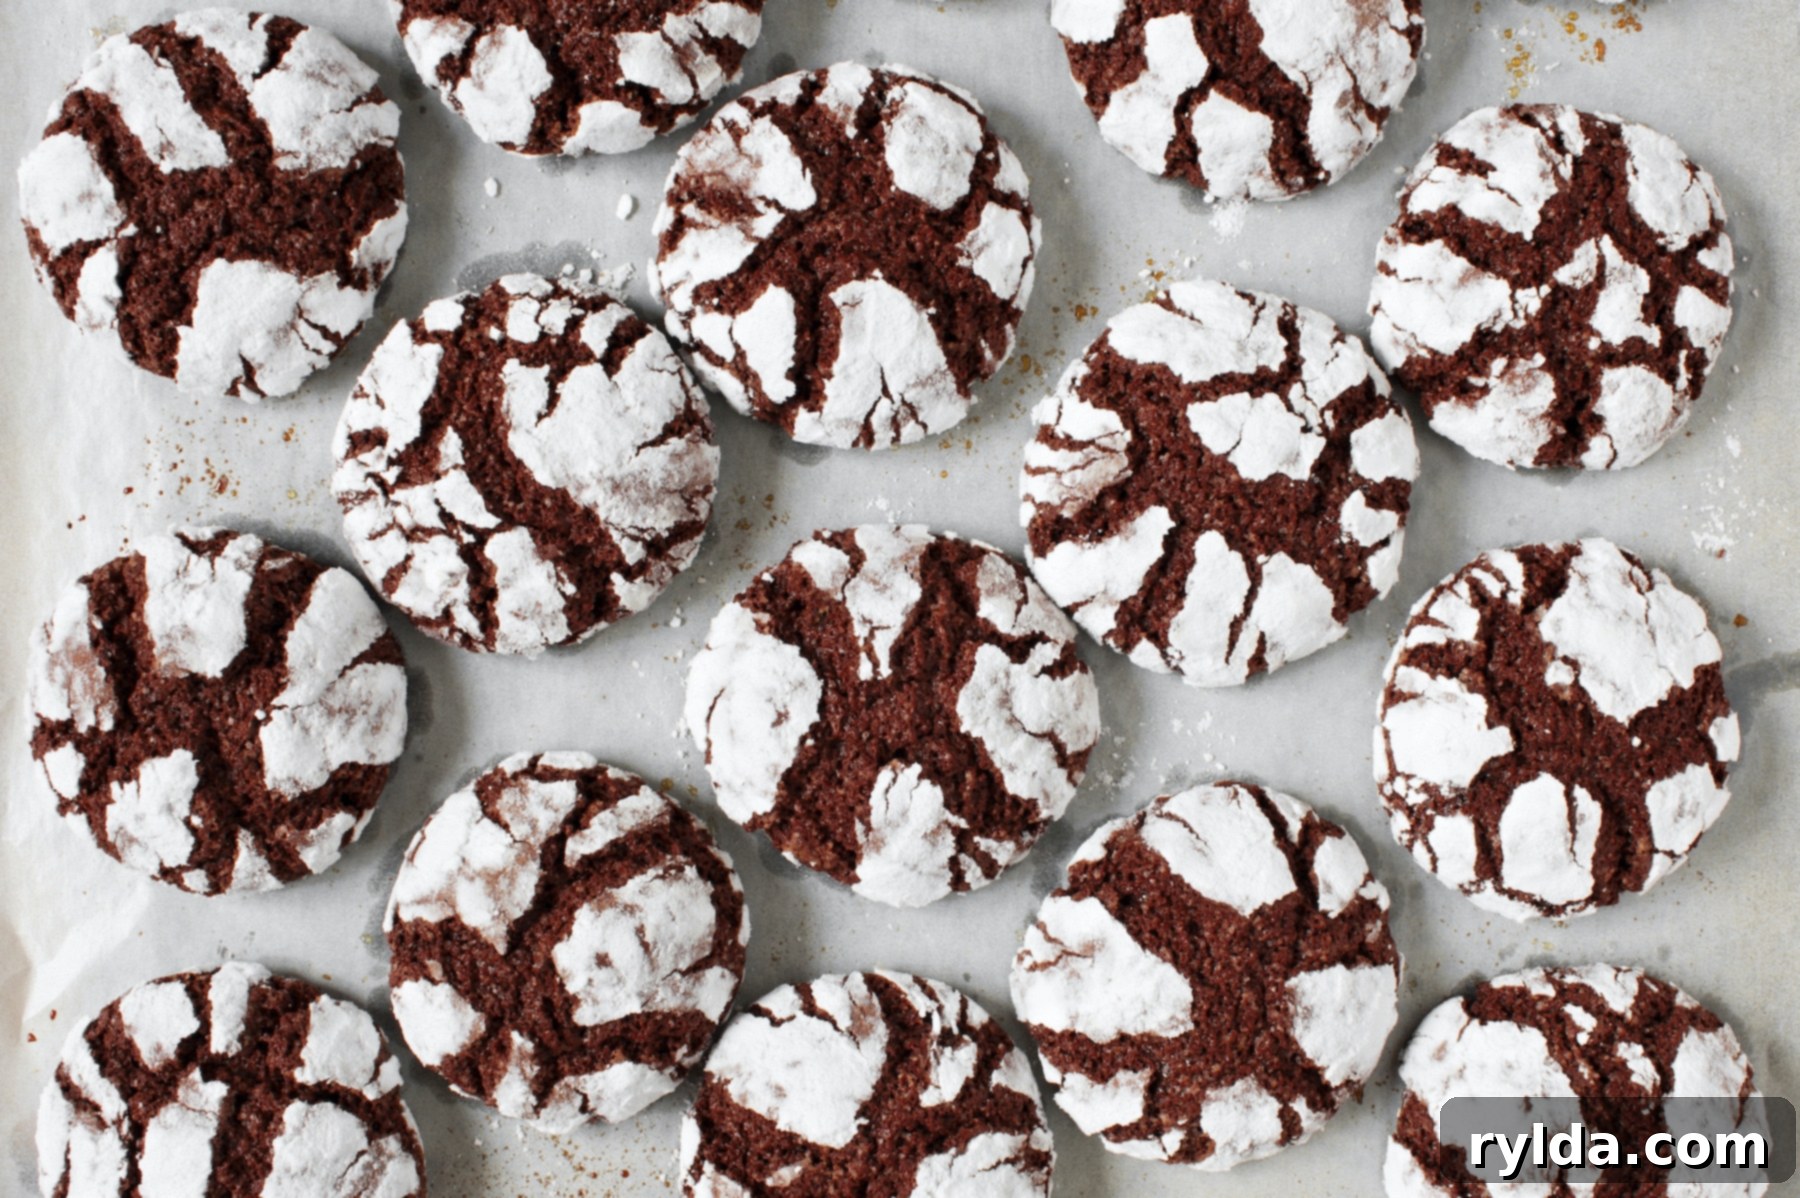
Proper spacing is key to baking uniform and perfectly crinkled cookies. When placing your sugar-coated dough balls on the cookie sheet, it’s easy to underestimate how much they will spread during baking. While they start as compact balls, the heat of the oven will cause them to expand significantly. To prevent them from merging into one giant cookie, I highly recommend spacing the balls approximately 1 1/2 to 2 inches apart. If you opt for larger than teaspoon-sized dough balls, consider giving them even more room. Baking in batches, usually a dozen at a time, is an effective way to manage spacing and ensure even heat distribution in your oven until all the dough is used up.
The choice of baking sheet lining also plays a crucial role in the success of these **fudgy chocolate cookies**. For this recipe, parchment paper truly is the best option. It provides a non-stick surface that ensures the confectioner’s sugar doesn’t melt and stick to the pan, allowing your cookies to lift off effortlessly once baked. The result is a clean, appealing finish with the white crinkle intact. If you were to bake these cookies on an unlined, greased cookie sheet, you’d likely find the powdered sugar on the bottom and sides taking on an unappetizing, clunky greased look, and the cookies might spread out more than desired. In my extensive baking experience, parchment paper consistently yields the best possible results for these delicate crinkles. If you don’t have any on hand, I strongly recommend picking some up; it’s generally inexpensive and keeps for a very long time in a dry cupboard. It is absolutely critical, however, not to confuse parchment paper with wax paper. Wax paper should never, under any circumstances, be used in the oven, as it is highly likely to burn, smoke, and melt into (and completely ruin) your delicious cookies. A high-quality silicone baking liner can be a suitable alternative to parchment paper, offering similar non-stick benefits and reusability.

Chocolate Crinkle Cookies
3.7 from 62 votes
24
servings
30
minutes
22
minutes
Fudgy, delicious chocolate cookies with a powdered sugar coating, perfect for any occasion, especially the holidays.
Ingredients
-
1 cup 1 All-purpose flour
-
2 2 Eggs, large
-
1/2 cup 1/2 Cocoa powder
-
1/2 cup 1/2 Sugar, white granulated
-
1/2 cup 1/2 Brown sugar, loosely packed
-
1/2 cup 1/2 Butter, softened
-
1/4 cup 1/4 Confectioner’s sugar
-
1 tablespoon 1 Vanilla extract
-
1 teaspoon 1 Baking powder
-
1/2 teaspoon 1/2 Salt
Directions
- Preheat oven to 350° F (175° C). Line cookie sheet with parchment paper.
- In large mixing bowl or stand mixer bowl, cream together softened butter, sugar, brown sugar, and vanilla extract.
- Add eggs and beat to combine.
- Sift in flour, cocoa powder, baking powder. Add salt. Stir until thoroughly combined. Dough will seem somewhat thin until chilled.
- Chill dough in refrigerator for 3 hours.
- Place confectioner’s sugar in shallow dish. Remove chilled dough from refrigerator. With wet hands, form dough into teaspoon sized balls. Roll balls in confectioner’s sugar and coat thoroughly.
- Place balls on cookie sheet spaced 1 1/2 – 2 inches apart as cookies will spread.
- Bake cookies in batches in preheated oven for 8-11 minutes or until cookies are set. Cool on wire rack, then serve.
Notes
- Recommend natural unsweetened cocoa powder, but other cocoa powder may be used for different results.
- Salted or unsalted butter may be used. Margarine or equivalent amount of vegetable or other neutral oil may be substituted for butter — texture, taste of cookies will change.
The Magic of Crinkles and Post-Baking Care
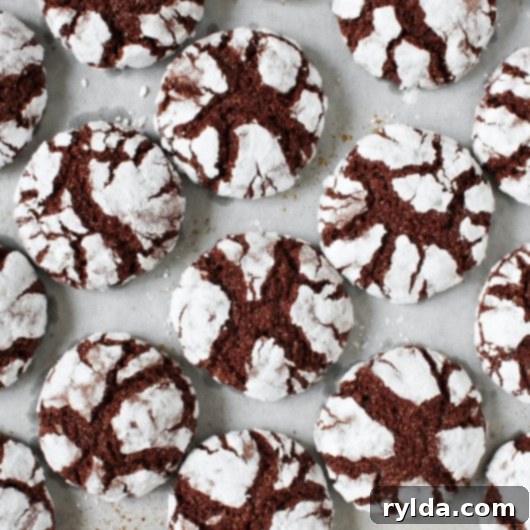
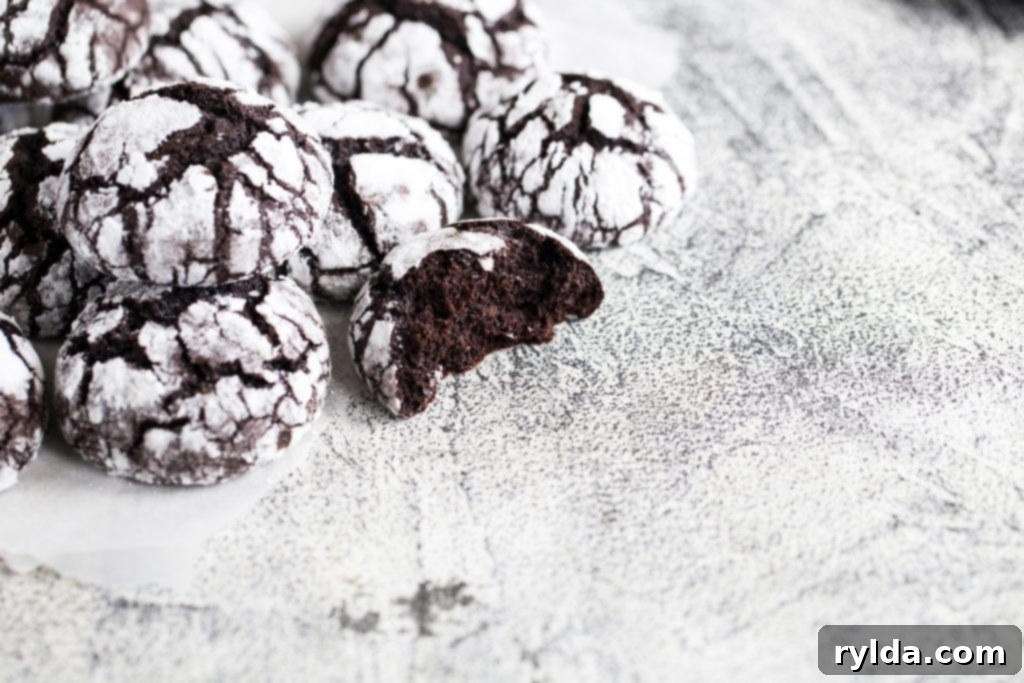
The enchanting “crinkle” effect is what truly sets these **holiday cookies** apart. It’s not just a beautiful design; it’s a testament to a perfectly executed recipe. The magic happens in the oven: as the cold, sugar-coated dough heats up, the interior of the cookie expands faster than the hardened sugar crust. This difference in expansion causes the sugary exterior to crack, revealing the dark, fudgy chocolate underneath. The contrast is simply stunning, making each cookie a mini work of art.

Because **Chocolate Crinkle Cookies** have a wonderfully rich, brownie-like texture, they will often be quite soft when they first emerge from the oven. This tenderness is a sign of their fudgy goodness, but it also means they require careful handling. They will firm up and become more structurally sound as they cool, so it’s essential to be gentle when transferring them from the baking sheet to a wire rack. Use a wide, sturdy spatula for support to prevent them from breaking apart. Cooling on a wire rack is crucial as it allows air to circulate around the entire cookie, preventing the bottoms from becoming soggy and helping them set properly. While a broken cookie might not win any beauty contests, the good news is that they taste just as delicious, offering an immediate reward for the baker!
Pro Tips for Crinkle Cookie Perfection
Achieving the perfect batch of **homemade chocolate crinkle cookies** is easier with a few expert tips:
- Ingredient Temperature: Ensure your butter is softened but not melted, and your eggs are at room temperature. This helps create a smooth, emulsified dough, which is crucial for texture.
- Do Not Overmix: Once you add the dry ingredients, mix just until combined. Overmixing can develop the gluten in the flour, leading to tougher cookies instead of fudgy ones.
- Oven Calibration: Ovens can vary. If your cookies aren’t crinkling as expected, a slight adjustment to oven temperature (up or down 10-15 degrees) might be necessary. An oven thermometer can be a valuable tool.
- Cocoa Quality: The type of cocoa powder significantly impacts flavor. Natural unsweetened cocoa powder often yields a deeper, more complex chocolate flavor. Dutch-processed cocoa will create a darker cookie with a milder chocolate taste.
- Chill Time is Non-Negotiable: Do not rush the chilling process. A minimum of 3 hours (or even overnight) ensures the dough is firm enough to handle, reduces spread, and promotes those beautiful crinkles.
Customizing Your Crinkle Cookies: Flavor Variations
While the classic **chocolate crinkle cookie recipe** is perfect as is, there are many ways to put your own spin on these festive treats:
- Mint Chocolate Crinkles: Add 1/2 teaspoon of peppermint extract along with the vanilla for a refreshing, holiday-inspired flavor.
- Espresso Boost: Dissolve 1 teaspoon of instant espresso powder in the vanilla extract before adding it to the dough. This deepens the chocolate flavor without making the cookies taste like coffee.
- Orange Zest: Incorporate 1-2 teaspoons of finely grated orange zest for a bright, citrusy note that pairs wonderfully with chocolate.
- Spice it Up: A pinch of cinnamon or a tiny dash of cayenne pepper can add a subtle warmth and complexity to the chocolate.
- Mini Chocolate Chips: Fold in 1/2 cup of mini chocolate chips for an extra burst of chocolatey goodness in every bite.
Storage and Serving Suggestions
Once your **Chocolate Crinkle Cookies** have cooled completely on the wire rack, they are ready to be enjoyed! For optimal freshness, store them in an airtight container at room temperature for up to 5-7 days. If you want to extend their life, they can also be frozen for up to 3 months. Simply place them in a single layer on a baking sheet to flash freeze, then transfer them to a freezer-safe bag or container. Thaw at room temperature when ready to indulge.
These **fudgy chocolate cookies** are perfect for any occasion. Serve them alongside a glass of cold milk, a warm cup of coffee, or a steaming mug of hot cocoa for a comforting treat. They are an absolute must-have for holiday cookie platters, potlucks, and bake sales. Their distinctive appearance and irresistible taste make them fantastic edible gifts for friends, family, and neighbors. With this guide, you’re not just baking cookies; you’re creating cherished memories and satisfying sweet cravings with every perfectly crinkled bite.
