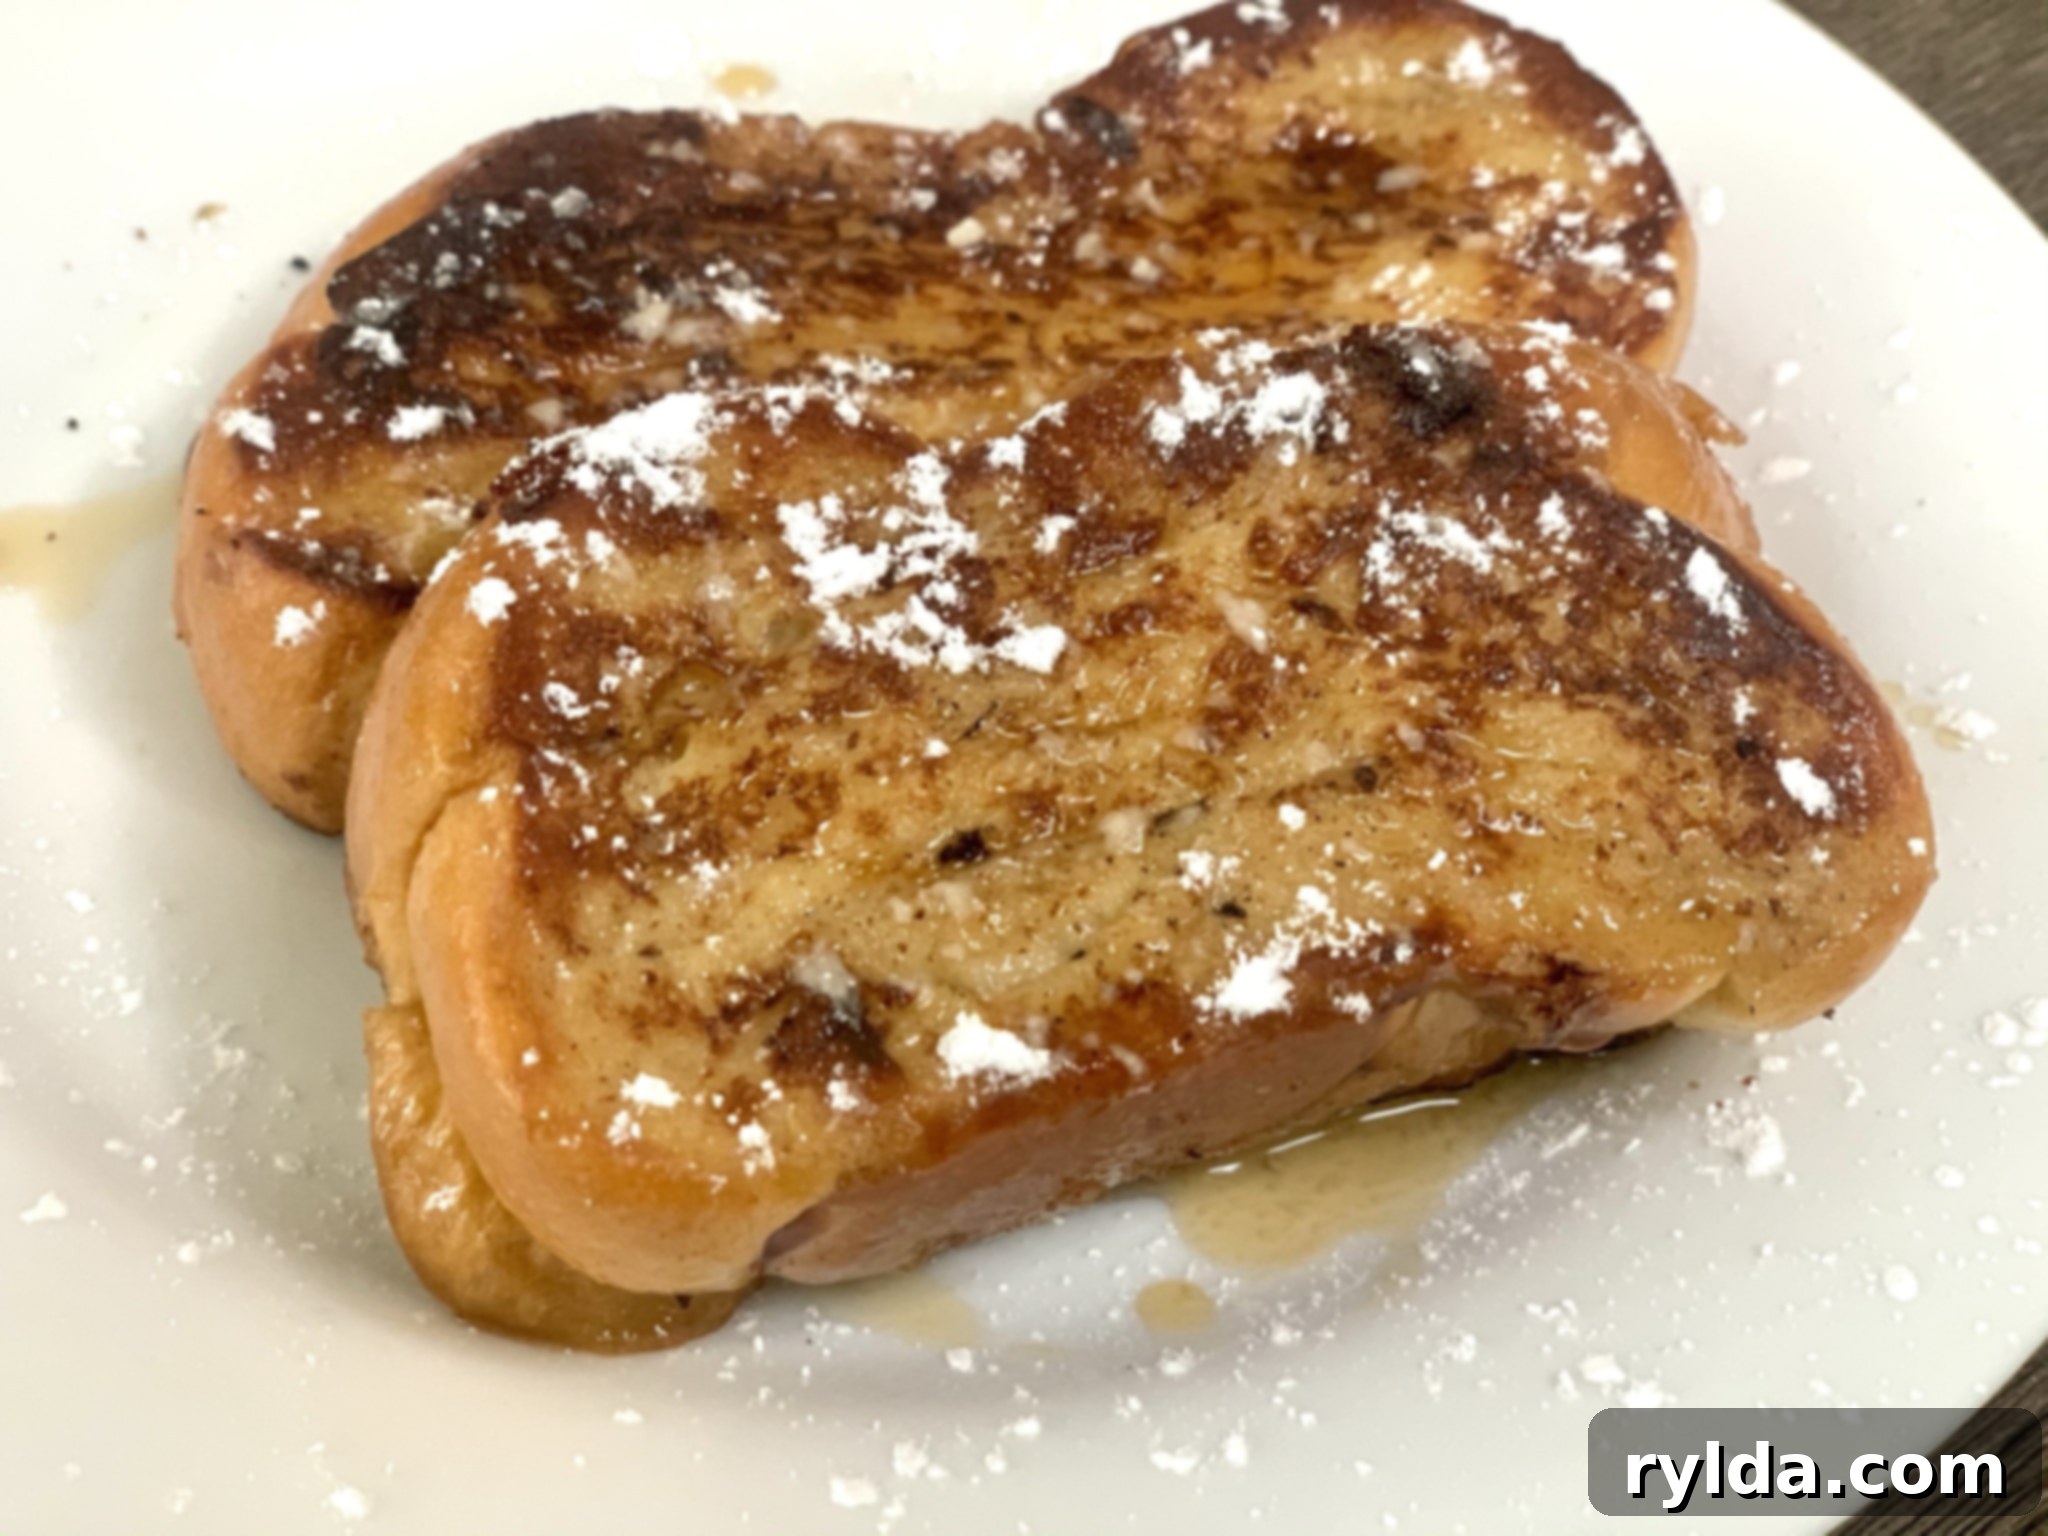
The Best Challah French Toast: An Irresistibly Sweet & Easy Breakfast Recipe
There’s nothing quite like waking up to the aroma of freshly made French toast, and when that French toast is made with Challah bread, you’re in for an unparalleled treat. Challah, a beautifully braided Jewish bread, is renowned for its rich, slightly sweet, and incredibly fluffy texture. These characteristics make it the absolute perfect canvas for creating the most decadent and satisfying French toast you’ll ever taste. Forget soggy or bland; Challah French Toast promises a dense, flavorful experience that is both quick to prepare and deeply comforting. It’s my go-to recipe when I crave something substantial, sweet, and utterly delightful for breakfast or brunch. One of the greatest advantages of using Challah is the ability to easily slice it to your preferred thickness, ensuring each piece absorbs just the right amount of the creamy egg mixture without becoming overly saturated.
What Makes Challah Bread So Special?
Before diving into the magic of Challah French Toast, let’s appreciate the star ingredient itself: Challah bread. Originating from Jewish cuisine, Challah is a braided bread traditionally eaten on Shabbat and Jewish holidays. Unlike regular sandwich bread, Challah is typically made with a generous amount of eggs, oil (or butter in some variations), and often a touch of sugar. This unique ingredient list contributes to its distinctive golden color, soft crumb, and slightly sweet flavor profile. Its rich, brioche-like consistency is less absorbent than plain white bread but more resilient, meaning it holds up beautifully when soaked in a custard mixture. The braiding isn’t just for aesthetics; it creates a slightly denser texture in some parts, offering a wonderful contrast when toasted. This inherent richness and slight sweetness make Challah a dream come true for French toast, elevating the dish from a simple breakfast item to a gourmet experience.
Why Challah is the Ultimate Choice for French Toast
While many breads can be used for French toast, Challah truly stands out. Its egg-enriched dough provides a sturdy yet tender foundation that absorbs the custard without falling apart, resulting in a perfectly moist interior and a beautifully crisp exterior. The natural sweetness of the Challah bread also means you don’t need to add as much sugar to your egg mixture, allowing the subtle notes of cinnamon and nutmeg to truly shine. Furthermore, the ability to control the slice thickness is a game-changer. I personally prefer slices that are about 3/4 inch thick. This allows the bread to soak up enough liquid to become custardy inside, while still maintaining its structural integrity during cooking. Thinner slices can quickly become too saturated and soggy, leading to a less satisfying texture. With Challah, you can achieve that ideal balance every time.
Tips for Crafting the Perfect Challah French Toast
My journey to perfect French toast wasn’t without its bumps. I remember my first attempt vividly – a complete disaster involving burnt exteriors and raw centers because the heat was far too high. Through trial and error, I’ve learned the essential steps to achieve consistently delicious results, especially when cooking with butter on a gas stove, which tends to brown things more quickly. Here are my top tips:
1. The Ideal Slice Thickness
As mentioned, slice thickness is paramount. Aim for slices that are approximately 3/4 inch thick. This allows the bread to absorb a good amount of the egg mixture, ensuring a custardy interior, without becoming waterlogged or difficult to handle. Thicker slices might require a longer soaking time and a lower heat setting to cook through properly, while thinner slices risk becoming too soft.
2. Don’t Over-Soak, Just Coat!
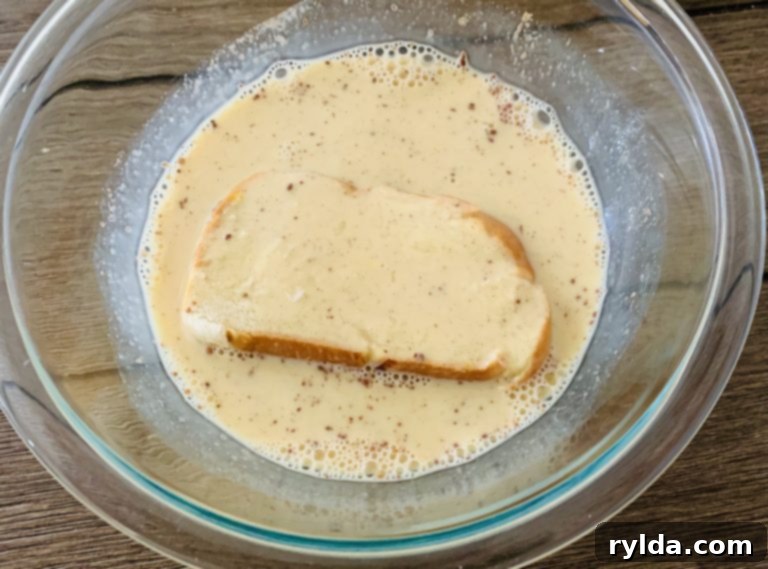
The key to non-soggy French toast is quick immersion. Dip each side of the Challah slice into the egg mixture just long enough to get a good coating – typically only 5-10 seconds per side. Challah’s rich crumb doesn’t need excessive soaking. Too long, and it will absorb too much liquid, leading to a mushy texture. You want the outside to be well-coated and the inside to retain some of its bread-like chewiness.
3. Mastering the Heat
Heat control is crucial, particularly when cooking with butter, which has a lower smoke point than oil. I always use a large skillet over **medium heat**. This temperature allows the French toast to cook slowly and evenly, developing a beautiful golden-brown crust without burning, while also ensuring the inside is thoroughly cooked and custardy. If you’re using an electric stove, adjust your settings to achieve a similar gentle sizzle. Patience is key here; resist the urge to crank up the heat!
4. The Butter Advantage
Cooking your Challah French Toast in unsalted butter adds an incredible depth of flavor and helps create that desirable crispy, golden exterior. Melt the butter until it just begins to bubble before adding your bread. The bubbling indicates the water content is evaporating, leaving behind pure milk fat which is ideal for browning. Ensure you have enough butter to lightly coat the bottom of your pan for each batch, adding more as needed.
5. The Waiting Game: No Early Flipping
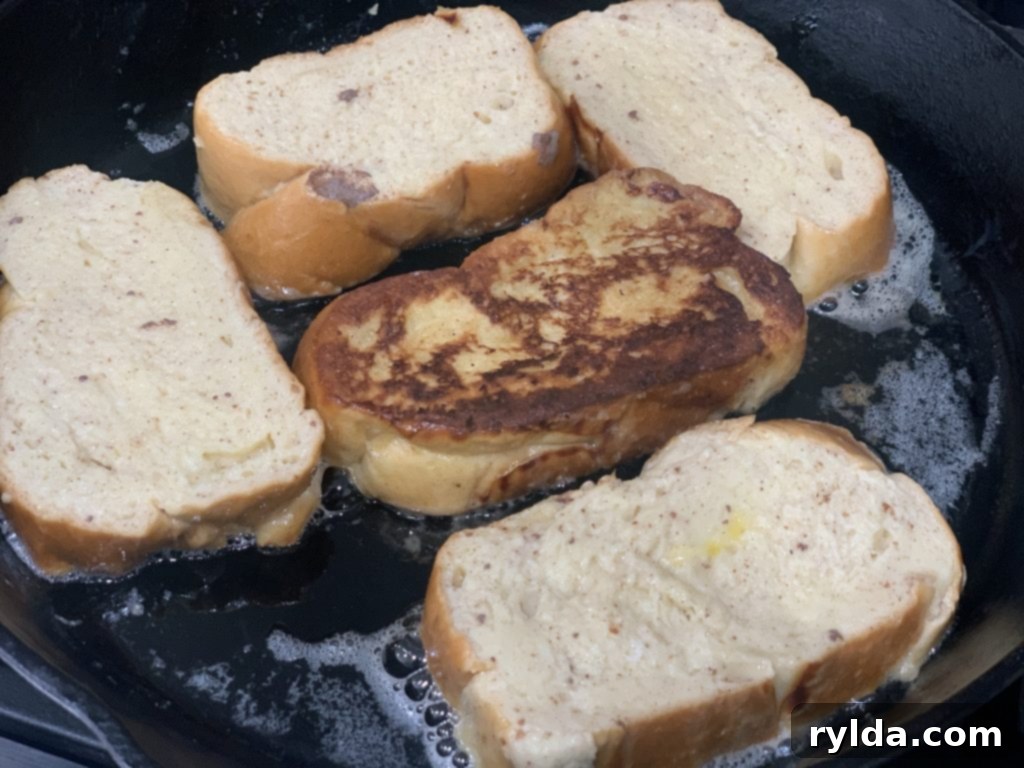
Once you place the soaked Challah in the pan, resist the temptation to flip it too soon. Allow each side to cook undisturbed for at least 3 minutes, or until it reaches a rich, golden-brown color. Flipping too early can prevent the crust from forming properly and might result in a less evenly cooked piece of French toast. A good visual cue is to gently lift a corner with a spatula to check the color before committing to the flip.
Challah French Toast
3.4 from 103 votes
2
servings
10
minutes
6
minutes
Ingredients
-
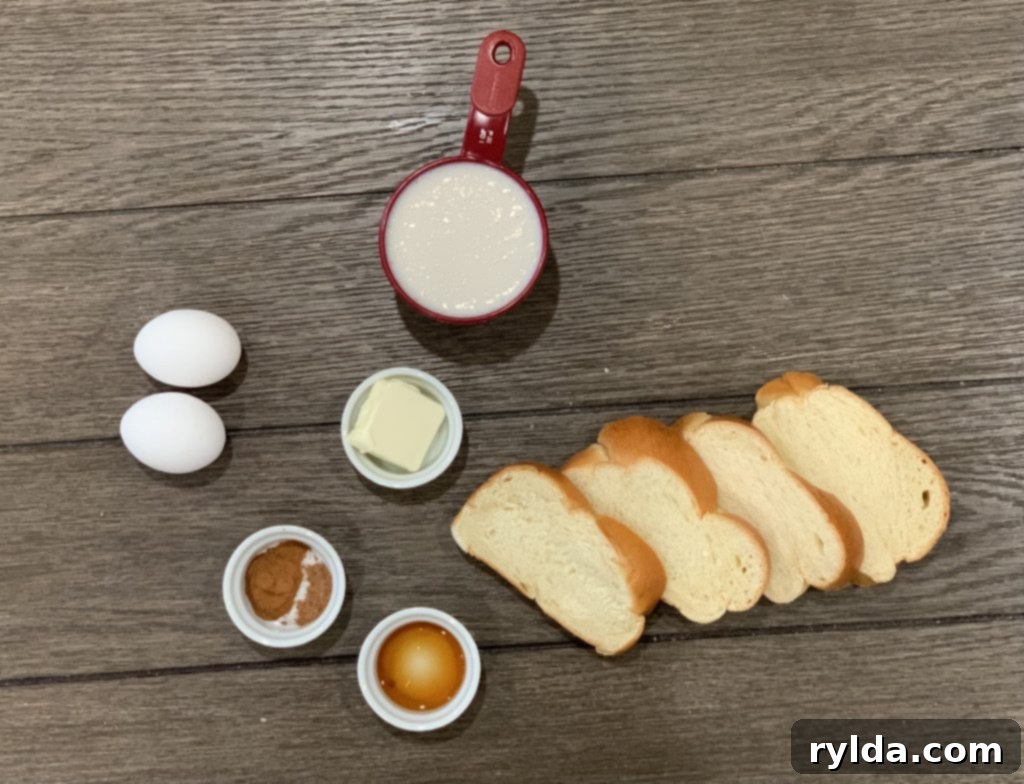
2 large eggs
-
1 cup milk
-
1 tablespoon cinnamon
-
1 teaspoon nutmeg
-
4-5 (3/4 inch thick) slices of challah
-
1 tablespoon unsalted butter
Directions
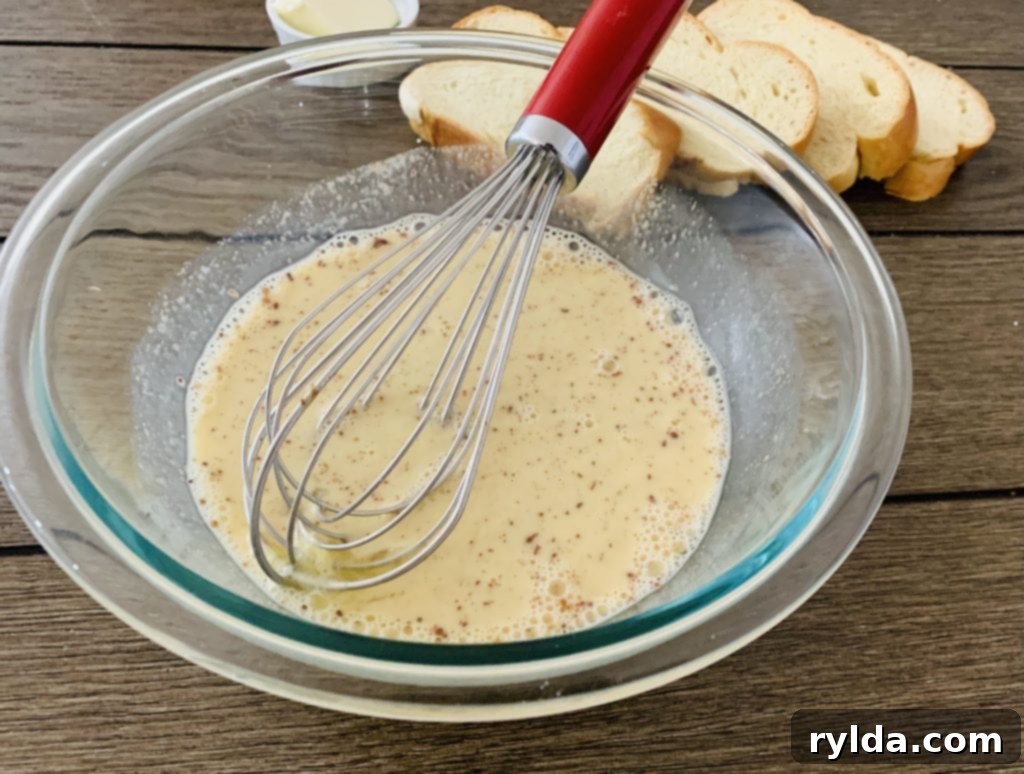
- In a medium sized bowl, beat eggs, milk, cinnamon and nutmeg until well combined.
- One at a time, gently dip each slice of Challah bread into the egg mixture. Ensure both sides are coated, but avoid prolonged soaking to prevent sogginess.
-
-
Notes
- For the best texture and color, resist flipping the French toast sooner than 3 minutes when cooking on medium heat.
- This recipe easily doubles or triples to accommodate more servings. Adjust butter quantity accordingly.
Serving Suggestions & Delightful Variations
While the rich flavor of Challah French Toast shines on its own, the right accompaniments can elevate it even further. My personal favorite is pure maple syrup. Its natural sweetness and rich notes perfectly complement the spiced Challah, and a little goes a long way. I prefer not to drench my French toast, as I truly enjoy tasting the nuanced flavors of the butter, cinnamon, and nutmeg on the perfectly browned exterior of the bread. However, don’t let my preference limit your creativity! Here are some other fantastic ways to enjoy your Challah French Toast:
- Fresh Berries: A sprinkle of fresh blueberries, raspberries, or sliced strawberries adds a burst of freshness and a touch of tartness that beautifully contrasts the sweetness of the toast.
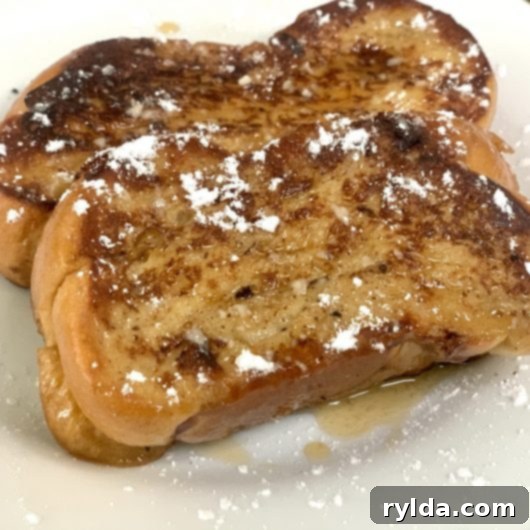
- Powdered Sugar: A simple dusting of powdered sugar is a classic and elegant topping, offering just enough sweetness without overpowering the Challah’s natural flavor.
- Whipped Cream: For an extra indulgent treat, a dollop of freshly whipped cream makes for a luxurious addition.
- Fruit Compotes or Jams: Homemade fruit compotes (like apple, cherry, or peach) or your favorite gourmet jams and jellies can add another layer of fruity sweetness and texture.
- Chocolate Chips or Nuts: For those with a sweet tooth, a scattering of mini chocolate chips or toasted pecans/walnuts can add delightful crunch and flavor.
- A Side of Protein: To balance out the sweetness, serve your Challah French Toast alongside crispy bacon, savory sausage links, or a perfectly fried egg for a complete breakfast or brunch spread.
Even without any syrup, this French toast is incredibly flavorful and satisfying on its own. It’s truly versatile and can be enjoyed as a quick treat, hot or even cold, making it a perfect grab-and-go option.
Make Ahead & Storage Solutions
Challah French Toast is not just a fresh-from-the-pan delight; it’s also incredibly convenient for meal prepping! You can easily prepare this breakfast treat in advance, ensuring you have a delicious option ready to go even on your busiest mornings.
- Refrigeration: Cooked Challah French Toast can be stored in an airtight container in the refrigerator for up to 1 day. To reheat, simply pop it in the toaster, a warm oven (around 350°F or 175°C for 5-10 minutes), or even the microwave for a quicker option. Reheating in the oven or toaster will help maintain some of its crispy exterior.
- Freezing: For longer storage, Challah French Toast freezes beautifully. Once cooked and completely cooled, arrange the slices in a single layer on a baking sheet and freeze until solid (this prevents them from sticking together). Then, transfer the frozen slices to a freezer-safe bag or airtight container, separated by parchment paper, for up to 3 months. When you’re ready to enjoy, simply reheat from frozen in a toaster oven, a regular oven (around 375°F or 190°C for 10-15 minutes, flipping halfway), or a microwave. This makes for an ideal grab-and-heat breakfast any day of the week!
Making a larger batch when you have some extra time is a fantastic way to treat your future self. You’ll thank yourself for having these sweet, dense, and comforting slices ready whenever a craving strikes!
Frequently Asked Questions About Challah French Toast
- Can I use stale Challah bread?
- Absolutely, stale Challah (1-2 days old) is actually ideal for French toast! Slightly dry bread absorbs the egg mixture more effectively without becoming overly soft or mushy, leading to a better texture. Fresh Challah works too, but be extra careful not to over-soak.
- What if I don’t have nutmeg?
- While nutmeg adds a wonderful warmth, you can certainly omit it or substitute it with a pinch of allspice or even a tiny amount of ginger for a different flavor profile. The cinnamon will still provide the primary spice note.
- Can I make this recipe dairy-free?
- Yes! You can substitute regular milk with your favorite dairy-free milk alternative (almond milk, oat milk, or soy milk work well). For the butter, use a plant-based butter substitute or a neutral-flavored oil like canola or coconut oil.
- How many slices does this recipe make?
- This particular recipe makes about 4-5 slices, perfect for 2 servings. However, it’s very easy to double or triple the ingredients to accommodate more people or to make a batch for freezing.
Enjoy this delightful and easy-to-make Challah French Toast. It’s truly a breakfast that feels special every time!
– Madison
