Easy Homemade Sugar Cookies: The Ultimate Recipe for Holidays & Everyday Fun
There’s an undeniable magic in a freshly baked sugar cookie. Their simple, buttery taste and crisp-chewy texture make them an absolute delight, perfect for any occasion but especially cherished during the holiday season. If you’re looking for an easy, fail-proof cookie recipe that brings joy to everyone, you’ve found it. This recipe is so straightforward, it’s ideal for a cozy baking session, whether you’re a seasoned pro or just starting out. It’s also a fantastic way to involve the whole family, creating cherished memories in the kitchen. I have such fond recollections of being my mom’s little helper, eagerly cracking eggs (though this recipe only calls for one, making it even simpler!). The rich, buttery flavor of these simple sugar cookies is truly irresistible, and the steps are so incredibly easy to follow.
With just six basic ingredients and a mere 10 minutes of baking time, you’ll be enjoying warm, delicious cookies in no time. This recipe proves that you don’t need a complex list of items or hours of kitchen work to create something truly special. It’s all about embracing the simplicity and letting the quality of the few ingredients shine through.

Sugar Cookies
3.8 from 100 votes
24
servings
40
minutes
10
minutes
Ingredients for Classic Sugar Cookies
-
2 cups all-purpose flour, sifted
-
1 cup granulated sugar
-
1 cup unsalted butter, softened to room temperature
-
2 teaspoons pure vanilla extract
-
1/2 teaspoon salt
-
1 large egg
Step-by-Step Directions for Perfect Sugar Cookies
- Step 1: Cream the Butter and Sugar. In a large mixing bowl, preferably with an electric mixer, cream together the softened butter and granulated sugar until the mixture is light and fluffy. This step is crucial for incorporating air, which contributes to the cookies’ light texture.
- Step 2: Add Wet Ingredients. Beat in the vanilla extract, salt, and the large egg until well combined. Scrape down the sides of the bowl to ensure everything is thoroughly incorporated.
- Step 3: Incorporate Flour and Chill. Gradually add the sifted flour to the wet ingredients, mixing on low speed until just combined. Be careful not to overmix, as this can lead to tough cookies. Once a dough forms, gather it into a disc. Wrap the disc tightly in wax paper or plastic wrap and place it in the freezer for at least 30 minutes (or in the refrigerator for 1-2 hours) to firm up. Chilling the dough helps prevent the cookies from spreading too much during baking and makes it much easier to roll and cut.
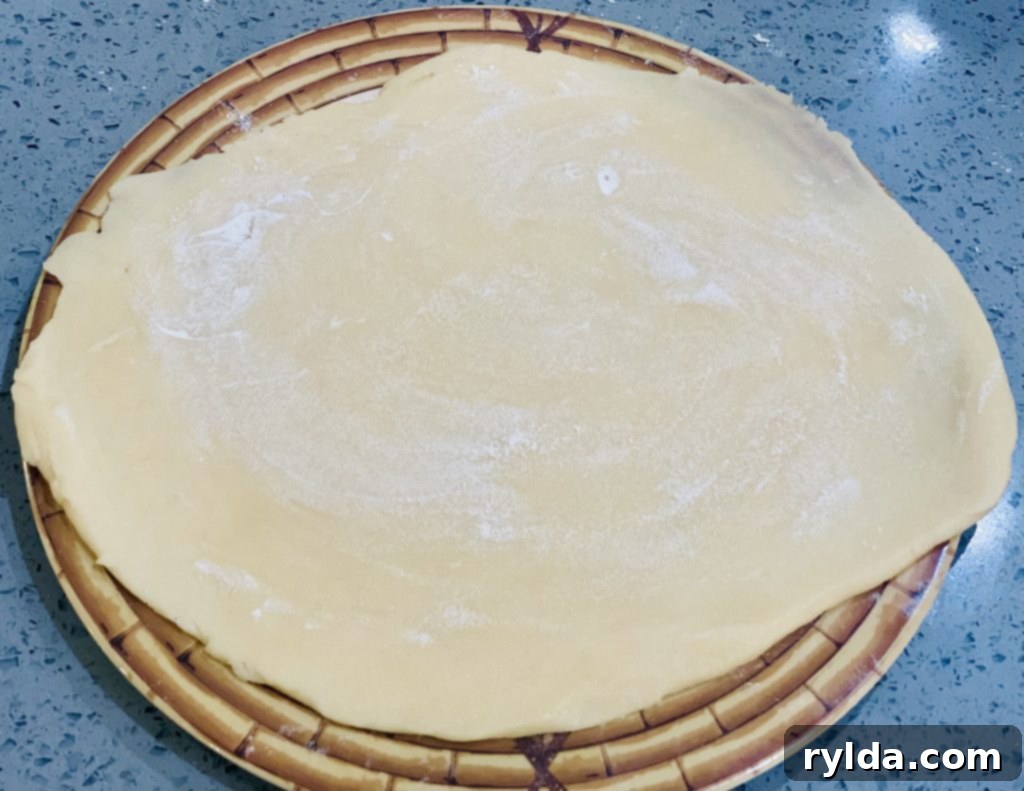
- Step 4: Roll and Cut. Once chilled, remove the dough from the freezer. Lightly flour your work surface and rolling pin to prevent sticking. Roll out the dough to your desired thickness, typically about 1/4 inch (6mm) for classic sugar cookies. Use your favorite cookie cutters to cut out shapes. For easy transfer, place the cut shapes onto a parchment-lined baking sheet. Gather any scraps, gently re-roll, and cut out more cookies until all dough is used.
- Step 5: Bake to Golden Perfection. Preheat your oven to 350°F (177°C). Place the cookies about 1 inch apart on a parchment-lined cookie sheet. Bake for approximately 8-10 minutes, or until the edges are lightly golden. The centers should still be soft. Remove from the oven and allow them to cool on the baking sheet for 5-10 minutes. This “carry-over baking” helps them firm up and prevents them from breaking when transferred. After this initial cooling, carefully transfer the cookies to a wire rack to cool completely before eating or decorating.
Helpful Notes & Tips for Your Sugar Cookies
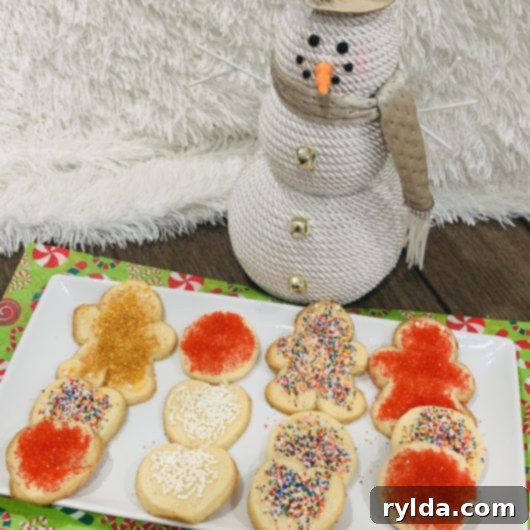
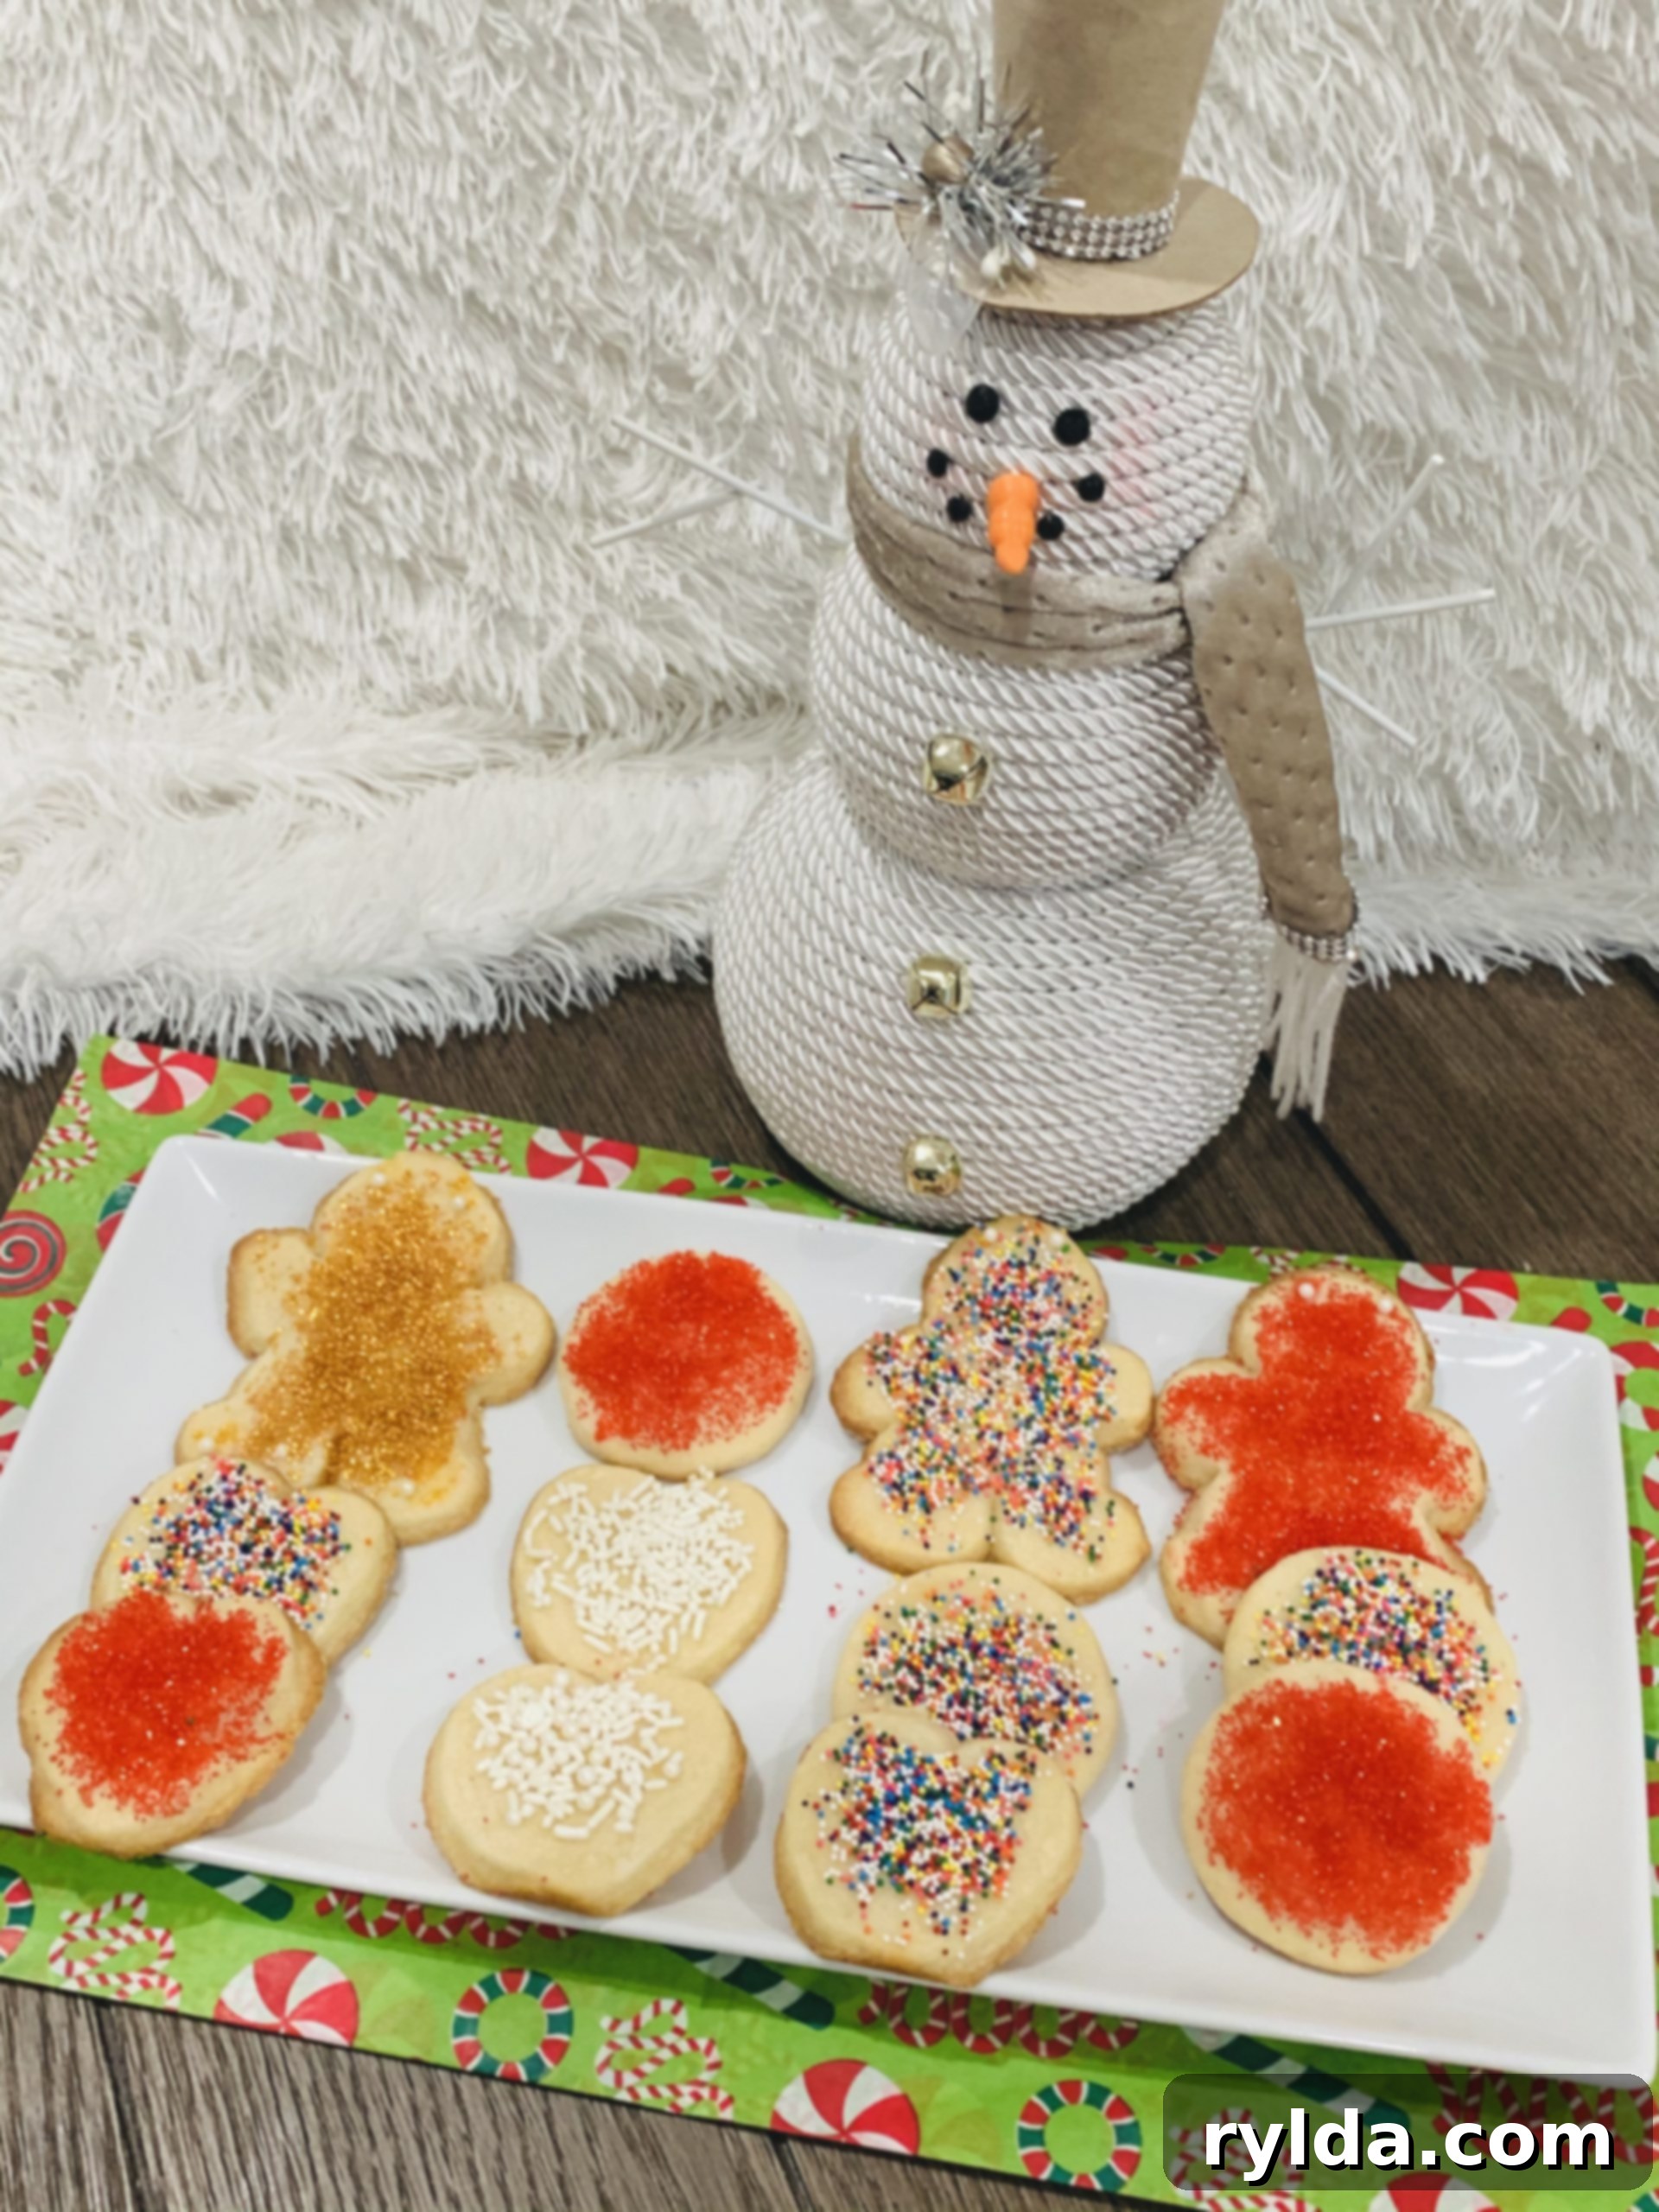
- Cookie Cutter Sizes: For reference, I used a 2-inch circle cookie cutter and a 3×5 inch gingerbread man cookie cutter. A 2-inch circle cutter typically yields about 24 cookies from this recipe. Feel free to experiment with any shapes you like!
- No Cookie Cutters? No Problem! Don’t feel the need to buy special cookie cutters. You can easily use the rim of a small wine glass, a small jar, or even a round biscuit cutter to create perfect circles. Just dip the rim in flour before each cut to ensure a clean release.
- Adding Sprinkles: To make sprinkles stick beautifully to your cooled cookies, whisk together 1 egg white and 1 teaspoon of water to create a thin “glue.” Lightly brush this mixture onto the baked and cooled cookies with a small pastry brush or even a clean, unused toothbrush. Then, immediately apply your desired sprinkles. This method ensures your decorations stay put without needing frosting!
- Baking Consistency: For perfectly even baking, try to roll your dough to a consistent thickness. If some cookies are thicker than others, they might require slightly different baking times.
Why These Easy Sugar Cookies are a Must-Bake
This simple sugar cookie recipe stands out for several reasons. Firstly, its minimal ingredient list means you likely have everything you need in your pantry right now. No special trips to the store required! Secondly, the process is incredibly forgiving, making it perfect for novice bakers or those with little ones eager to help. The chilling step is key here, transforming a slightly sticky dough into a firm, manageable canvas for rolling and cutting. This ensures your cookies hold their shape beautifully during baking, giving you those picture-perfect results every time.
The magic truly happens once the dough is mixed and chilled. You’ll simply roll out the dough on a lightly floured surface or between two sheets of wax paper, making cleanup a breeze. The 30-minute freezer chill (or longer in the fridge) makes the dough firm enough to handle without becoming sticky, ensuring your cookie cutters glide through effortlessly.

Shaping and Baking Your Sweet Treats
Once you retrieve your perfectly chilled dough from the freezer, a light dusting of flour is all you need to prepare it for shaping. This step ensures that your rolling pin glides smoothly and that your cookie cutters create crisp, clean edges. The joy of cutting out cookies is truly a highlight, especially for children! You can use traditional cookie cutters in various festive shapes, or get creative with items you already have around the house. A small wine glass or a clean jar works wonderfully for making perfect circular cookies. Simply invert the glass or jar and press firmly into the dough. This simple trick eliminates the need for specialized equipment and makes baking accessible to everyone.
As your cookies bake, keep a close eye on them. The moment their edges begin to turn a delicate golden-brown, it’s time to don your oven mitts. Gently remove the baking sheet from the oven and resist the urge to move them immediately. Leaving the cookies on the hot sheet for an additional 5-10 minutes allows for “carry-over baking,” helping them set and firm up without becoming over-baked. This crucial cooling period on the sheet prevents breakage when you eventually transfer them to a wire rack to cool completely. You can enjoy these buttery delights plain, or move on to the most exciting part: decorating!

Creative Decorating Ideas for Your Sugar Cookies
This is where your inner artist can truly shine! While these sugar cookies are absolutely delicious plain, decorating them adds another layer of fun and personalization. The simplest way to add flair is with sprinkles. To ensure your colorful toppings adhere perfectly without a thick layer of frosting, try this handy trick: whisk together one egg white and one teaspoon of water. This mixture acts as a fantastic, almost invisible glue. Lightly brush this solution onto each cooled cookie with a small baking brush, or even a clean, unused toothbrush if you don’t have a pastry brush. A little goes a long way to help those sprinkles stick firmly!
Get as creative as you desire with your sprinkle choices. For holidays, I often use a mix of red and green sprinkles, sometimes even dividing a cookie to have different colors on each half. Beyond sprinkles, consider a simple powdered sugar glaze (powdered sugar, milk, and a touch of vanilla) for a quick and elegant finish. For more intricate designs, royal icing or buttercream can be used to pipe elaborate patterns, names, or messages. Involving young children or grandchildren in this decorating process is a wonderful activity – they’ll love choosing colors and patterns, and the pride they take in their edible creations is priceless.
Tips for Storing Dough and Baked Cookies
One of the best things about this easy sugar cookie recipe is its flexibility. I always make sure to keep extra cookie dough in my freezer; it’s perfect for those impromptu cravings or unexpected guests. This dough freezes beautifully and will last for up to one year, wrapped tightly in plastic wrap and then placed in an airtight freezer bag. Just thaw it in the refrigerator overnight before rolling and baking as usual. This makes fresh, homemade cookies incredibly accessible at a moment’s notice.
Once baked, store your decorated or plain sugar cookies in an airtight container at room temperature for up to a week. If you’ve used a soft frosting, it might be best to store them in a single layer or with parchment paper between layers to prevent sticking. For longer storage, you can also freeze baked cookies (plain or decorated with royal icing) in an airtight container for up to 3 months. Thaw them at room temperature before serving.
The Joy of Sharing and Connecting Through Baking
However you choose to decorate your cookies, one thing is certain: they are a delight to bake and an even greater delight to eat. As the old saying goes, “You can’t eat just one!” These classic sugar cookies embody that sentiment perfectly. The process of baking them is fun and straightforward, and the reward is a batch of incredibly tasty treats. Be sure to share this recipe, and your delicious creations, with your family and friends. Especially in today’s world, where connecting with loved ones is more important than ever, baking can be a wonderful shared experience.
Consider hosting a virtual cookie decorating party with family and friends over a video call! Everyone can bake a batch of these sugar cookies, and then get together online to decorate them, sharing tips and showing off their artistic skills. It’s a fantastic way to foster connection, create new memories, and share some sweet joy. This easy sugar cookie recipe is truly a crowd-pleaser and is sure to become a cherished “must-bake” tradition in your home for years to come.
Happy Baking and Decorating!
-Madison
