Toffee Saltines: The Easiest & Most Irresistible Holiday Candy Recipe
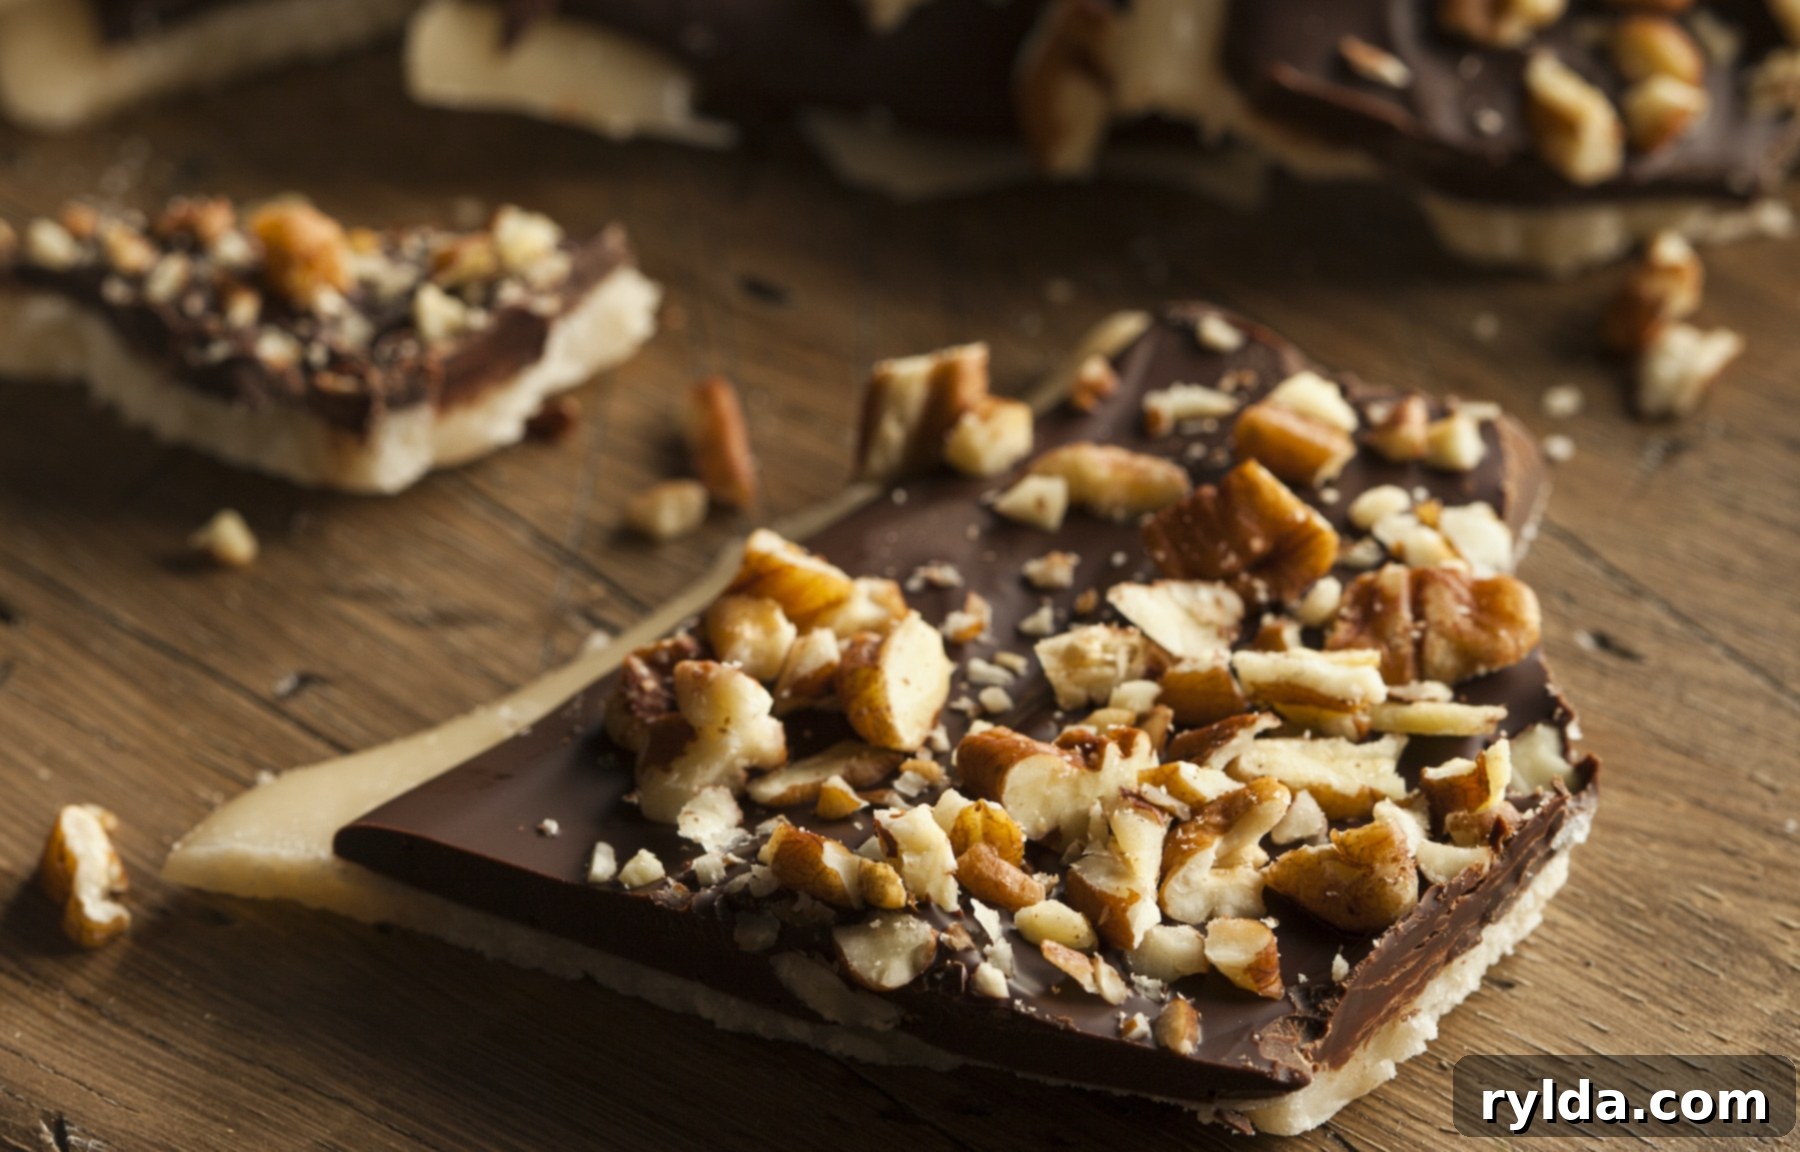
It might seem unusual to label a candy recipe as “easy,” but this one truly lives up to the promise! Toffee Saltines are a deceptively simple delight that tastes like you’ve spent hours perfecting them. Starting with humble saltine crackers, this recipe transforms basic ingredients into a sophisticated, salty-sweet confection. The magical combination of crisp crackers, rich buttery toffee, decadent chocolate, and a sprinkle of crunchy nuts creates what many consider the perfect bite of holiday candy.
I’ll be the first to admit that I’m not a professional baker, but this particular recipe comes remarkably close to being foolproof. The instructions are straightforward, and in my experience, they consistently lead to success. One of the most crucial steps involves carefully monitoring the toffee mixture on the stovetop. It’s vital not to stir it once the butter and sugar are in the saucepan. Just let them melt and come to a boil naturally. This can be challenging, as the urge to stir is strong, but it’s essential for achieving that smooth, glassy toffee texture without crystallization.
Once the toffee mixture reaches a rolling boil, set a timer for precisely three minutes. Timing is everything here! As soon as those three minutes are up, remove the saucepan from the stove immediately. By this point, you should have your baking pan, prepped with saltines, ready to go. Pour the hot toffee directly and evenly over the crackers. If it doesn’t spread perfectly on its own, a silicone spatula can be your best friend. Gently assist the toffee in spreading to the edges, being careful not to dislodge any of the saltine crackers in the process. This ensures every cracker gets a delicious coating.
After the toffee is spread, place the pan directly into your preheated oven. However, whatever you do, do not wander away! The recipe suggests baking for five minutes, but this can vary depending on your oven’s calibration and other factors. Keep a watchful eye through your oven window, peeking every minute or so. If the toffee begins to darken significantly around the edges or bubbles vigorously, take it out before it scorches. A slightly darker golden brown is desirable, but burnt toffee will ruin the taste and texture of your delicious holiday treat.

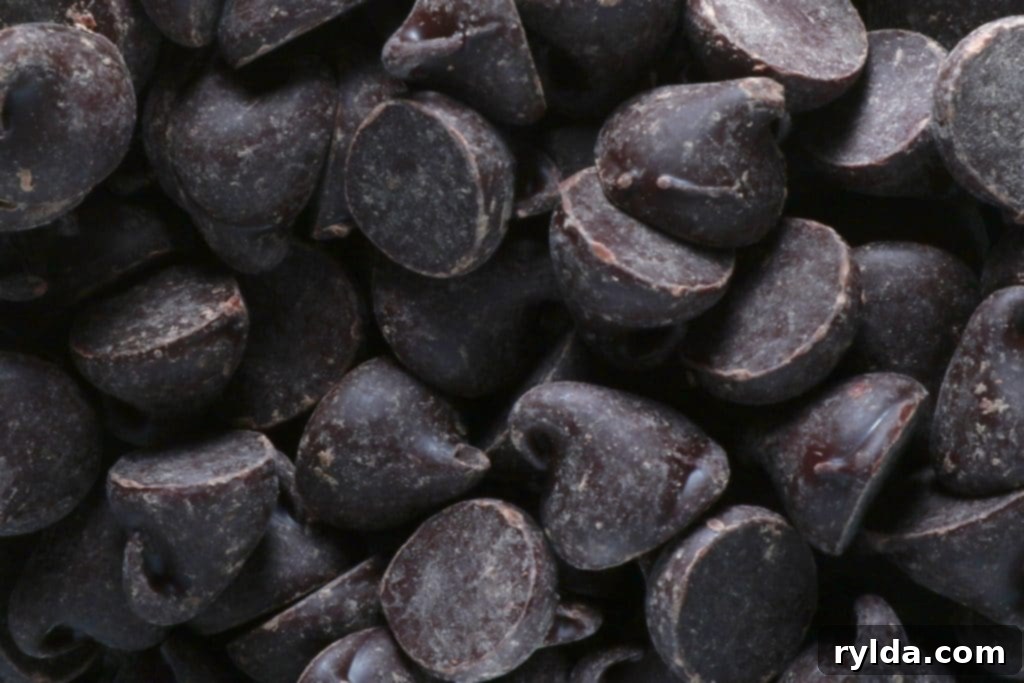
Once the pan is out of the oven, immediately sprinkle your chosen chocolate chips evenly over the hot toffee. The residual heat from the freshly baked toffee is usually enough to melt the chocolate into a wonderfully spreadable consistency. Give the chips a few minutes to soften. If, for any reason, they don’t melt sufficiently on their own, don’t panic! You can briefly pop the pan back into the oven for just a minute or two to give the chocolate a little extra warmth, ensuring it becomes perfectly smooth. Then, using your spatula, gently spread the melted chocolate to create a uniform, luscious layer across the entire surface. This chocolate layer is what truly elevates these homemade toffee saltines to a decadent holiday treat.
Why Toffee Saltines Are Your New Favorite Holiday Candy
Beyond their undeniable ease, Toffee Saltines offer an unparalleled taste experience that makes them a staple for any holiday gathering or a thoughtful homemade gift. The magic lies in the contrast: the subtle saltiness and crunch of the saltine cracker, the rich, buttery chewiness of the homemade toffee, the smooth, melting sweetness of the chocolate, and the satisfying texture of crunchy nuts. This symphony of flavors and textures is incredibly addictive and universally loved.
Unlike many elaborate dessert recipes, this easy toffee candy requires minimal ingredients and even less fuss. You don’t need special equipment or advanced baking skills. It’s perfect for novice bakers looking to impress, or seasoned pros wanting a quick, reliable treat. Whether you’re making them for Christmas, Thanksgiving, or just a weekend indulgence, these saltine toffee bark pieces are guaranteed to disappear quickly!
Mastering the Toffee Mixture: Crucial Tips for Success
Preparing Your Pan and Crackers
Before you even think about the toffee, proper pan preparation is key. Line a jelly roll pan or a baking sheet with sides with aluminum foil. This prevents the sticky toffee from adhering directly to your pan and makes cleanup a breeze. Don’t skip greasing the foil with non-stick cooking spray (or softened butter if spray isn’t available). This ensures the finished candy releases easily. Arrange your saltine crackers in a single, non-overlapping layer across the bottom of the prepared pan. This provides a consistent base for your toffee and ensures even baking. A tightly packed layer is ideal for a solid bark.
The “No-Stir” Rule for Perfect Toffee
The toffee mixture itself is simple: butter and brown sugar. The secret to its success, however, is the “no-stir” rule. Once you combine the butter and dark brown sugar in a small saucepan over medium heat, resist the urge to stir. Stirring can introduce sugar crystals back into the mixture, leading to grainy, rather than smooth, toffee. Allow the mixture to melt completely and come to a full, rolling boil on its own. The ingredients will combine beautifully without your intervention. This method ensures a silky, rich toffee that sets perfectly.
Once boiling, set your timer for exactly three minutes. This precise timing is crucial for achieving the correct consistency and flavor. Boiling for too short a time will result in a soft, chewy toffee that might not set properly, while boiling for too long can lead to burnt sugar and a bitter taste. The moment the timer dings, remove the saucepan from the heat immediately. Any additional cooking could lead to scorching. Pour the hot toffee mixture quickly and evenly over the prepared saltines. If the toffee doesn’t spread to cover all the crackers on its own, use a heat-resistant silicone spatula to gently guide it to the edges, ensuring every cracker is coated.
The Baking Process and Adding Chocolate
Baking these easy toffee saltines is a quick step, but it demands your attention. Place the pan in your preheated 350°F (175°C) oven. The recipe suggests five minutes, but ovens vary, so consider this a guideline. It’s imperative not to leave the oven unattended during this phase. Watch through the oven window for signs of the toffee bubbling and slightly darkening, particularly around the edges of the crackers. This indicates it’s caramelizing beautifully. The moment you see significant darkening or rapid bubbling, remove the pan. Over-baking can quickly turn perfect toffee into a burnt, bitter mess, so vigilance is key!
As soon as the pan comes out of the oven, work quickly. Generously sprinkle your choice of chocolate chips over the entire hot toffee layer. The intense heat from the toffee will begin to melt the chocolate immediately. Allow the chocolate chips to sit for about 3-5 minutes, giving them enough time to fully soften from the residual heat. Then, using a spatula, gently spread the now-melted chocolate into a smooth, even layer that completely covers the toffee. If for some reason the chocolate hasn’t melted sufficiently, a brief 30-60 second return to the warm (but turned off) oven can help it along, but be careful not to scorch the chocolate.
The Perfect Crunch: Nuts and Creative Variations
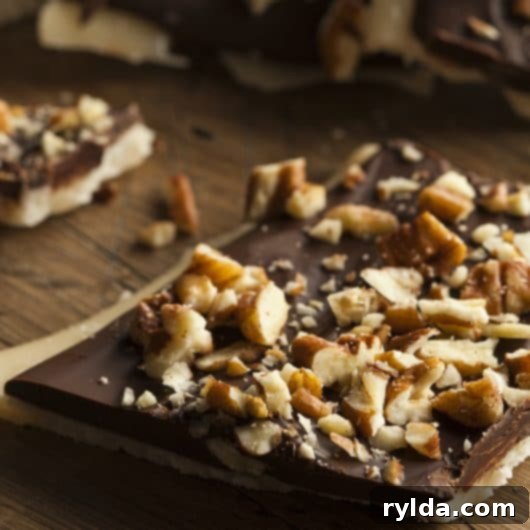
I personally love chopped almonds with this fabulous dessert. Their meaty texture and subtle crunch provide a wonderful contrast to the smooth chocolate and crisp toffee. However, this recipe is incredibly versatile, so feel free to substitute with your favorite nuts. Almost any nut will taste fantastic in this recipe – after all, nuts, toffee, and chocolate form an iconic and timeless flavor combination. Pecans, walnuts, or peanuts are all natural and delicious fits for this homemade toffee.

If you’re feeling a bit more adventurous, consider trying macadamia nuts, cashews, or even pistachios for a unique twist. Sprinkle your chosen nuts over the melted chocolate while it’s still warm and soft. If needed, gently press the nuts into the chocolate to ensure they adhere well before the chocolate cools and sets.
Whole vs. Pre-Chopped: A Flavor Debate
While buying pre-chopped nuts is certainly convenient, I generally recommend purchasing whole nuts and chopping them yourself. I find that freshly chopped nuts tend to have a slightly better, fresher flavor and aroma compared to their pre-chopped counterparts, which can sometimes dry out or lose some of their essential oils. However, this is largely a matter of personal preference and convenience. Feel free to choose whole or pre-chopped as you wish, or simply use whatever you have readily available in your pantry. The most important thing is to add that delightful nutty texture.
Get Creative with Toppings!
Beyond nuts, you can easily customize your Toffee Saltines. Consider a sprinkle of sea salt flakes over the chocolate for an enhanced salty-sweet profile. A drizzle of white chocolate or even a dusting of colorful sprinkles can add a festive touch, especially for Christmas or other holidays. For a truly seasonal treat, crushed candy canes can be sprinkled on top for a delightful peppermint flavor and vibrant color. Shredded coconut is another excellent addition for a tropical twist. Don’t be afraid to experiment and make this recipe your own!
Cooling, Breaking, and Storing Your Toffee Saltines
Once your Toffee Saltines are fully topped, it’s crucial to allow them to cool completely. This usually takes at least an hour at room temperature, or you can speed up the process by placing the pan in the refrigerator for about 30-45 minutes. Ensure the chocolate is completely set and firm to the touch before attempting to break or cut the candy. Trying to do so too early will result in a sticky mess rather than clean pieces.
Once cooled, you can either gently break the large slab into irregular pieces, or for a neater presentation, use a sharp knife to cut it into squares or rectangles. The irregular pieces often have a charming, rustic appeal. Store your finished chocolate saltine toffee in an airtight container at room temperature for up to a week, or in the refrigerator for up to two weeks. For longer storage, it can even be frozen for up to a month, though it’s unlikely to last that long!

Toffee Saltines
3.6 from 230 votes
Ingredients
-
4 ounces saltine crackers
-
2 cups chocolate chips, semisweet
-
1 cup butter
-
1 cup dark brown sugar
-
3/4 cup almonds, chopped
Directions
- Preheat oven to 350° F (175° C).
- Line a jelly roll pan, or a baking sheet pan with sides, with aluminum foil. Grease the foil generously with non-stick cooking spray to prevent sticking.
- Arrange the saltine crackers in a single, non-overlapping layer on the bottom of the prepared pan, ensuring they cover the surface as much as possible.
- In a small saucepan, combine the brown sugar and butter. Place over medium heat. It is crucial NOT to stir the mixture. Allow it to melt and come to a boil on its own. Once boiling, set a timer for precisely 3 minutes only. Immediately remove the saucepan from the heat and pour the hot toffee mixture directly and evenly over the saltines. If necessary, use a silicone spatula to gently spread the mixture to ensure all crackers are completely covered.
- Bake in the preheated 350° F (175° C) oven for 5 minutes, watching very carefully for any signs of burning or excessive darkening. Ovens vary, so check frequently. Remove the pan from the oven immediately and sprinkle the chocolate chips evenly over the hot toffee. Let the chips sit for 3 minutes to soften and melt from the residual heat. Then, use a spatula to spread the melted chocolate to completely cover the toffee layer.
- Before the chocolate cools and sets, sprinkle the chopped almonds (or your chosen nuts) over the chocolate layer. If desired, lightly press the nuts into the chocolate to help them adhere. Allow the Toffee Saltines to cool completely at room temperature or in the refrigerator until the chocolate is firm. Once cooled, break or cut the candy into desired pieces and enjoy!
Notes
- Dark brown sugar is recommended for a richer flavor, but it can be substituted with light brown sugar or golden brown sugar. Be aware that the flavor profile will be slightly altered.
- Pecans, walnuts, peanuts, or any nut of your choice can be used to substitute for chopped almonds. Consider what flavors pair best with chocolate and toffee for your preference.
- Dark chocolate chips or milk chocolate chips can be substituted for semisweet chocolate. This will, of course, alter the sweetness and richness of the final product. Choose based on your personal taste preference.
- The pan must be lined with foil and greased thoroughly. If non-stick cooking spray is unavailable, you can liberally grease the foil with softened or melted butter. This step is crucial for easy removal of the candy.
- For an extra touch, sprinkle a pinch of flaky sea salt over the melted chocolate before it sets. This enhances the salty-sweet balance even further!
