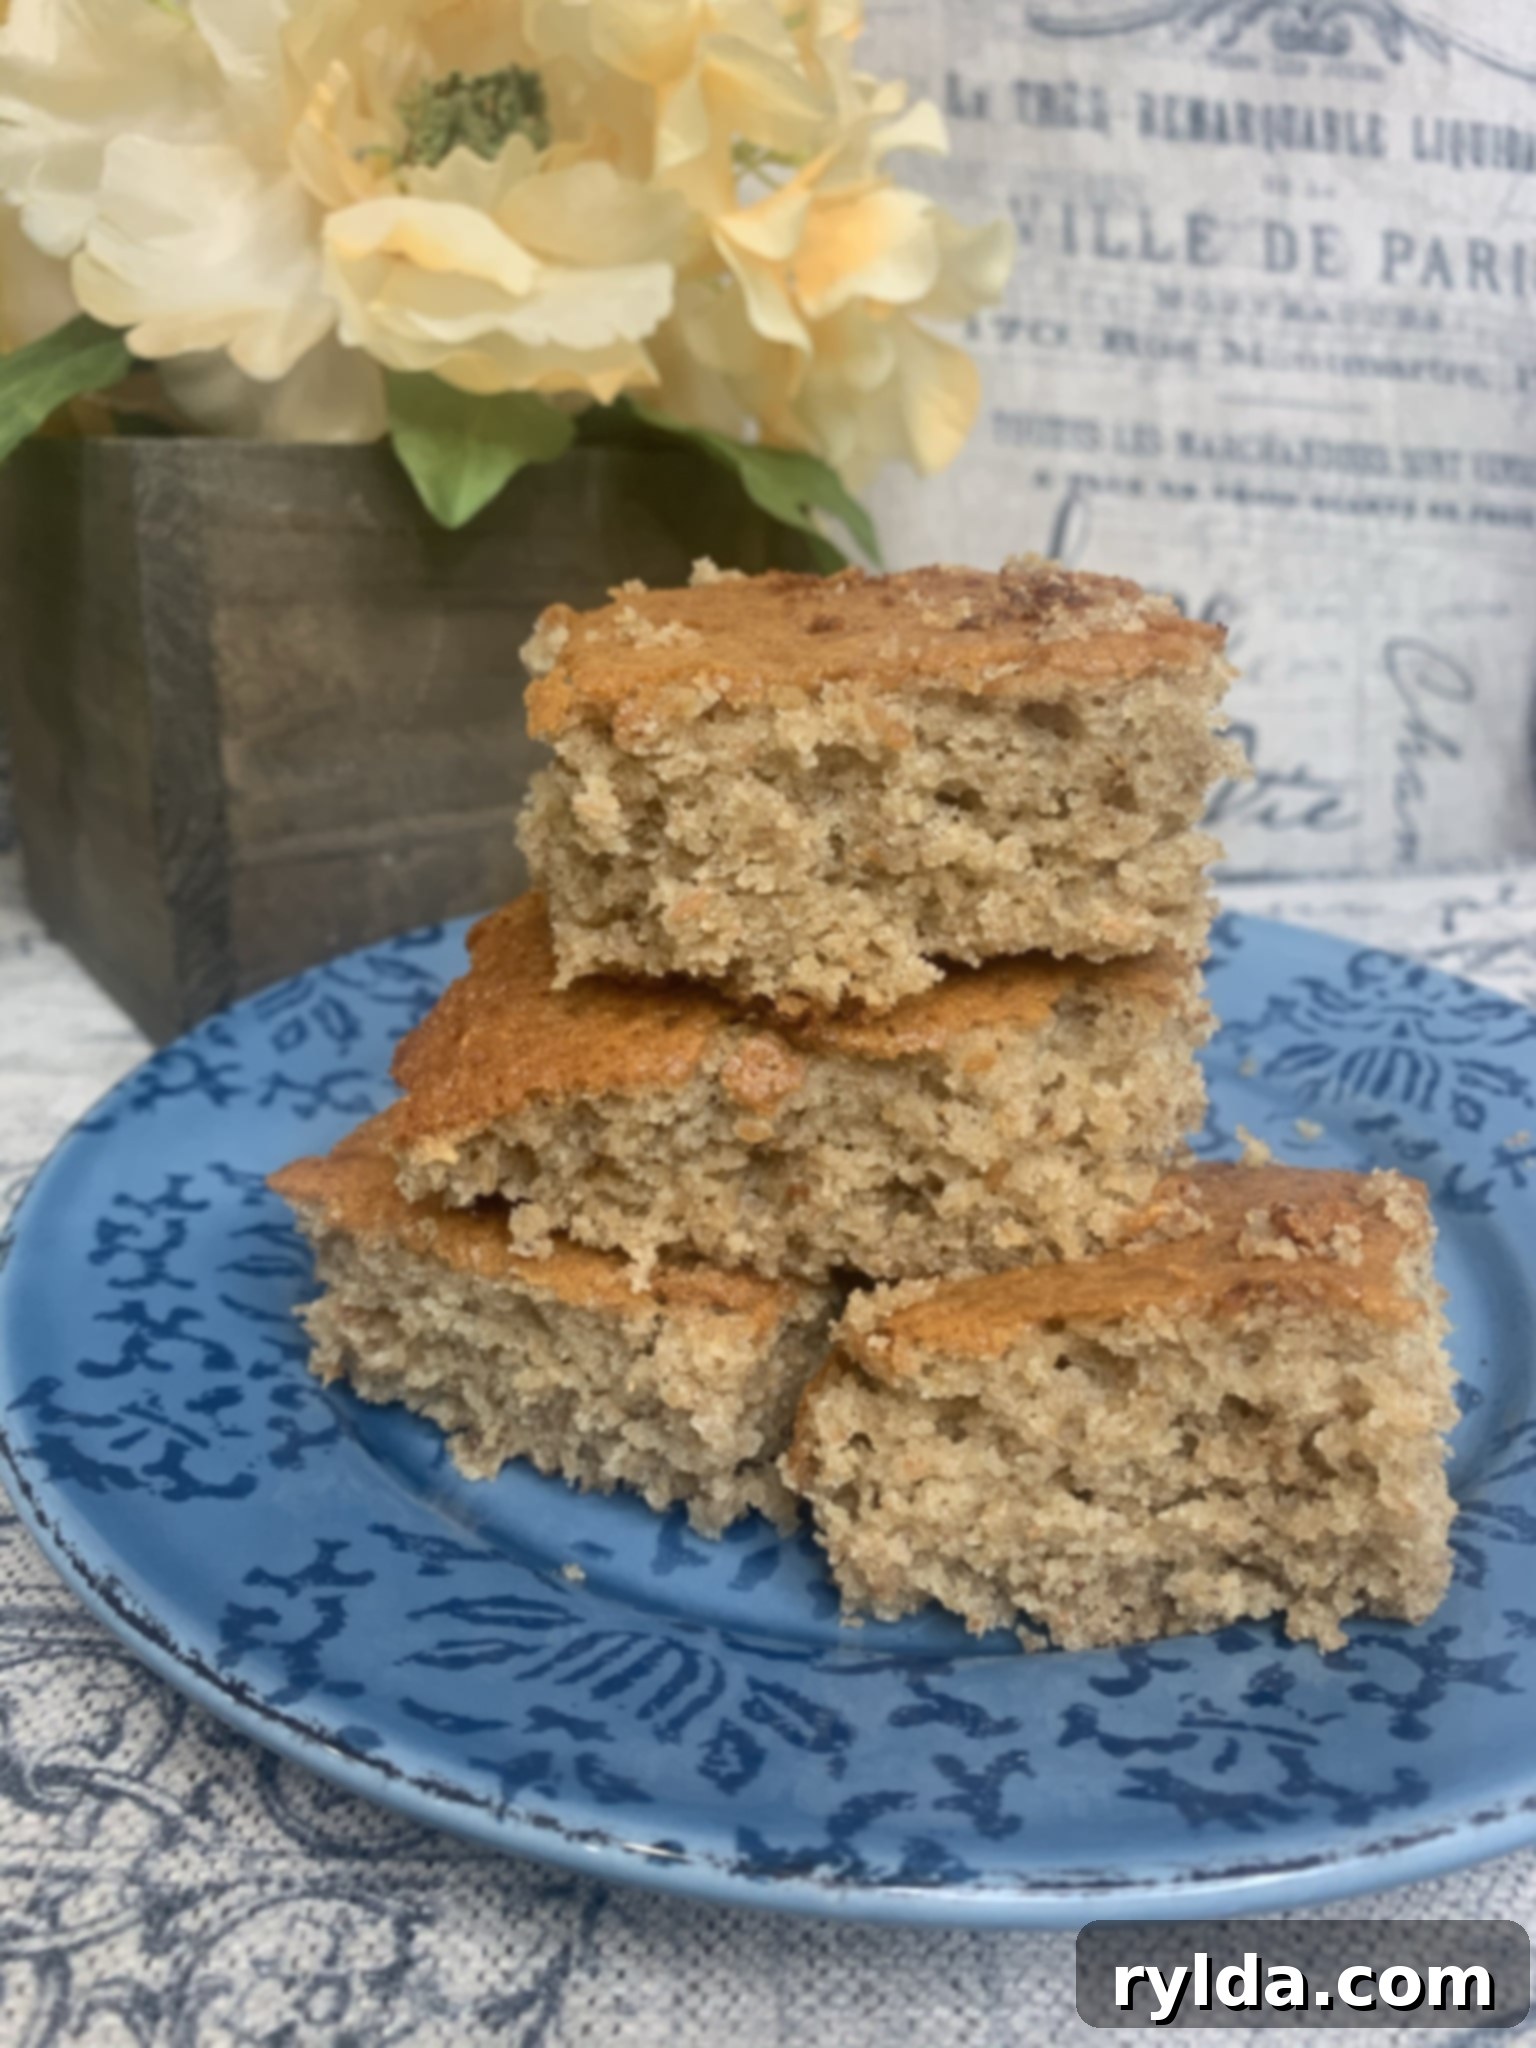
The Ultimate Guide to Baking the Best Moist Banana Bread Recipe
There are few things more comforting and nostalgic than a loaf of freshly baked banana bread. The warm, sweet aroma alone can transport you back to cherished childhood memories, whether it’s Grandma’s cozy kitchen or a delightful afternoon snack. This recipe aims to do just that, offering a simple yet profoundly satisfying experience. Don’t let its humble appearance fool you; the incredible sweetness and tender texture packed into this perfectly baked bread will truly have you going BANANAS!
For me, baking this banana bread is more than just making a treat; it’s a cherished ritual. I bake a fresh loaf roughly every other month, and my family now anticipates this delicious tradition. The moment they see a bunch of ripe bananas on the counter, they know a delightful treat is on its way. I typically buy my bananas about four days before I plan to bake, allowing them ample time to ripen naturally on the kitchen counter. The riper your bananas, the more intense their flavor and the moister your final loaf will be. This key detail is what elevates a good banana bread to an unforgettable one.
The Secret to Perfect Banana Bread: Ripe Bananas!
The success of truly outstanding banana bread hinges almost entirely on the ripeness of your bananas. As bananas ripen, their starches convert into natural sugars, intensifying their sweetness and making them incredibly soft and easy to mash. This chemical transformation is precisely what gives the bread its characteristic deep flavor and irresistibly moist crumb. Look for bananas with plenty of brown spots, or even entirely brown skins – these are the champions for your banana bread!
If you find yourself with green or yellow bananas and an urgent craving for banana bread, don’t despair! Here are a couple of clever hacks to speed up the ripening process:
- The Paper Bag Method: Place your bananas in a brown paper bag along with an apple or another ripe banana. Loosely fold the top of the bag to trap the ethylene gas naturally released by the ripe fruit, which encourages faster ripening. This method can accelerate the process by a day or two.
- The Microwave Method (Quick Fix): For a truly immediate solution, pierce the unpeeled bananas several times with a fork. Microwave them for 30-second intervals until they are soft and dark brown. Be careful, as they will be hot! While this method won’t develop the flavor as deeply as natural ripening, it will soften the bananas sufficiently for mashing and baking.
- The Oven Method (For Slightly Under-ripe): If your bananas are still a bit firm but mostly yellow, you can bake them on a baking sheet at a low temperature (around 300°F or 150°C) for 15-30 minutes until their skins turn black and they become soft. This brings out some sweetness, though not as much as naturally ripened bananas.
Remember, the goal is bananas that are soft enough to mash easily with a fork, creating a smooth, pulp-like consistency. This ensures they integrate beautifully into the batter, distributing flavor and moisture evenly throughout the bread.
My Baking Tradition: More Than Just a Recipe
There’s a special kind of magic that unfolds in my kitchen when it’s banana bread baking day. I love to get started in the morning, letting the delightful scent of the ingredients coming together and baking in the oven slowly fill the house. It’s an olfactory alarm clock that wakes up my family with a sense of joy and cheer, a gentle nudge that something wonderful is about to happen. In today’s busy world, finding those small moments of happiness and peace is more important than ever, and this bread consistently delivers just that.
The act of baking itself is incredibly therapeutic for me. The methodical steps of mixing, stirring, and waiting for the dough to transform, combined with the incredible aroma therapy filling my home, create a sense of calm and centeredness. It’s a mindful activity that allows me to disconnect from daily stressors and simply enjoy the creative process. Regardless of what challenges the world or life may bring, this banana bread consistently leaves me feeling more at peace, even before I take the first bite. It’s a reminder that sometimes, the simplest pleasures can bring the most profound joy. This simple loaf is a testament to the power of homemade goodness and the warmth it brings to a home.
Your Go-To Recipe for Irresistible Banana Bread
Ready to create your own cherished memories and fill your home with an inviting aroma? This recipe is straightforward, designed for bakers of all skill levels, and yields consistently delicious results. Before you begin, a crucial tip: ensure all your cold ingredients, especially butter and eggs, are at room temperature. This allows them to emulsify properly, creating a smoother batter and a lighter, more consistent texture in your finished bread.
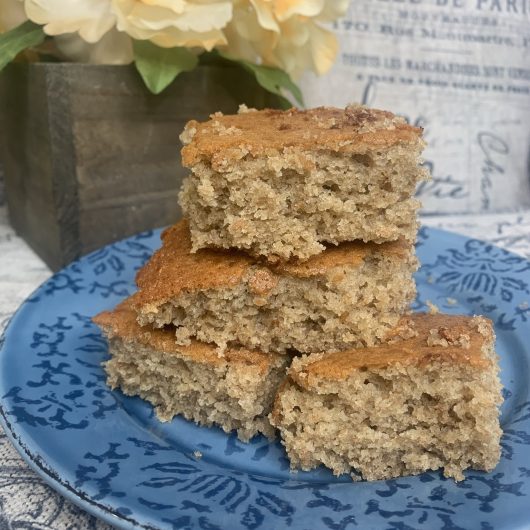
Banana Bread Recipe
3.6 from 110 votes
12
servings
10
minutes
55
minutes
All ingredients should be at room temperature.
Ingredients
-
1 cup granulated sugar
-
8 tablespoons butter, softened (1 stick)
-
3 ripe bananas, mashed
-
1 teaspoon vanilla extract
-
1/2 cup milk (any kind)
-
2 large eggs, at room temperature
-
2 cups all-purpose flour
-
1 teaspoon baking soda
-
1 teaspoon baking powder
-
1 teaspoon cinnamon
-
pinch of salt
Directions
- Preheat oven to 350ºF (177ºC). Generously grease a 9×5-inch loaf pan with butter or cooking spray to prevent sticking.
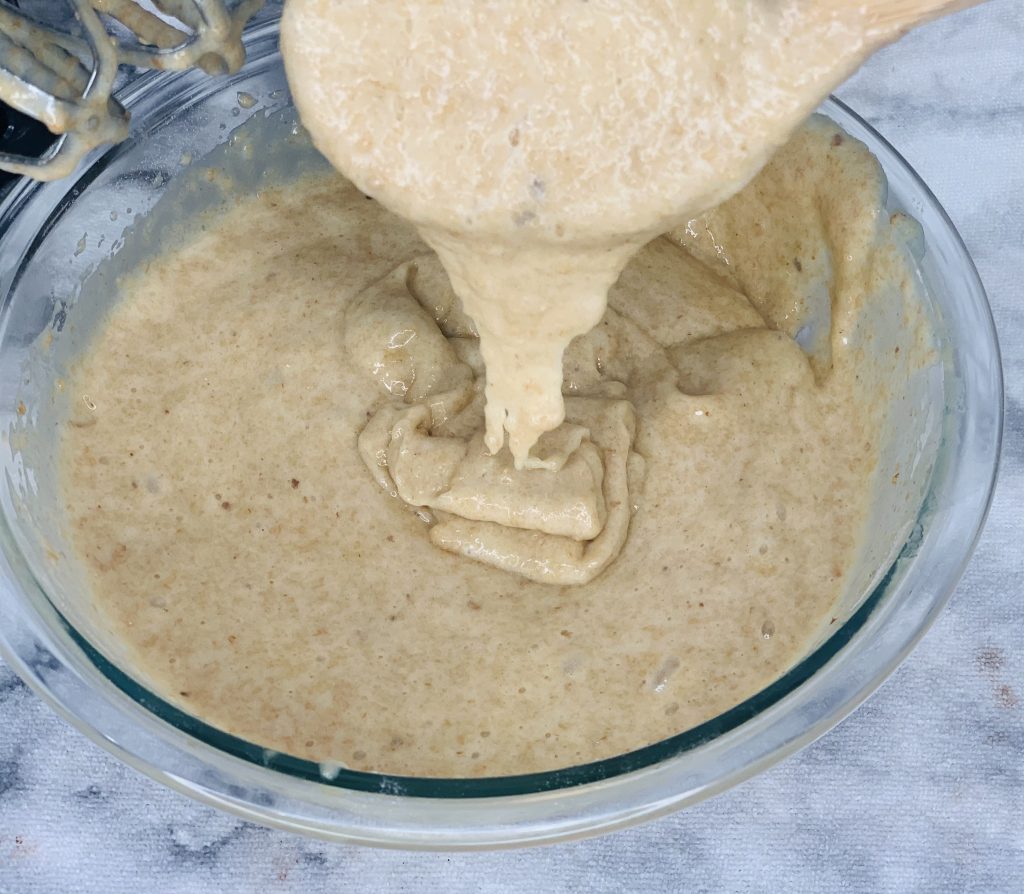
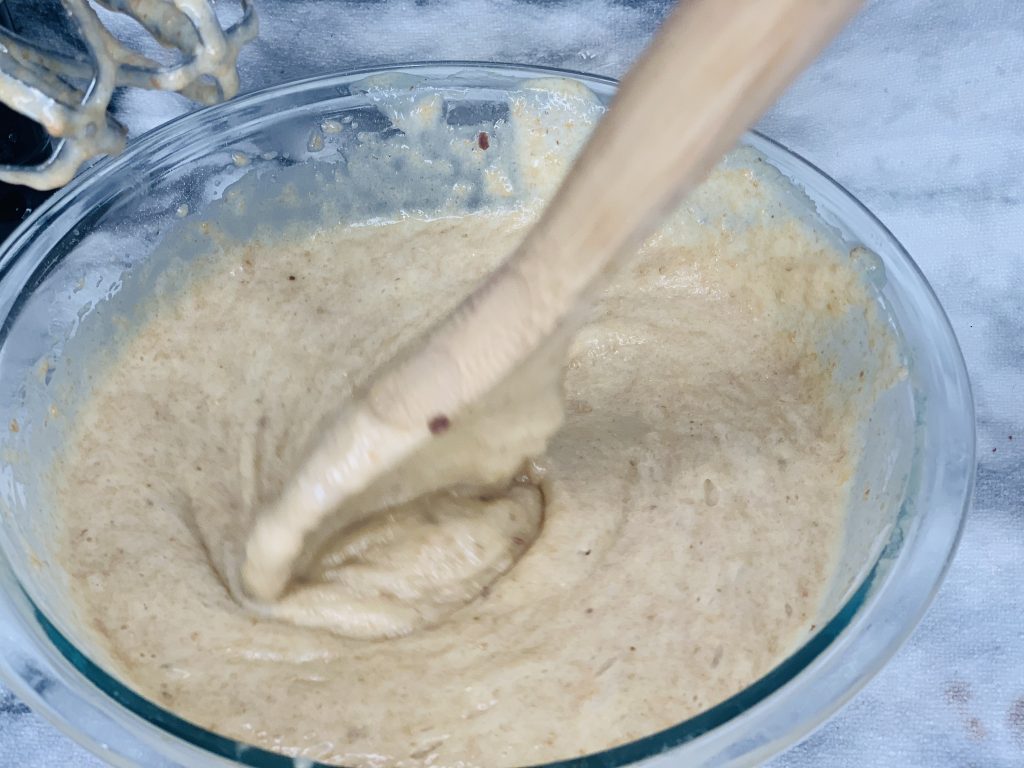
- In a large mixing bowl, combine the granulated sugar, softened butter, mashed ripe bananas, vanilla extract, milk, and eggs. Use a whisk or a hand mixer to blend these wet ingredients until they are smooth and well combined. Next, gently fold in the dry ingredients: flour, baking soda, baking powder, cinnamon, and a pinch of salt. Mix just until combined; be careful not to overmix, as this can lead to a tough bread.
- Pour or spread the prepared batter evenly into your greased loaf pan.
- Bake for 55 to 60 minutes. The bread is ready when a toothpick inserted into the center comes out clean or with only a few moist crumbs attached. If it comes out with wet batter, continue baking in 5-minute increments. Once baked, remove the pan from the oven and allow the bread to cool in the pan for at least 10 minutes before carefully transferring it to a wire rack to cool completely before slicing.
Notes
- The riper the bananas, the sweeter and moister the bread. For best results, use bananas with plenty of brown spots!
- Ensure all cold ingredients are at room temperature for a smoother batter and better texture.
- Do not overmix the batter once the dry ingredients are added; mix just until combined.
Personalizing Your Loaf: Creative Variations
While I often enjoy my banana bread plain, its versatility is one of its greatest strengths. This recipe serves as a fantastic base for all sorts of delicious additions, allowing you to tailor it to your exact preferences or whatever ingredients you have on hand. Feel free to unleash your creativity!
- Chocolate Chips: A classic and beloved addition! Stir in about 1/2 to 1 cup of semi-sweet, milk, or dark chocolate chips for an extra layer of sweetness and indulgence.
- Nutty Crunch: Add 1/2 to 1 cup of chopped walnuts or pecans for a delightful textural contrast and nutty flavor. Toasting the nuts lightly before adding them can enhance their aroma and taste.
- Chocolate-Hazelnut Swirl: If you have Nutella, gently swirl a heaping tablespoon or two into the batter just before baking for a rich, irresistible chocolate-hazelnut twist.
- Peanut Butter Swirl: For the peanut butter lovers, a spoonful of creamy or crunchy peanut butter swirled into the batter creates a unique and delicious flavor profile.
- Extra Spices: Enhance the warmth by adding a pinch of nutmeg, a dash of allspice, or even a tiny amount of ground cloves alongside the cinnamon.
- Dried Fruits: Chopped dried cranberries, raisins, or even shredded coconut can add another dimension of flavor and texture.
Experiment and make this recipe truly your own. The possibilities are endless!
Baking Tips & Tricks for a Perfect Loaf
Once your batter is mixed and poured into the pan, the oven does most of the work, but a few additional tips can guarantee success. As the bread bakes, your kitchen will fill with an intoxicating aroma – a sure sign that something wonderful is happening. Around the 55-minute mark, you’ll know it’s time to check for doneness. The toothpick test is your best friend here: simply insert a clean toothpick into the very center of the loaf. If it comes out clean or with only a few moist crumbs attached, your banana bread is perfectly baked. If it comes out with wet batter, continue baking in 5-minute increments until it passes the test.
Resist the urge to slice into your freshly baked bread immediately! Allowing the loaf to cool in the pan for at least 10 minutes helps it set, preventing it from crumbling when sliced and ensuring it retains its beautiful shape and moisture. After 10 minutes, transfer it to a wire rack to cool completely. This cooling period is crucial for the internal structure to firm up and for the flavors to fully develop.
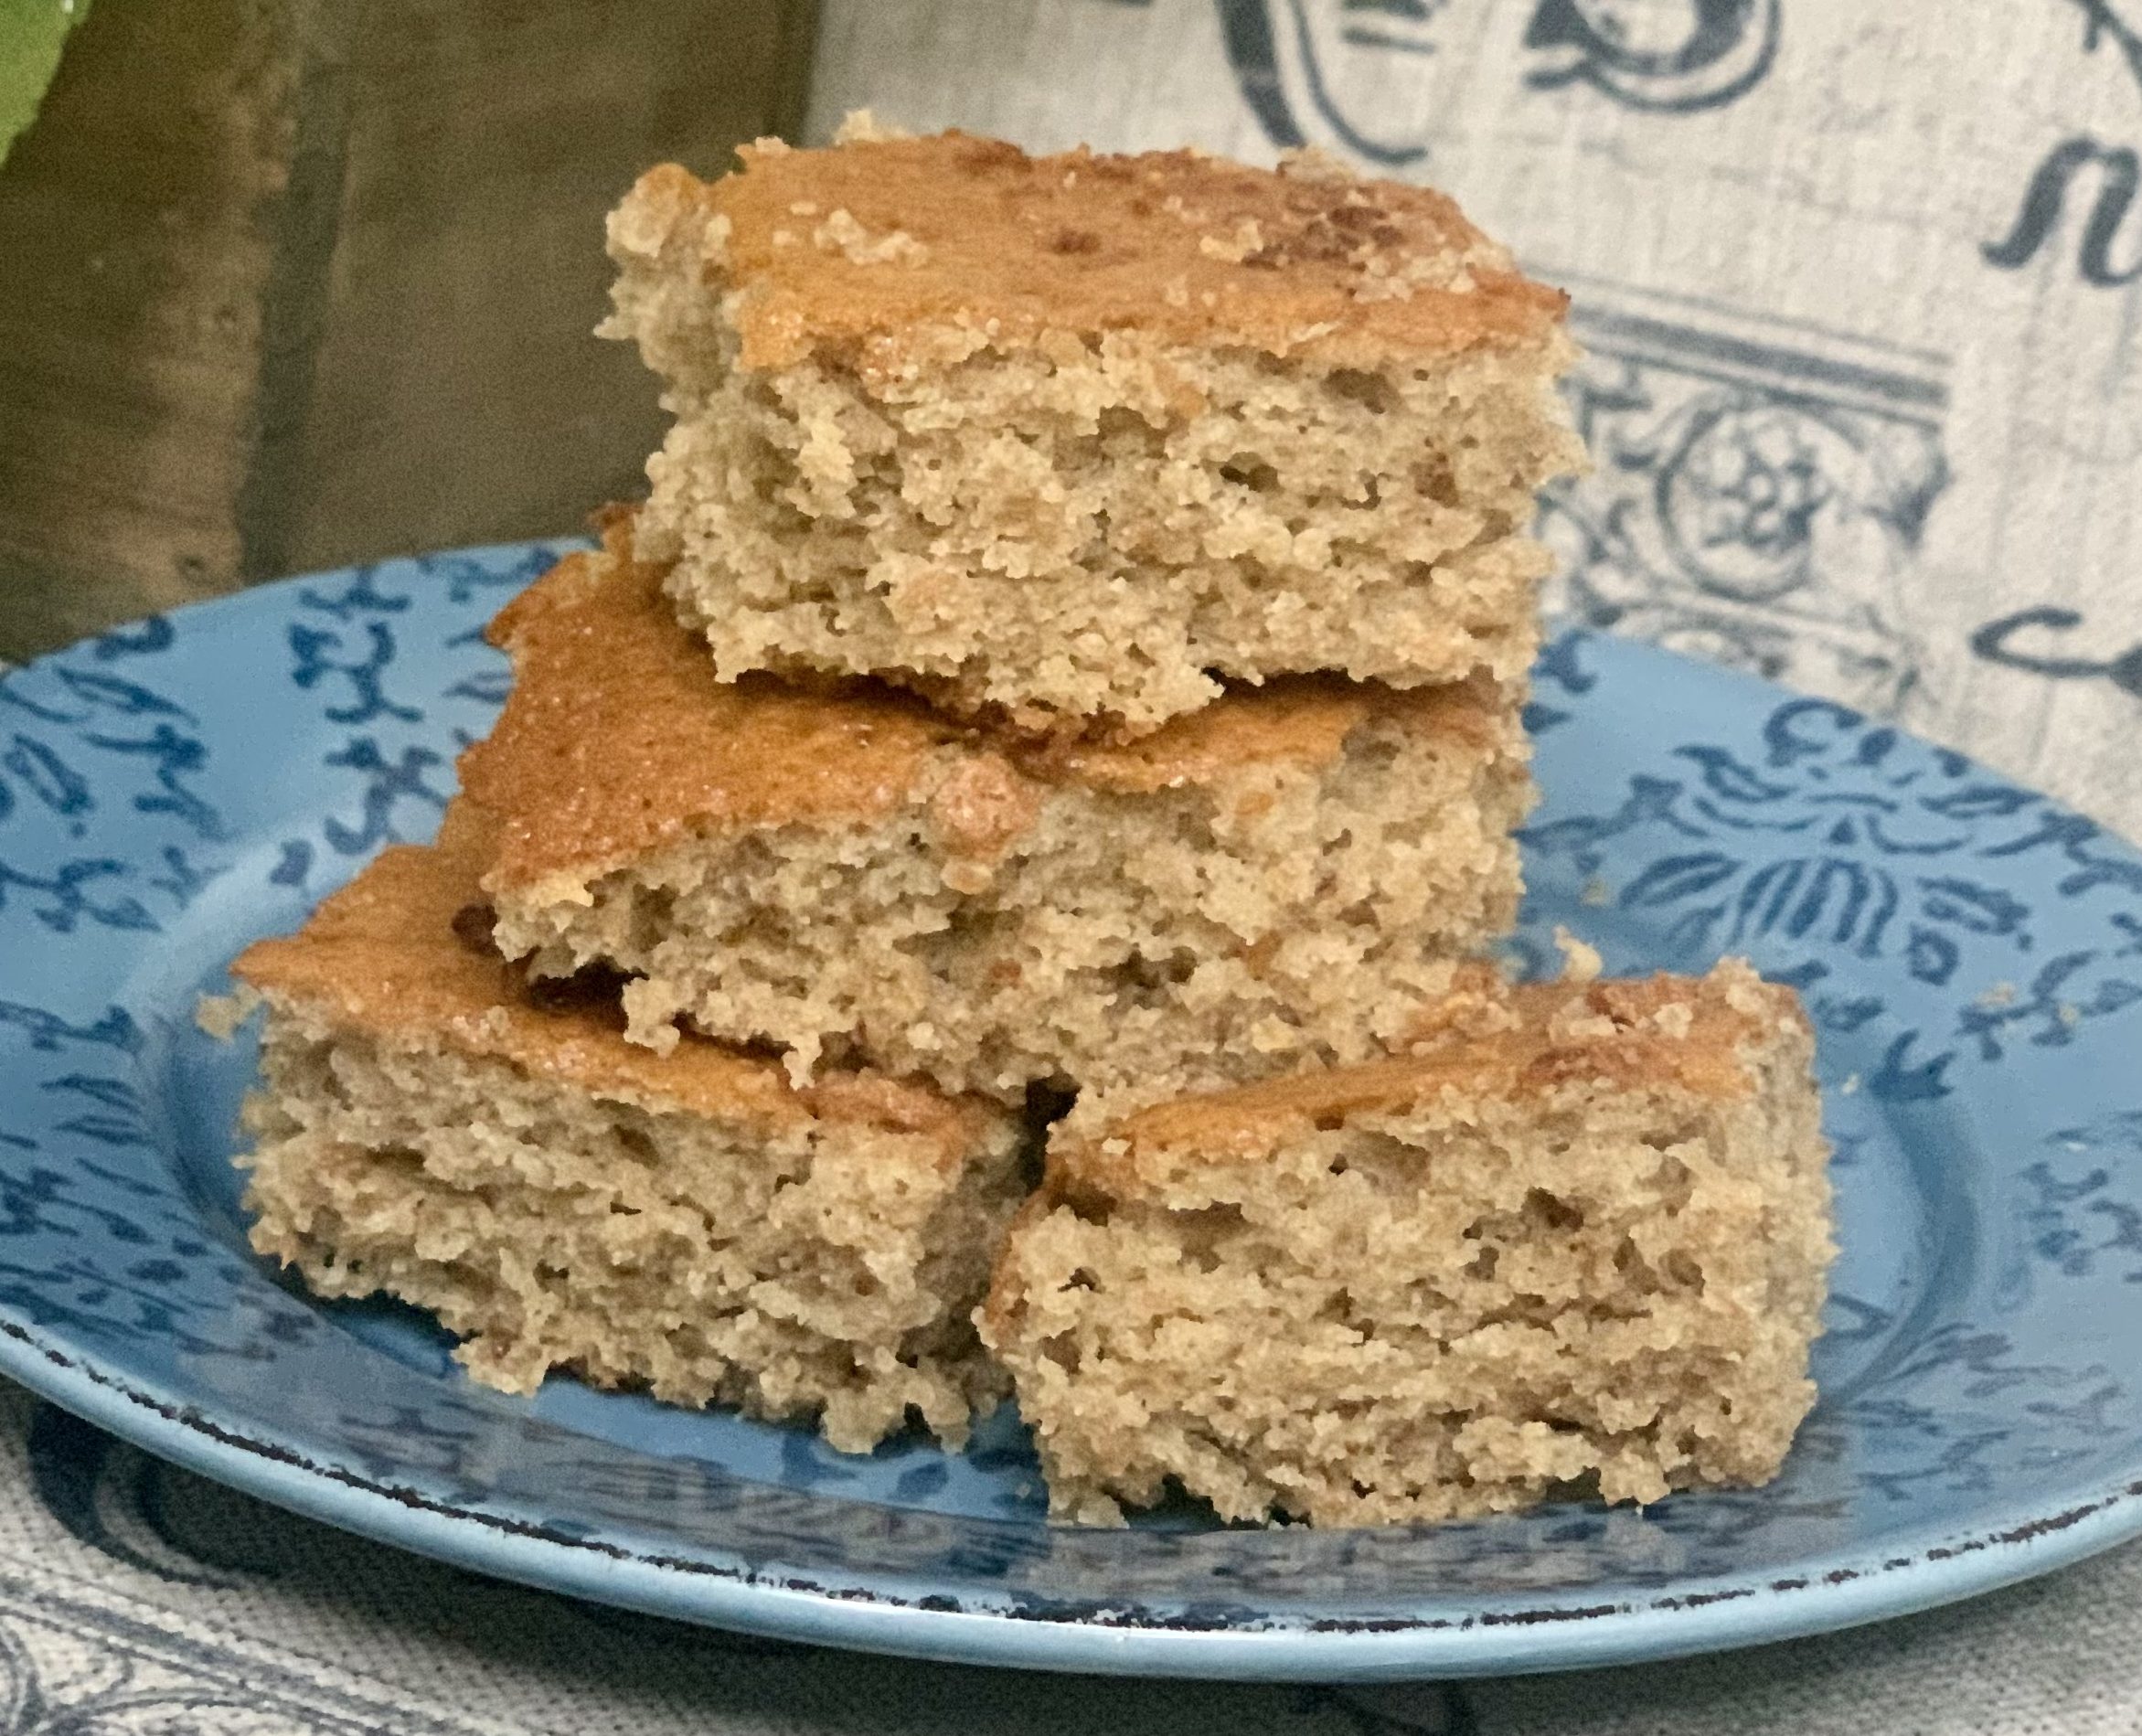
Storing Your Homemade Goodness for Maximum Enjoyment
Once your banana bread has cooled, it’s time to enjoy! Whether you share it immediately or save it for later, proper storage is key to maintaining its deliciousness. For short-term storage, tightly wrap the cooled loaf in plastic wrap (Saran Wrap works perfectly) or aluminum foil, then place it in an airtight container. It will stay fresh and moist at room temperature for up to 3 days, or in the refrigerator for up to 1 week. If it lasts that long!
For longer enjoyment, banana bread freezes beautifully. Once completely cooled, wrap the loaf tightly in plastic wrap, then again in aluminum foil, and place it in a freezer-safe bag or container. It will keep well in the freezer for up to two months. When you’re ready to enjoy, simply thaw it at room temperature, or warm individual slices slightly in the microwave or toaster oven for that fresh-baked taste. It tastes just as incredible after freezing!
Embrace the Joy of Baking!
I sincerely hope this banana bread recipe brings you and your household as much joy and comfort as it brings to mine. There’s something truly special about creating a homemade treat, and banana bread is a classic for a reason. It’s simple, satisfying, and always brings a smile. Whether you’re baking it for a cozy morning, an afternoon pick-me-up, or to share with loved ones, this recipe is sure to become a cherished favorite.
Happy Baking & Eating!
– Madison
