Deliciously Easy Chocolate Covered Marshmallows: Your Go-To Quick Dessert & Gift Idea
The air is filled with a wonderful spirit of generosity and warmth, making it the perfect season for sharing homemade treats and spreading “Good Tidings of Great Joy.” This past week, my neighbors have truly brightened my days, stopping by with thoughtful gift cards and an assortment of their delicious, beautifully packaged homemade baked goods. Their kindness has inspired me, and I’m eager to reciprocate their thoughtful gestures.
As I consider how to return their kindness, I can almost hear the joyful tune of Mr. Rogers singing “A Beautiful Day in the Neighborhood.” With my jacket on and mask secured – because being neighborly also means being cautious – I envision knocking on their doors, ready to deliver a sweet surprise. And I know exactly what that surprise will be: irresistible Chocolate Covered Marshmallows. They are a delightful, simple treat that brings a smile to everyone’s face!
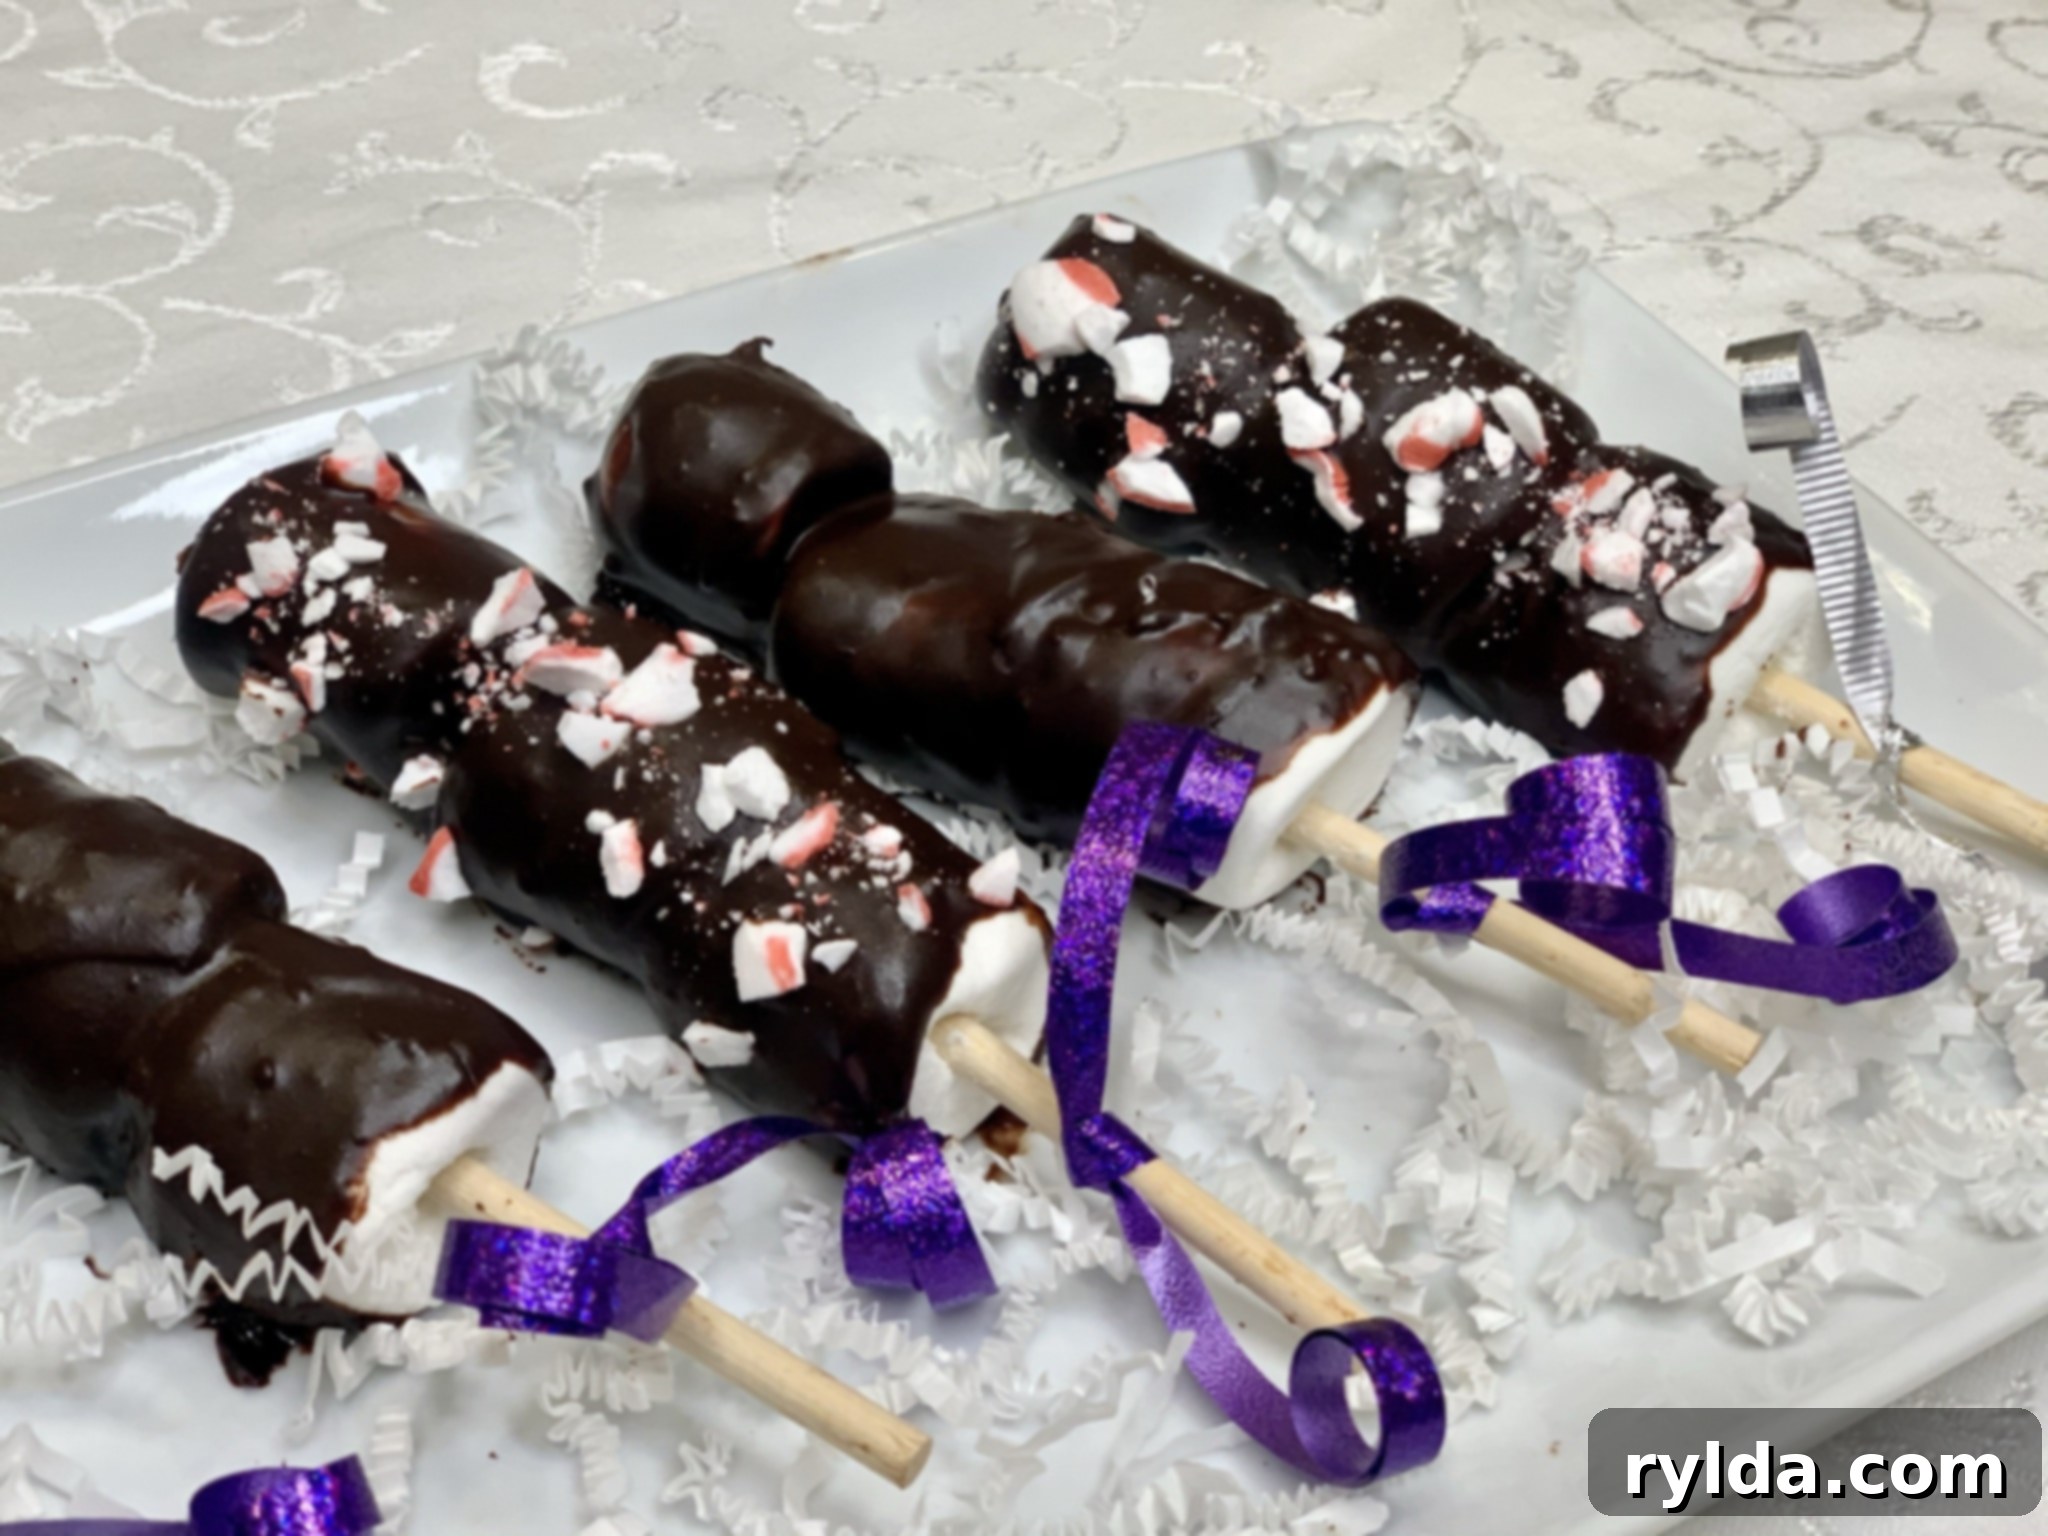
I plan to present these little bundles of joy in clear cellophane bags, each tied with a festive ribbon and a charming “So Glad We Are Neighbors” tag. I’m certain they will adore them, and I’m equally sure you will too once you discover how incredibly easy and quick they are to make. This recipe is a true gem, requiring just two main ingredients and a few simple steps. You’ll need a bag of chocolate candy melts (your choice of dark or milk chocolate) and about half a bag of regular-sized marshmallows. With these minimal ingredients, you can effortlessly create approximately six servings of three-marshmallow skewers, each generously coated in rich, melted chocolate.

Chocolate Covered Marshmallows
3.6 from 28 votes
6
servings
10
minutes
15
minutes
Ingredients
-
2 (12 oz) bags chocolate candy melts (dark or milk chocolate)
-
18 regular sized marshmallows
-
wooden skewers or lollipop sticks (optional)
-
crushed soft peppermint (optional)
Directions
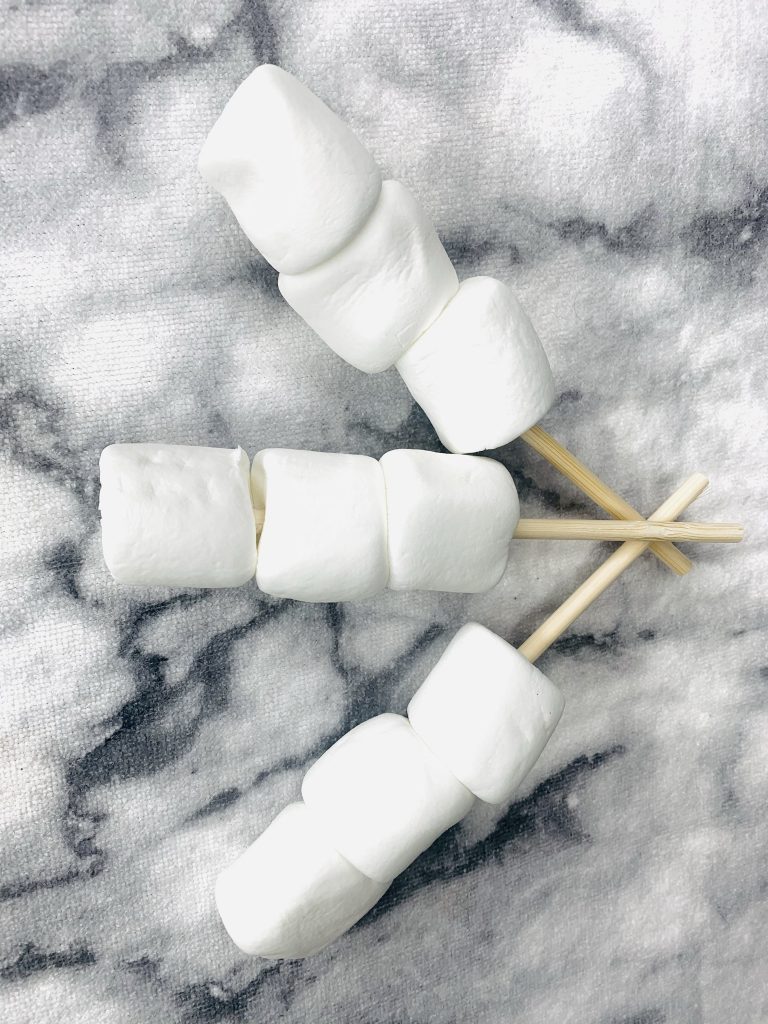
- Assemble 3 marshmallows on each skewer and set aside. (If not using skewers or lollipop sticks, you can skip this part).
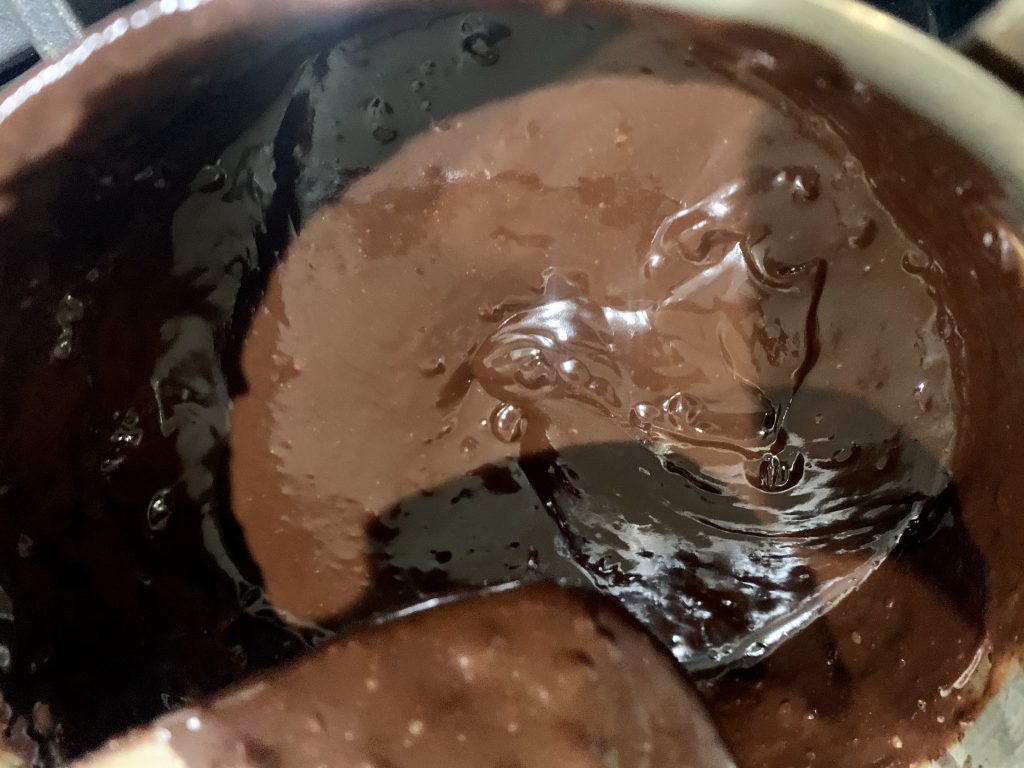
- In a medium saucepan, melt chocolate melts over low heat and constantly stir until the chocolate is completely melted. (This should only take about 2-3 minutes)
- Holding the marshmallow skewer in your hand, dip into the melted chocolate, tilting the pot if needed or using a spoon to guide the chocolate on so it coats all the marshmallows.
- After dipping, place each chocolate covered marshmallow skewer on a wax paper lined cookie sheet. Repeat until you have completed 6 sticks or 18 individuals.
- Place cookie sheet in refrigerator for 15 minutes. When ready, they will peel right off the wax paper easily. Enjoy!
Notes
- It is best to chill the marshmallows in the refrigerator before putting them on the skewers so they get stiff enough to go on the skewers and hold their shape.
The Magic of Minimal Ingredients
The beauty of this recipe lies in its simplicity. You don’t need a pantry full of specialty items or complex cooking techniques. Just two stars: marshmallows and chocolate. For the chocolate, I highly recommend using candy melts, which are designed to melt smoothly and set quickly, giving your marshmallows a beautiful, glossy finish without tempering. You can find these at most major grocery stores like Walmart, craft stores, or even online retailers, usually for around $3 a bag. As for marshmallows, any brand of regular-sized fluffy white marshmallows will do the trick.
Unleash Your Creativity with Toppings
While delicious on their own, these chocolate covered marshmallows are also a fantastic canvas for creativity. I personally love adding a touch of crushed soft peppermint to a few of mine – the cool, refreshing mint pairs exquisitely with the rich chocolate, creating a mouthwatering sensation. Peppermint candy can easily be crushed in a small bag with a rolling pin or food processor for a fine dusting.
But don’t stop there! Consider other delightful additions:
- Sprinkles: Festive sprinkles in various colors can transform these into celebration-ready treats.
- Chopped Nuts: Finely chopped almonds, pecans, or walnuts add a delightful crunch.
- Shredded Coconut: Toasted or untoasted coconut flakes provide a lovely texture and tropical hint.
- Sea Salt Flakes: A tiny sprinkle of flaky sea salt can enhance the chocolate flavor, creating a sophisticated sweet-and-salty balance.
- White Chocolate Drizzle: Once the dark or milk chocolate has set, drizzle some melted white chocolate over the top for an elegant contrasting look.
- Mini Chocolate Chips: Press mini chocolate chips onto the wet chocolate coating for an extra chocolatey bite.
Essential Tools for Success
Beyond your two main ingredients, you’ll want to gather a few basic kitchen tools to make the process as smooth as possible:
- Medium Saucepan: For melting your chocolate melts evenly over low heat.
- Wooden Skewers or Lollipop Sticks: These are optional but highly recommended for easy dipping and a neat presentation. They also help keep your fingers clean and safe from warm chocolate!
- Wax Paper: Crucial for lining your cookie sheet. The chocolate-covered marshmallows will not stick to wax paper, making for easy removal once chilled.
- Cookie Sheet or Baking Tray: To hold your dipped marshmallows in the refrigerator while they set.
- Spoon: Useful for stirring the chocolate and guiding it over the marshmallows if needed.

Mastering the Melt and Dip
The key to perfect chocolate covered marshmallows is smoothly melted chocolate and quick, efficient dipping. When melting your chocolate, always use low heat and stir constantly to prevent scorching. Candy melts typically melt very quickly, so keep a close eye on them – it usually takes only 2-3 minutes. If the chocolate seems too thick, you can add a tiny bit of coconut oil or vegetable shortening (about half a teaspoon per bag of melts) to thin it slightly, ensuring a smoother coat.
For dipping, whether you use skewers or individual marshmallows, work quickly. The goal is to get a smooth, even coating before the chocolate starts to cool and thicken. Don’t be afraid to tilt your saucepan or use a spoon to help guide the chocolate around the marshmallows, ensuring every surface is beautifully coated. Remember, the chocolate will still be warm right after taking it off the heat, so using skewers or sticks is a great way to protect your fingers from the warmth and mess.

Pro Tips for Perfect Marshmallows
Here are a few insider tips to ensure your chocolate covered marshmallows turn out perfectly every time:
- Chill Your Marshmallows: This is a game-changer! Place your bag of marshmallows in the refrigerator for about 30 minutes before you begin. Chilled marshmallows become firmer, making them much easier to skewer without tearing and less sticky to handle. They’ll slide onto the sticks effortlessly.
- Work Efficiently: Once the chocolate is melted, try to dip all your marshmallows fairly quickly. The longer the chocolate sits, the more it will cool and thicken, making it harder to get a smooth, thin coating.
- Chill to Set: After dipping and adding any desired toppings, immediately place your wax paper-lined cookie sheet into the refrigerator. About 15 minutes of chilling time is usually enough for the chocolate to set completely and harden. They will then peel right off the wax paper with ease, leaving no sticky residue.
- Gentle Heat for Melting: If using a microwave, melt the chocolate in short 30-second bursts, stirring well after each interval, until smooth. Overheating chocolate can cause it to seize or burn, making it unusable. Low and slow is always the best approach.
Gifting Your Delicious Creations
These chocolate covered marshmallows aren’t just a treat for yourself; they make for thoughtful and charming homemade gifts. As mentioned, clear cellophane bags tied with festive ribbons and a personalized tag are a wonderful presentation. You could also:
- Arrange them in a decorative box with tissue paper.
- Stack them in a mason jar with a cute label.
- Include them as part of a larger gift basket with other homemade goodies.
- For a hot chocolate lover, pair them with a gourmet hot chocolate mix and a mug.
No matter how you choose to present them, the effort and personal touch behind a homemade treat are always deeply appreciated.
Storage Tips
Once your chocolate covered marshmallows are set, store them in an airtight container at room temperature for up to a week, or in the refrigerator for up to two weeks, especially in warmer climates. If stored in the fridge, let them come to room temperature for a few minutes before serving for the best texture and flavor.
I genuinely love simple, yet incredibly satisfying desserts, and these Chocolate Covered Marshmallows fit that description perfectly. They are a delightful indulgence that promises to make your palate quite jolly. Enjoy the process of creating these sweet treats, and even more so, enjoy eating them!
Happy Dipping…and Eating!
-Madison
